Support Articles
Install Pop!_OS in VirtualBox
This is a quick tutorial on getting Pop!_OS to run on a virtual machine. Especially useful if you want to play around with Pop!_OS and see what it can do without having to commit to installing it somewhere.
First things first. Please ensure that you have:
- Downloaded the Pop!_OS ISO
- Installed the VirtualBox package on your favorite Linux based OS and the guest OS extensions.
Once you have that accomplished run VirtualBox.
1. Virtualbox Start Screen

This is the initial screen of VirtualBox after freshly installing on your OS. Click on the "New" button on the top left corner. It should be clearly marked with a colorful blue icon.
2. Create and Name New VM

Once you click on the new, button you should have the screen where you can name the VM and what kind of operating system. We use Pop!_OS, of course, but you can use whatever you like. Set your type to "Linux" and the version to "Ubuntu (64 bit)". Your screen should look like the screenshot above. Click "Next" button to move to the next screen.
3. Allocate Memory
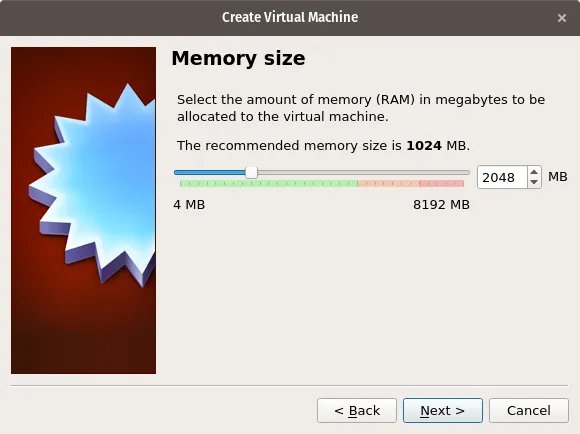
Set the memory to 4096 MB. The default value of 1024 MB is not enough to run Ubuntu and you will have problems. You can of course set it to as high as you like. Click "Next" button to the next screen.
4. Choose Drive Type
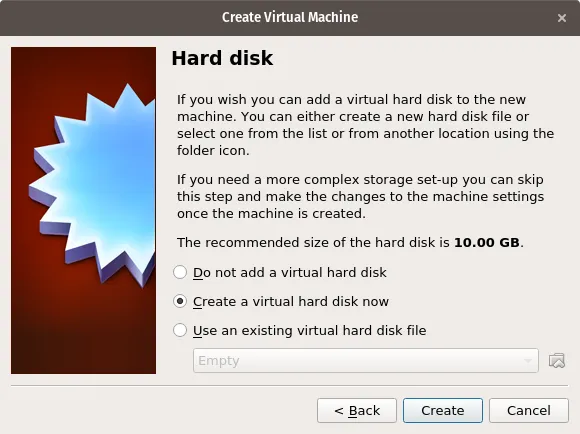
Pop!_OS will need at least 15GB but it is recommended to give it 20GB if possible. After adjusting storage, feel free to accept the defaults and click the "Create" button.
5. Choose Disk File Type

You can accept the default value here as well and click on the "Next" button.
6. Set Drive Allocation Type

This dialog tells you how you want to grow the disk as you put content on it. The default is the correct answer here as you don't really want to allocate space that you will not actually use. Click on the "Next" button to the next screen.
7. Name Drive File and Confirm Size

Feel free to just pick the defaults here and click on the "Create" button.
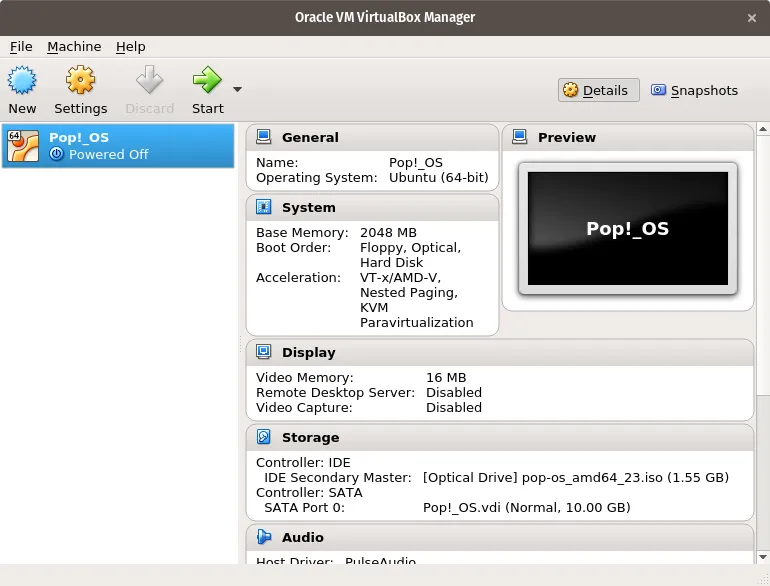
8. Enable EFI Mode
To ensure the bootloader installs properly:
- Open the settings for the machine (click the machine on the list and press Ctrl+S)
- Click System in the list
- Check the Enable EFI (special OSes only) checkbox
- Click the OK button
The install may fail if you use VirtualBox's default legacy boot mode.
9. Start VM
You should be all ready to run! Hit the "Start" button, the green arrow on the toolbar at the top.
10. Open ISO File
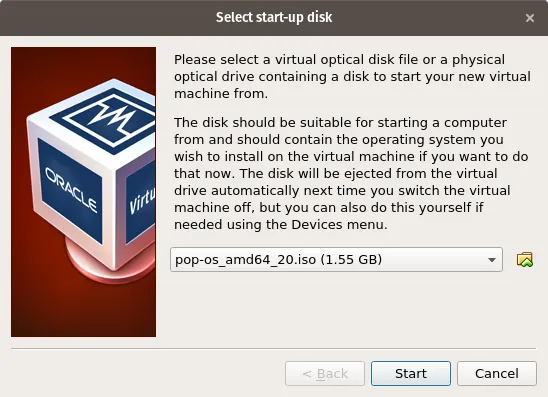
In order to run, it needs a startup disk, in this case the Pop!_OS iso file that you downloaded and probably in your Downloads directory. Using the above dialog, click on the little icon with the folder and the green up arrow.

Go to your Downloads area and select the ISO image you downloaded and click "Open".
11. Start Pop!_OS VM
Click on the Start button on the toolbar. It is the icon with the green arrow.
That's it! You're done! Visit our Pop!_OS page and please give us feedback on how Pop!_OS is working for you!
"The screen resolution is too small!"
If you notice that the installer for Pop!_OS is too large to fit into the default screen resolution in VirtualBox, try this:
Move the installation window slightly (but not completely) out of the way, right-click on the desktop and select "Display Settings". From here you will be able to change the virtual machine's screen resolution. Increase the virtual machine resolution from the default 800x600 to 1024x768 or above, then click Apply in the top right-hand corner.
You will now be able to continue with the installation.