Support Articles
Gaming on Pop!_OS
Steam
Steam is a popular game client released by Valve. Steam offers games that are natively compatible with Linux, and compatibility for many non-native games can be achieved using Proton.
Install Steam From the Pop!_Shop
Open the Pop!_Shop application then either search for Steam or by clicking the Steam icon on the Pop!_Shop home page. Now click the Install button.
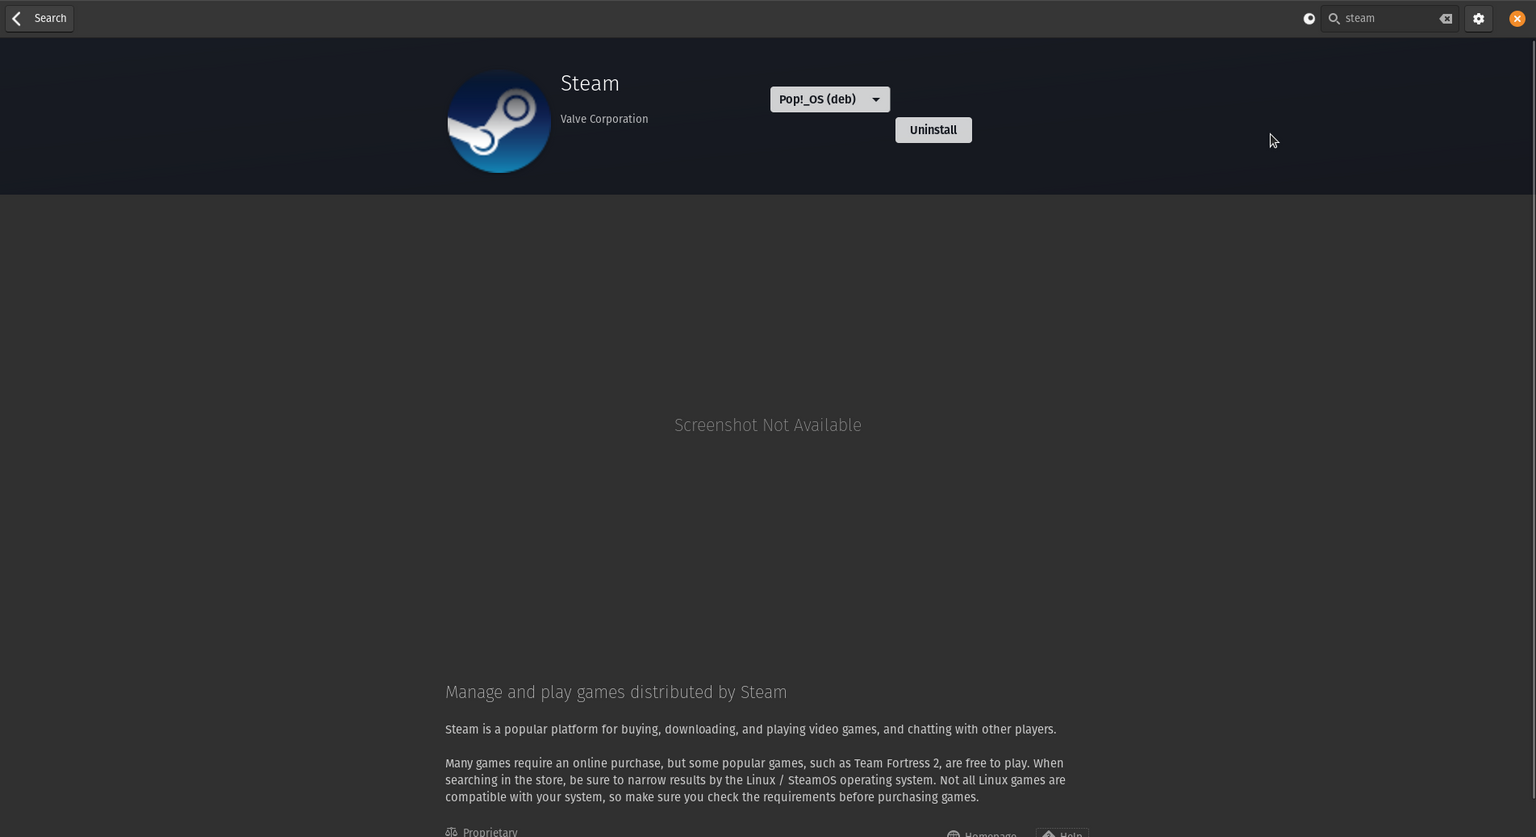
Once installed, use the Applications button to search for and run Steam.
Install Steam From Command Line
Open the Terminal application by searching for Terminal after pressing the Super Key //SUPER.
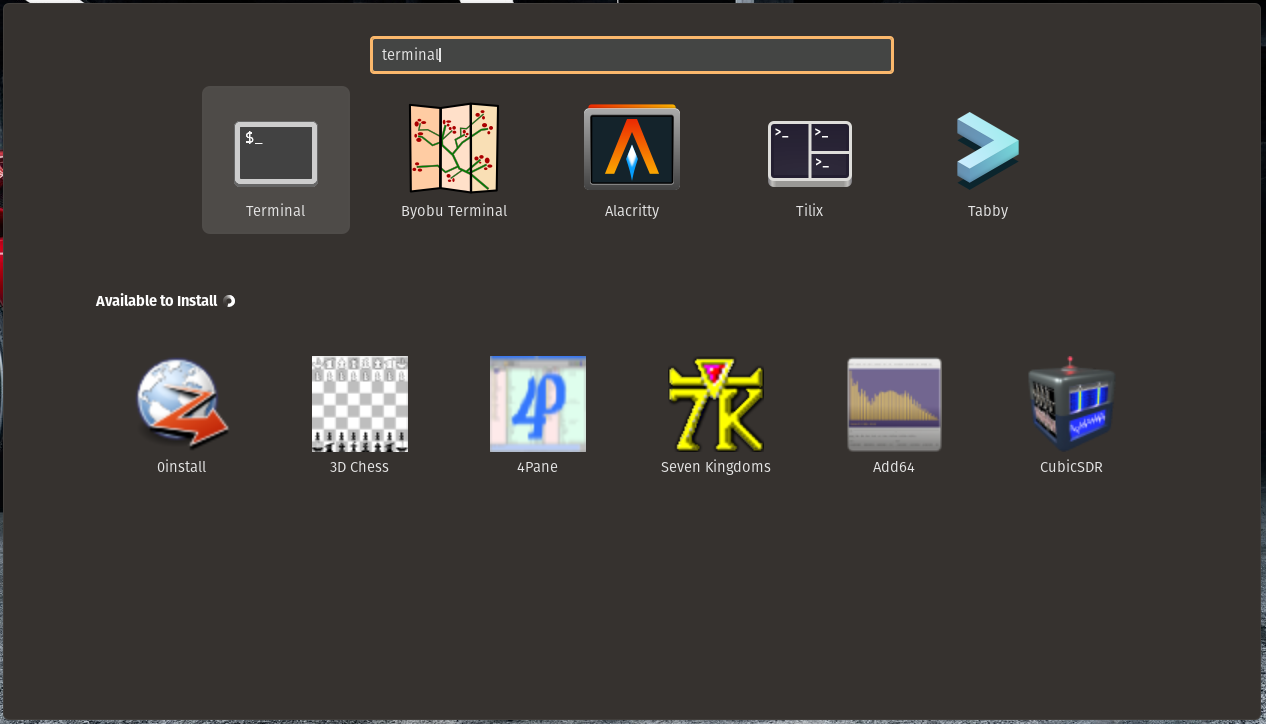
Once the Terminal application is opened you can use the Command Line tool apt to search for it like so:
apt search steam

Once we find the right name for Steam we can install it with apt as well. Please type this command into the terminal and press Enter:
sudo apt install steam
IMPORTANT NOTE: Be very careful when using sudo with ANY Command. It can make system wide changes so be sure to read everything before entering 'Y'.
Enable Steam Play (Proton)
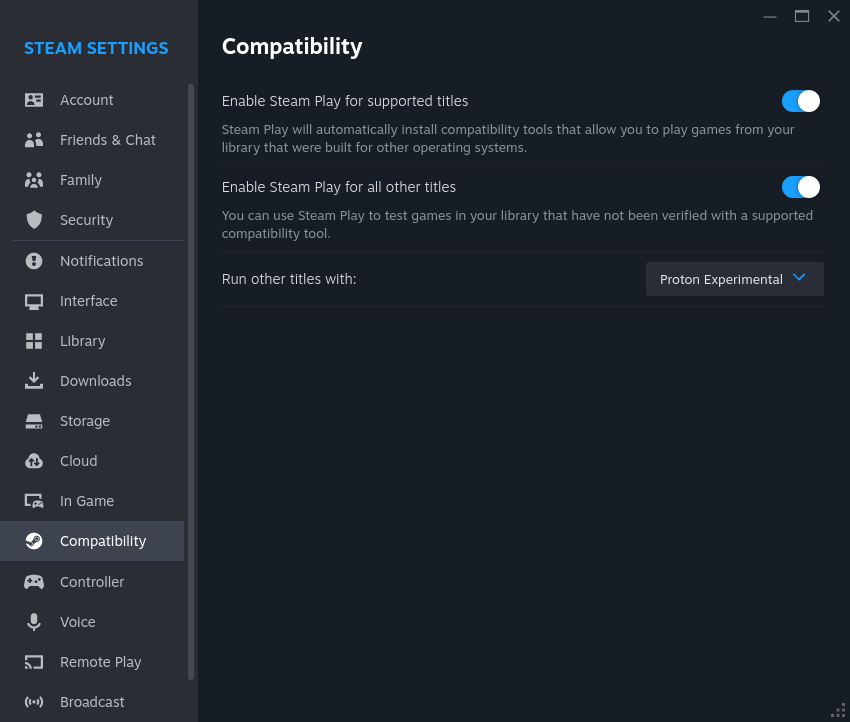
Proton is a compatibility layer tool which enables support for some Windows games on Linux. It's based on the WINE project with some tweaks and additions by Valve. Use the Protondb database to confirm if a specific game has been tested and verified working using Proton. You can enable Proton in:
Steam -> Settings -> Steam Play -> Check the box for "Enable Steam Play for supported titles AND "Enable Steam Play for all other titles" as pictured below:
Using Steam
Once installed, use the Applications button to search for and run Steam.
Proton vs. Native
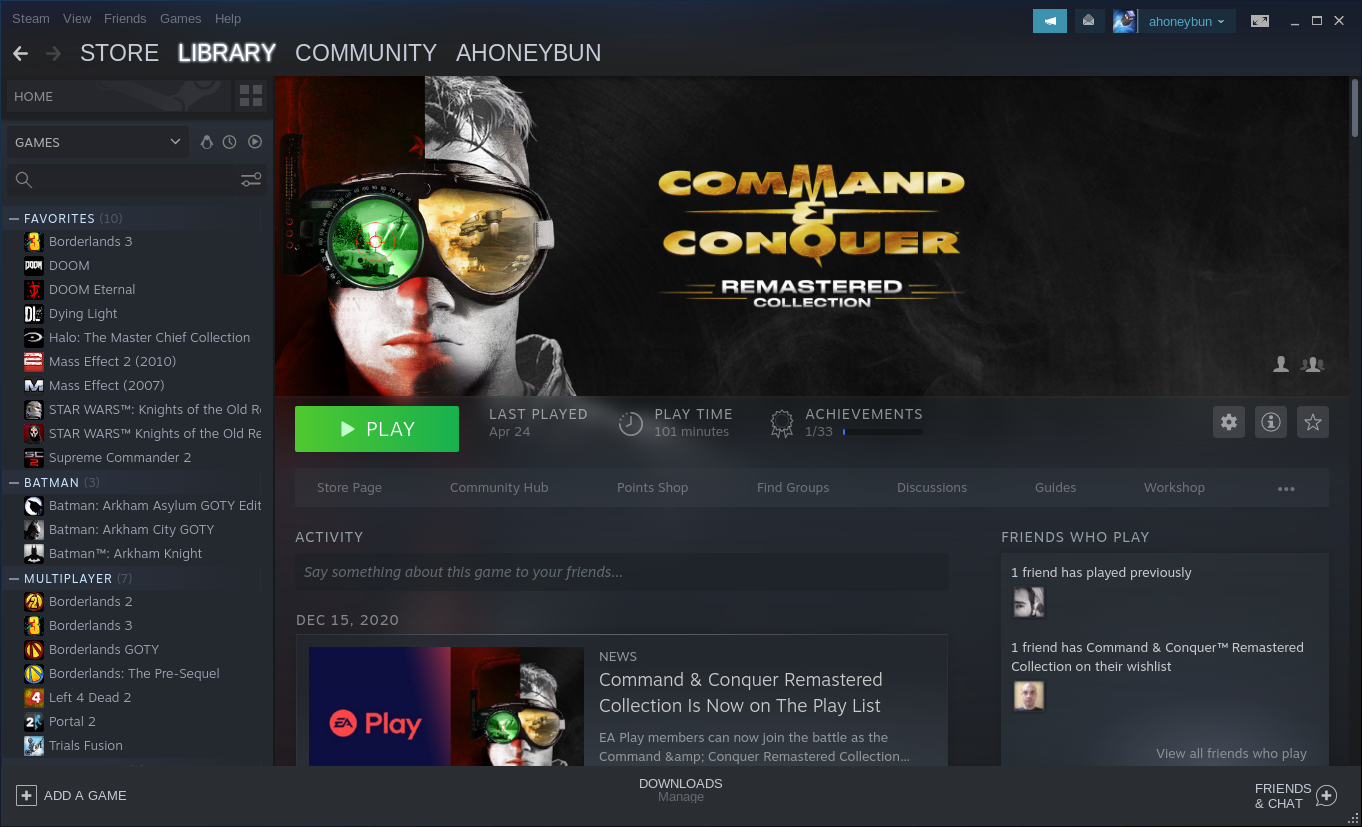
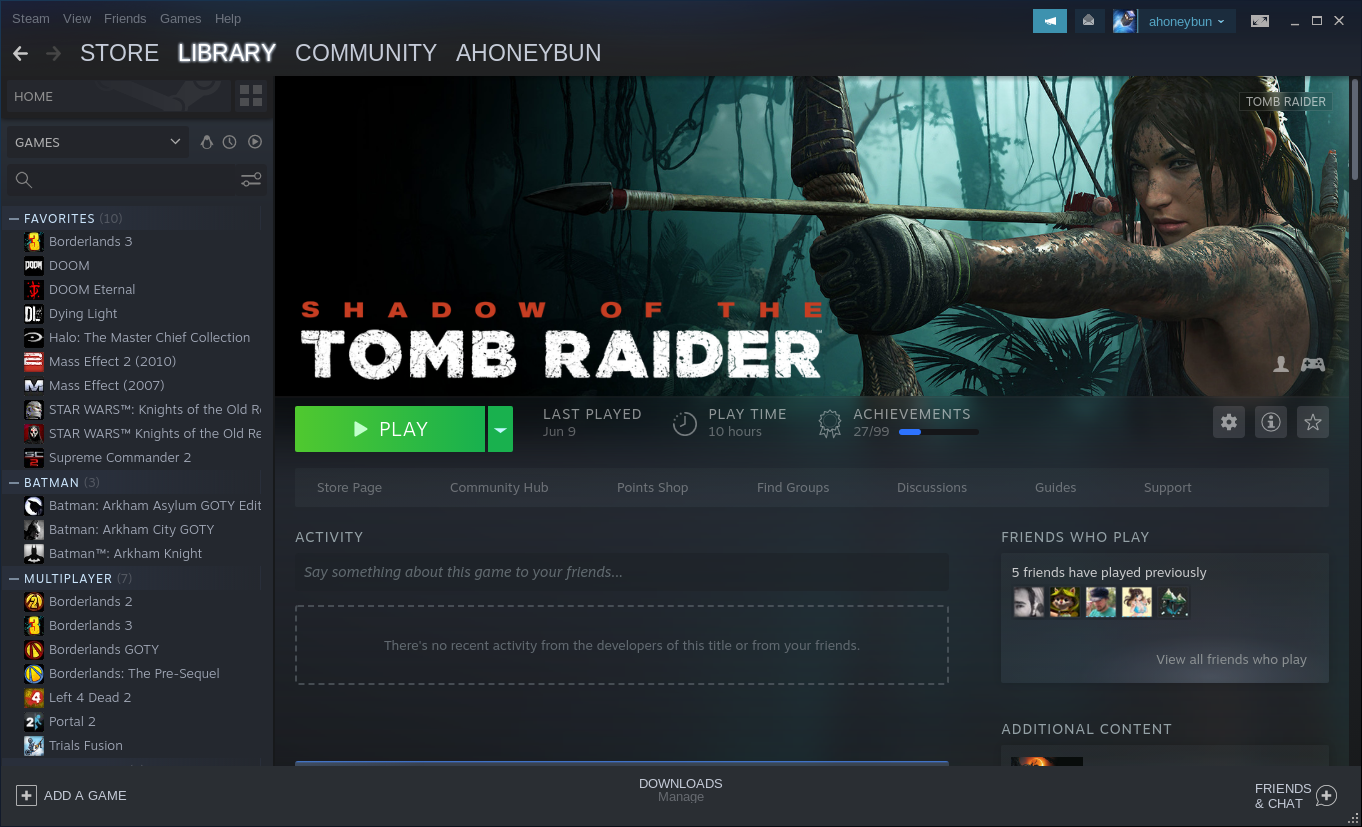
From a UI standpoint, there is virtually no difference between launching a Linux Native game and a game using Proton. The first picture is of a Windows game using Proton, the second is a Linux Native game. Once you've enabled Steam Play, they both present the usual green "Play" button.
NOTE: If you haven't enabled Steam Play, other options like "Stream" or a greyed-out "Download" button may be present.
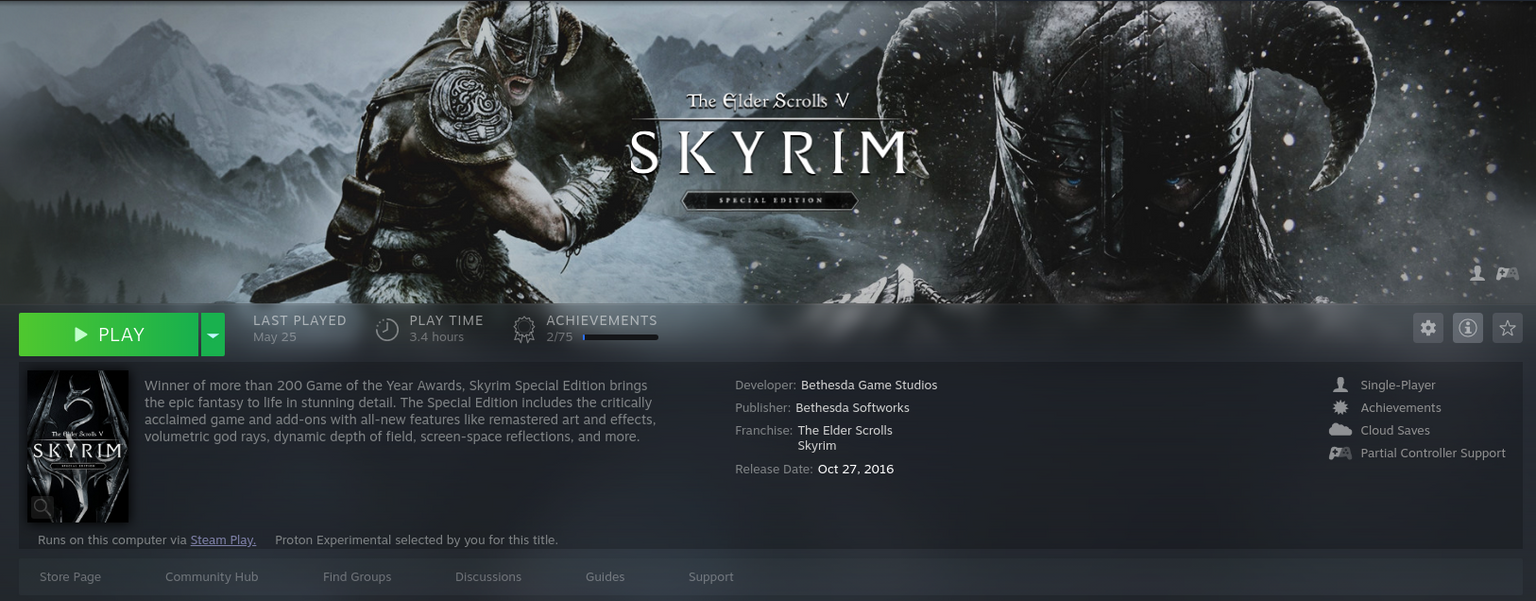
If you click on the "i" button in the top-right corner of the game info pane, you can see that Proton games show the message: "Runs on this computer via Steam Play" and shows the Proton version you've selected.

Changing the Proton Version for a Specific Game
It's possible to specify a certain Proton version on per game basis. You can switch between older and newer Proton versions installed on your system by the Steam client, or select custom versions of proton like ProtonGE.
To change the Proton version:
-
Click on the "Gear" icon in the top-right corner of the game info page.
-
In the drop-down menu, select "Properties."
-
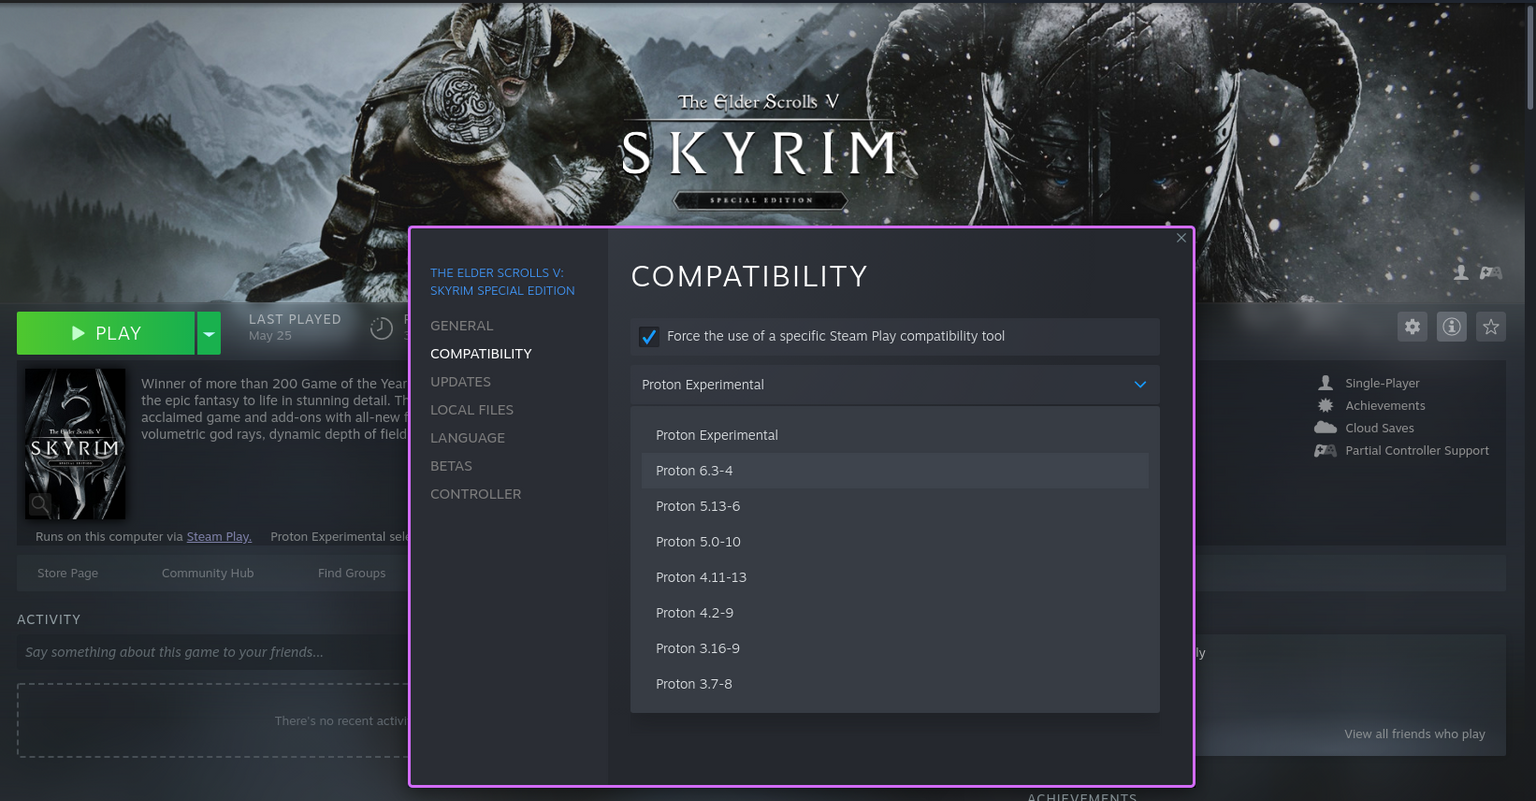
Once the properties window opens, click "Compatibility" from the left menu pane.
-
Check the box to "Force the use of a specific Steam Play compatibility tool."
-
Select the desired Proton version from the drop down menu (as pictured below).
Use Protonup to Manage Custom Proton Versions
Valve's official Proton release may not provide optimal compatibility for specific games, or community contributors may discover improvements not yet implemented by Valve. If a game is not working with mainline or experimental versions of Proton, consider trying a community-contributed fork.
-
ProtonGE is a popular fork created by Glorious Eggroll. Glorious Eggroll tests newer games in Proton, and often implements bug fixes ahead of Valve's official releases. You can view Glorious Eggroll's Github repo for ProtonGE here.
-
Protonup is a command-line tool that installs, manages, and updates ProtonGE. Protonup is written in Python and maintained by AUNaseef in the Pypi project directory.
-
ProtonUp-Qt is a community-maintained GUI tool based on AUNaseef's CLI tool. The app allows downloading Proton versions for Steam, and WINE versions for Lutris. It will automatically put each of these compatibility layer versions in the correct location to be found by Steam and Lutris respectively. The ProtonUp-Qt Github repository can be found here.
Install Protonup
First, to install protonup we'll need the Python package manager, pip.
sudo apt update
sudo apt install python3-pip
Now, let's install protonup via pip.
pip3 install protonup
The protonup command will be available after a reboot, or you can run the below command to add it to your PATH for immediate use.
source ~/.profile
Manage ProtonGE with Protonup
After Steam is installed, you can run protonup in a terminal. The command will fetch the newest ProtonGE build. This tool will also pull hotfixes. Below is an example of the tools output:
protonup
Ready to download Proton-6.10-GE-1
Size      : 370.81 MiB
Published : 2021-06-07
Continue? (Y/N): y
Downloaded 100.0% - 370.81 MiB/370.81 MiB
[INFO] Installed in: /home/aaronh/.steam/root/compatibilitytools.d/Proton-6.10-GE-1
You can also use protonup to install older versions of ProtonGE. For example, if you have a game that works better on an older release, you can install that version by first using the protonup --releases command to list versions. Next, specify the version to install by running protonup -t, followed by a specific release number:
➜  ~ protonup -t GE-Proton7-1
Ready to download Proton-GE-Proton7-1
Size      : 407.23 MiB
Published : 2022-02-27
Continue? (Y/N): y
Downloaded 100.0% - 407.25 MiB/407.23 MiB
[INFO] Installed in: /home/s31bz/.steam/root/compatibilitytools.d/Proton-GE-Proton7-1
Install ProtonUp-Qt
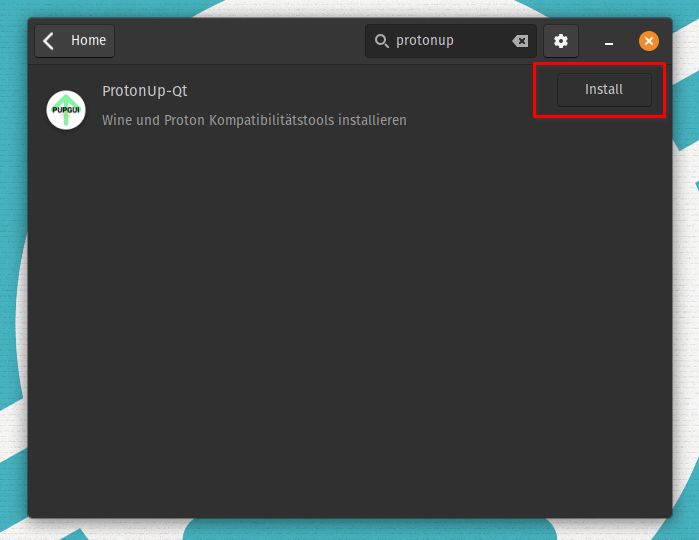
ProtonUP-Qt is available as a Flatpak in the Pop!_Shop. Launch the Pop!_Shop, search for "ProtonUp, and click the Install button.
GameHub
GameHub is a game launcher that can use different compatibility layers like Wine/Proton, DOSBox and other tools. It can hook into Steam, GOG and other sources. It is written in Vala and you can read more about it here.
Install GameHub From Command Line
Open the Terminal application by searching for Terminal after pressing the Super Key //SUPER.

Once the Terminal application is opened you can use the Command Line tool apt to search for it like so:
apt search gamehub

Once we find the right name for GameHub we can install it with apt as well. Please type this command into the terminal and press Enter:
sudo apt install gamehub
Install GameHub From the Pop!_Shop
Open the Pop!_Shop application then either search for GameHub, or navigate to the GameHub page by clicking the GameHub icon on the Pop!_Shop home page. Now click the Install button.
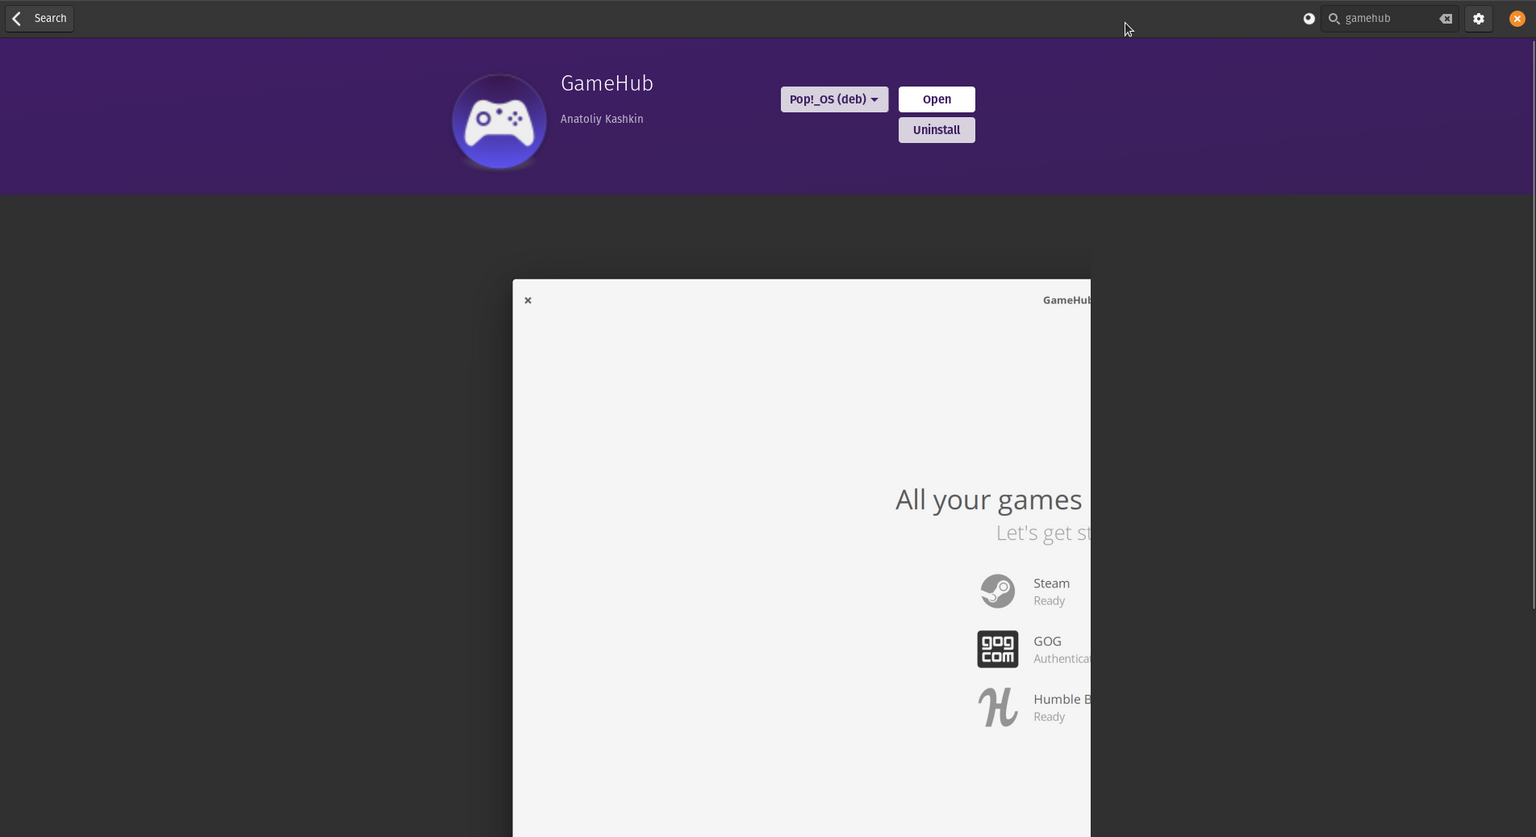
Once installed, use the Applications button to search for and run GameHub.
Lutris
Lutris is a game launcher, written in Python, that is very similar to GameHub, though it also has its own community that writes installer scripts like the WoW installer.
You can read more about Lutris here.
Install Lutris From Command Line
Open the Terminal application by searching for Terminal after pressing the Super Key //SUPER.

Once the Terminal application is opened you can use the Command Line tool apt to search for it like so:
apt search lutris

Once we find the right name for Lutris we can install it with apt as well. Please type this command into the terminal and press Enter:
sudo apt install lutris
Install Lutris From the Pop!_Shop
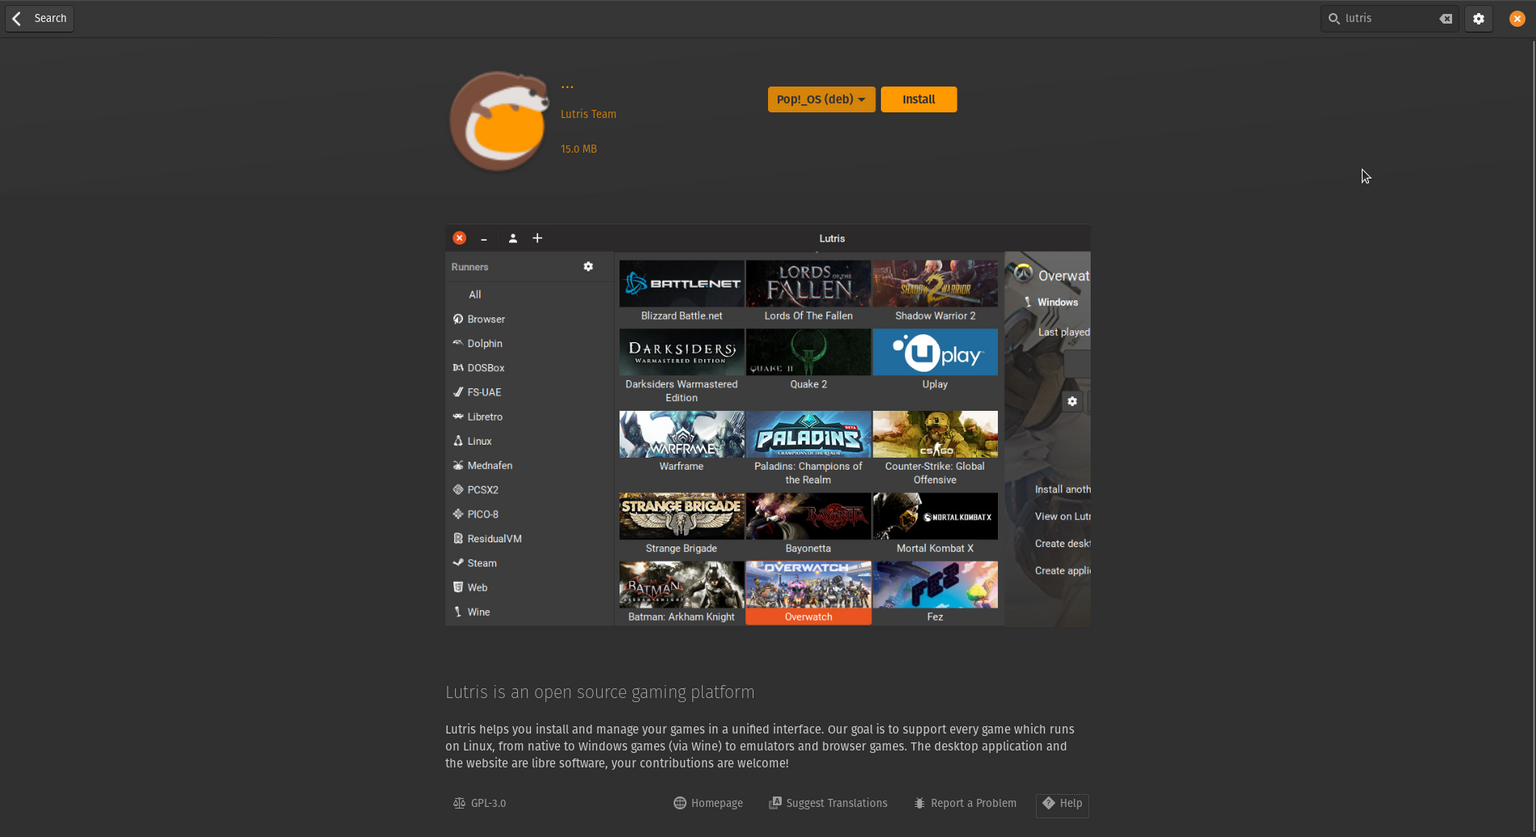
Open the Pop!_Shop application then either search for Lutris or by clicking the Lutris icon on the Pop!_Shop home page. Now click the Install button.
Using GameHub
Using Steam on GameHub
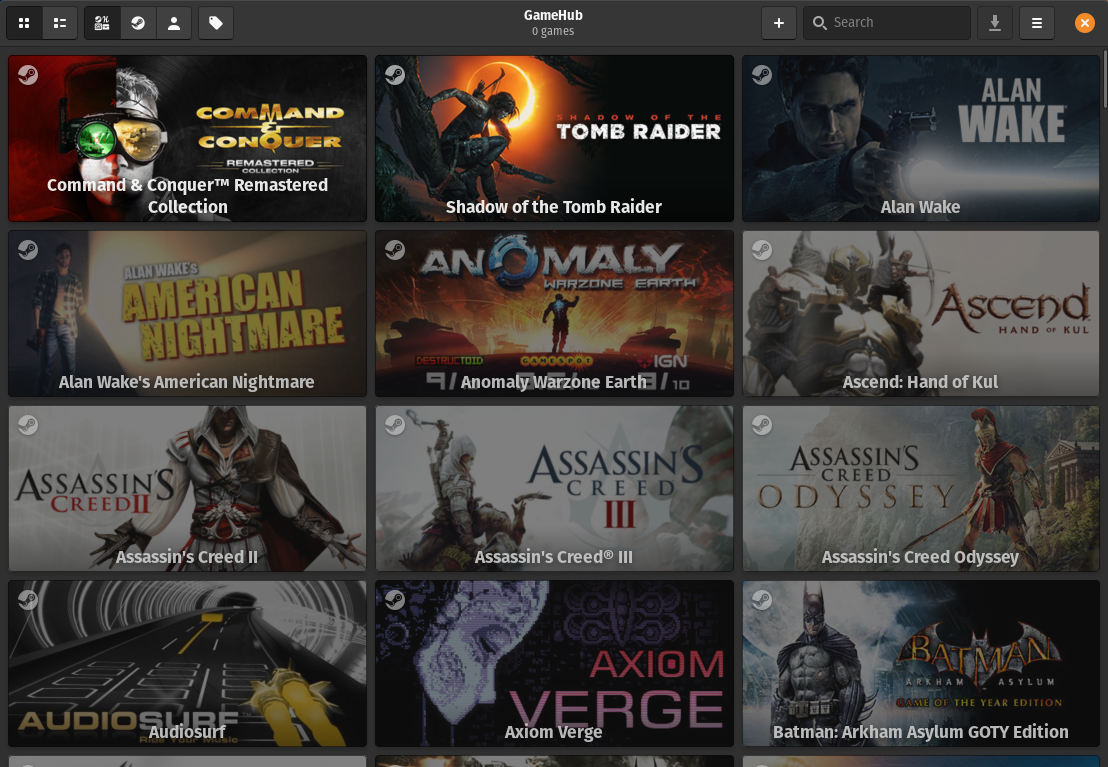
Once you sign into Steam though GameHub your games will be displayed. Note that games will be slightly discolored if they aren't installed. Notice, in this example, that the two, top left games are installed on this system.
Using Lutris
Finding Install Scripts
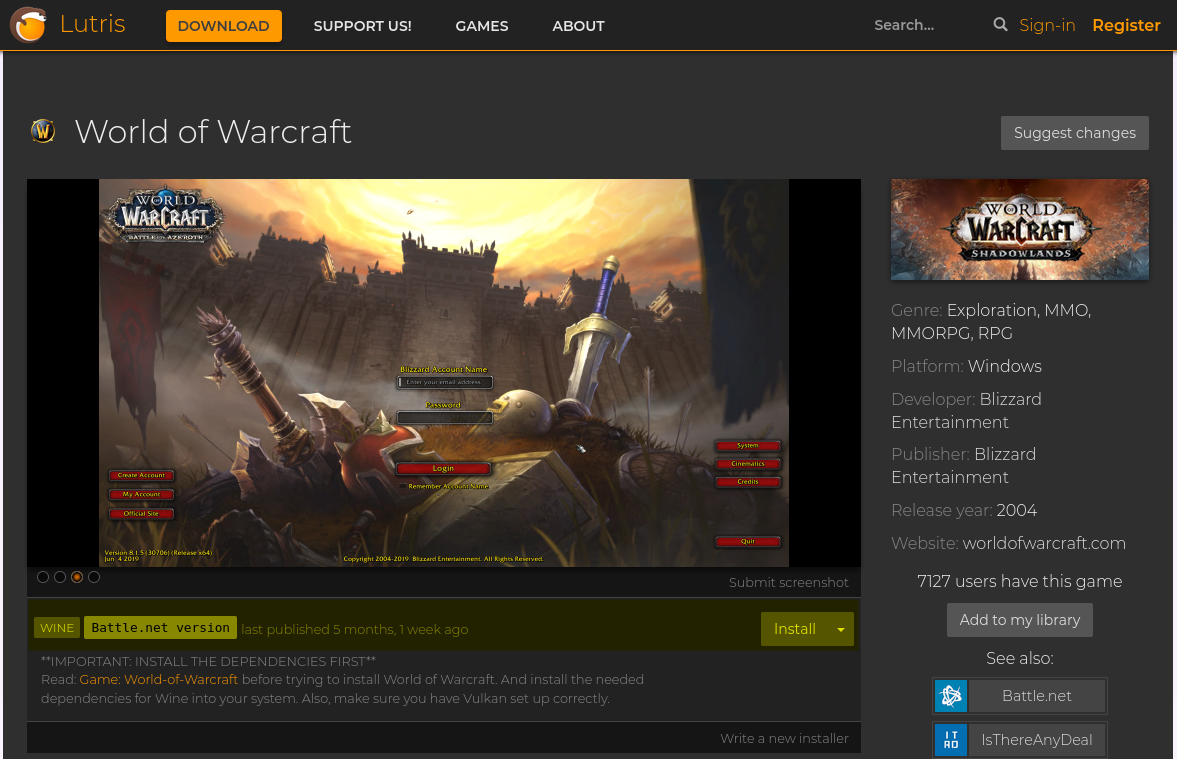
Some games like World of Warcraft (WoW) have installers on Lutris' website (see screenshot below).
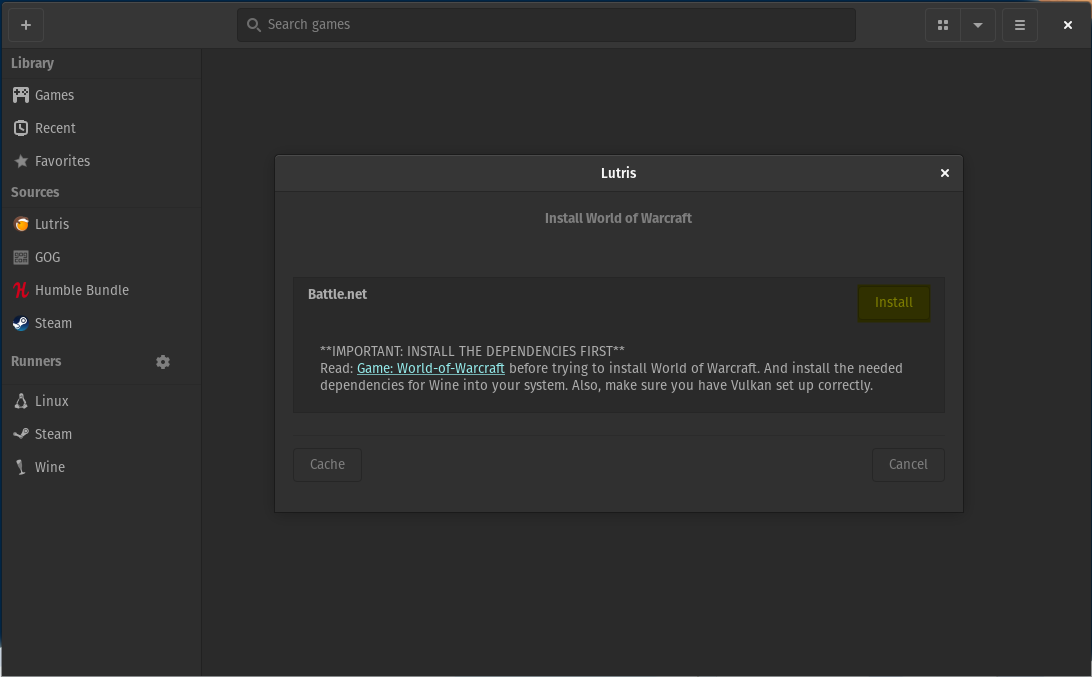
With Lutris installed you can click the Install button to start the installer script. A pop-up window will appear asking to use Lutris as the application to run the installer.
Use Lutris to open the installer (shown below). From there click the Install button to start the installation.
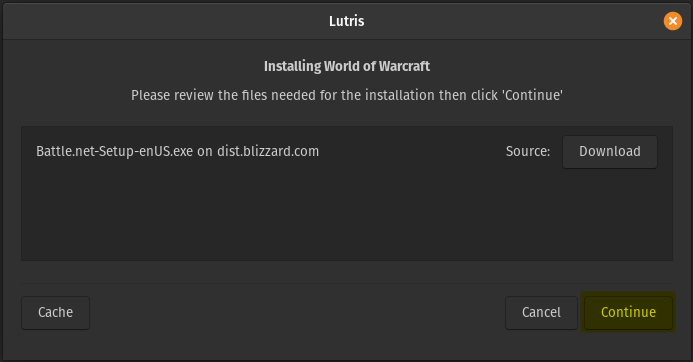
Next, click the Continue button to start the installation of Battle.net
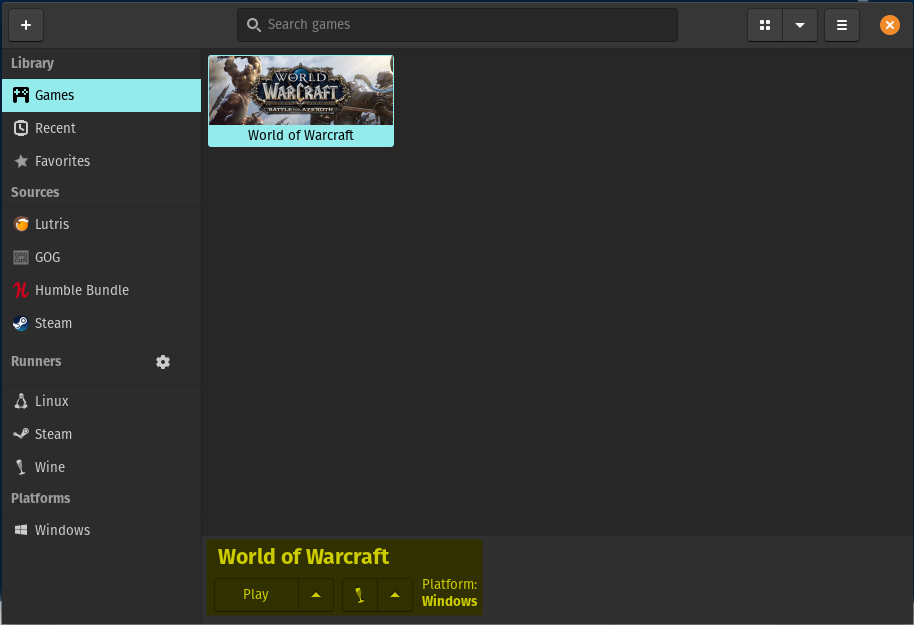
You will need to install some WINE packages during the installation of Battle.net.
IMPORTANT NOTE: Close Battle.net to complete the installation then reopen it to sign into your account.
Now that Battle.net is installed, you can select WoW from your Games and launch Battle.net with the Play button.
Once Battle.net launches you can finish the World of Warcraft installation.
NOTE: If you run two installer scripts for games from the same launcher application (e.g. Battle.net, uPlay, EA Origin, etc.) Lutris will install multiple copies of that launcher in separate folders inside the virtual C:\ drive. This shouldn't prevent the games from being installed, just be mindful of hard drive space, and pay attention to where Lutris is installing game files. Overwatch could end up in the same general area as World of Warcraft, or in two separate folders, each with their own Battle.net install. This means that clicking on Overwatch, or World of Warcraft will both launch Battle.net but one may show Overwatch as installed, and the other may show only WoW as installed, or vice-versa.
Using .exe files
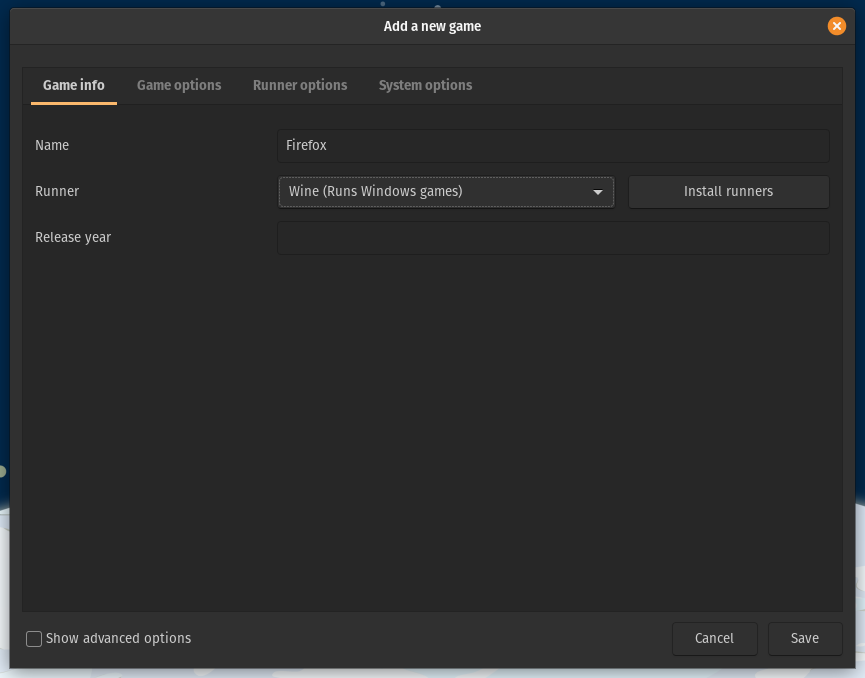
In this example we'll be using the Windows build of Firefox to show the power of both Wine/Proton and Lutris. From the Game Info screen when adding a game we'll set the Name and Runner (you can read more about Runners here).
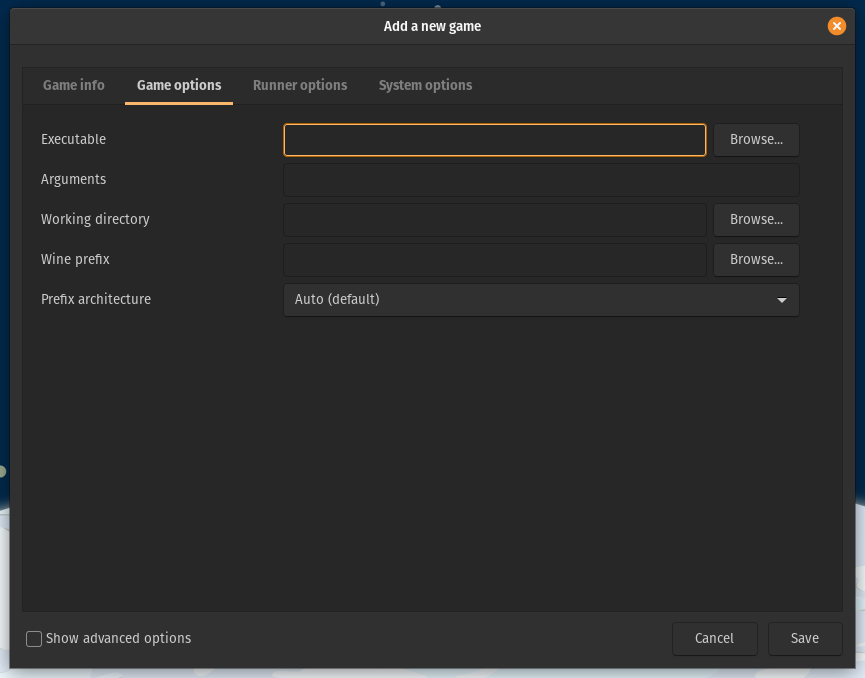
In the Game Options tab we'll set the path to the Executable (the .exe file extensions is short for executable) and we'll choose the firefox setup [version].exe file downloaded from the Firefox website (it will be in your ~/Downloads folder by default). For this example, we can leave the rest of the boxes empty in the other tabs and close this window.
Now click on the Firefox item in Lutris and then press the Play button. Once the install is finished be sure to unclick the checkbox at the end of the installer. Once the installer closes, right-click on the Firefox item and hit the Configure button. Now change the Executable path to ~/.wine/drive_c/Program Files/Mozilla Firefox/firefox.exe using the Browse... button. Otherwise, every time you launch Firefox, it will run the setup wizard again, instead of the newly installed Firefox.exe.
NOTE: You will need to hit Ctrl+H to show the hidden
.winefolder when setting the Executable path first.
Now save and launch Firefox again with the Play button. After waiting for a few seconds a Firefox window should open.
Open Source Games
Unvanquished
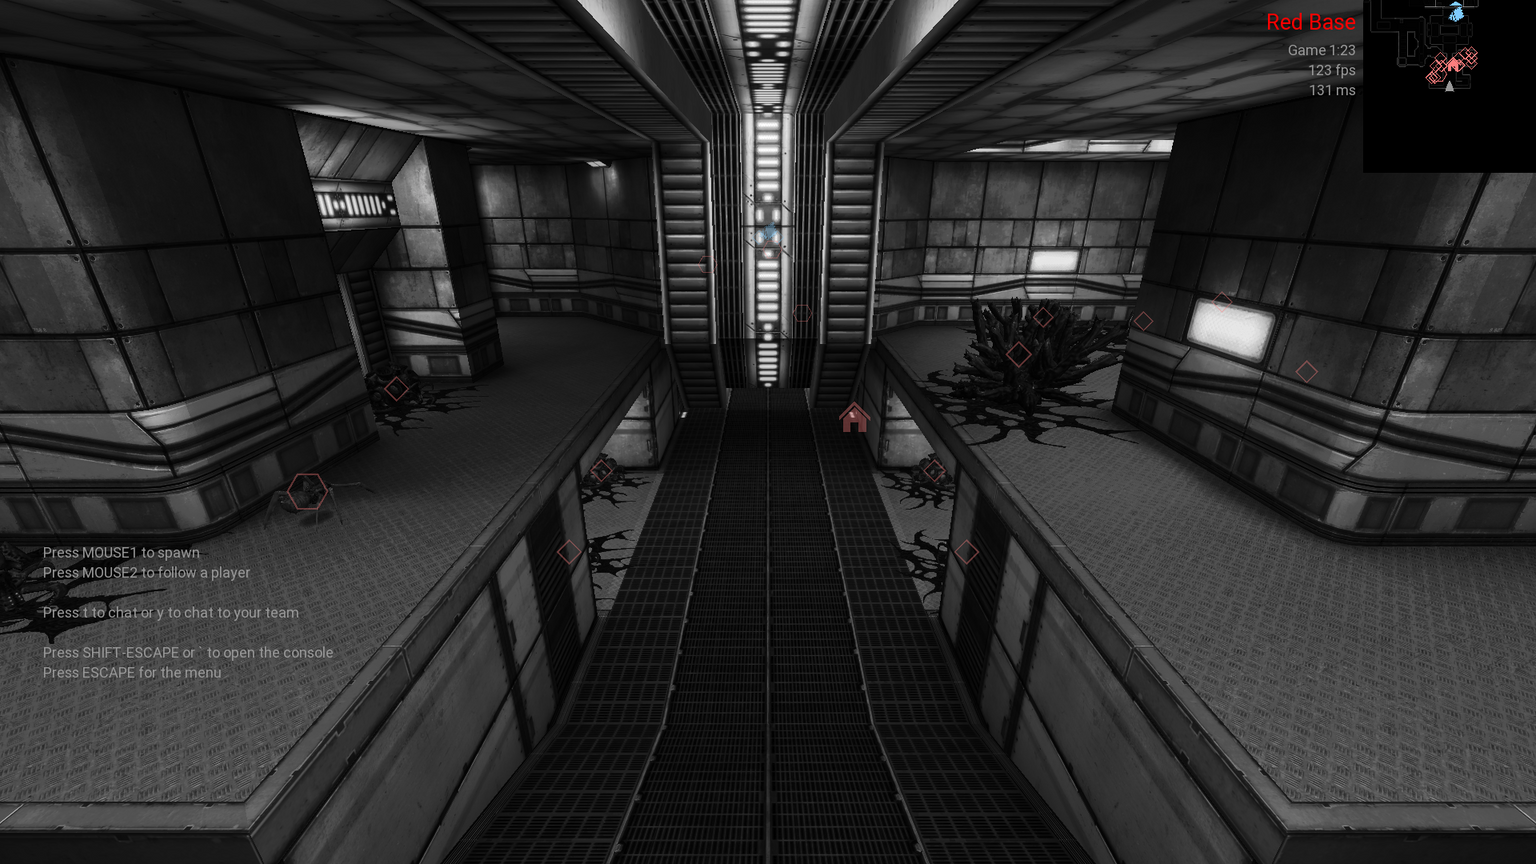
Unvanquished is a free, open-source first-person strategy game/shooter written in C++. You can read more about Unvanquished, and how to install it on their website here.
Veloren
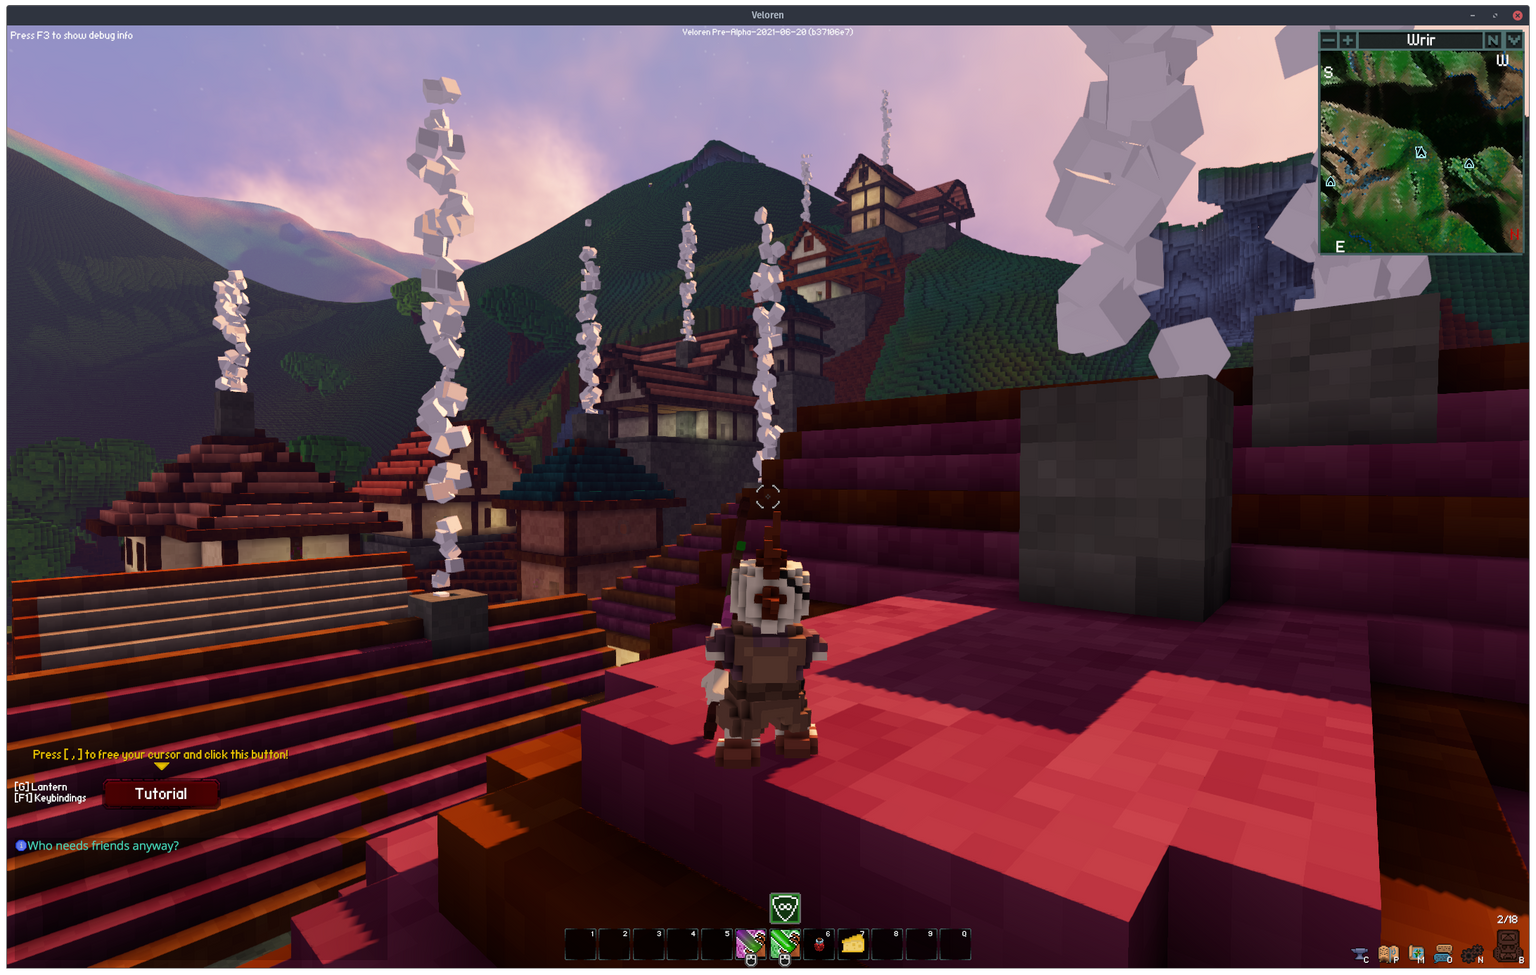
Veloren is a multiplayer RPG which is written in Rust. You can read more about it and about installing it on their website here.
0 A.D
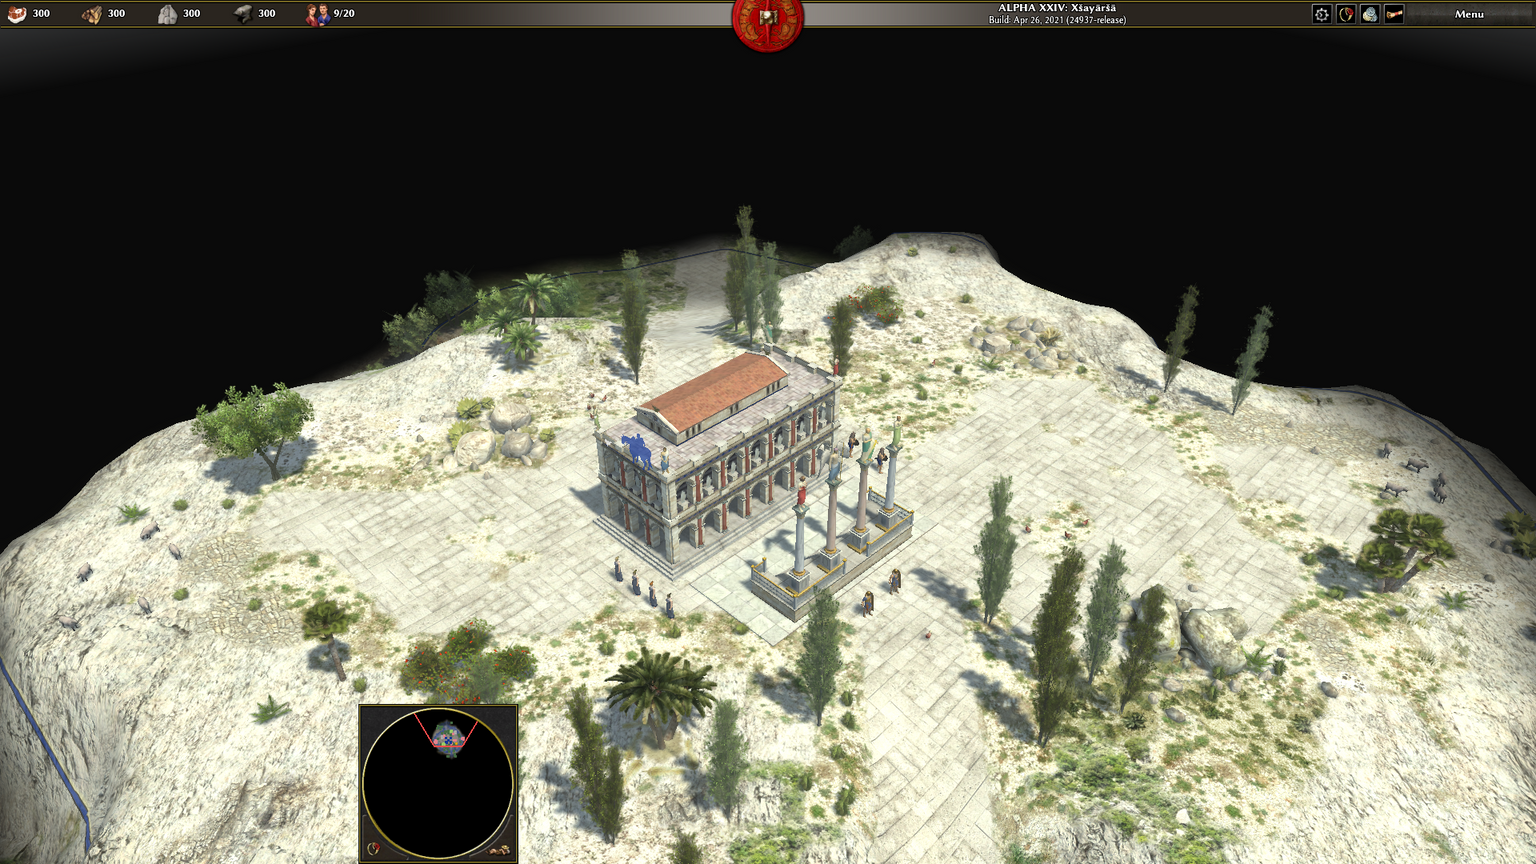
O A.D. is a free, open-source game of ancient warfare written in C++. You can read more about it and about installing it on their website here.
Battle for Wesnoth
Battle for Wesnoth is an open source, turn-based strategy game with a high fantasy theme. You can read more about it and about installing it on their website here.
