Support Articles
Augmented Reality Sandbox
The Augmented Reality Sandbox was developed by Oliver Kreylos at UC Davis.
In hopes of giving this awesome software wider exposure and making it easier to consume, System76 packaged this software for Pop!_OS and wrote this tutorial.
Required Hardware
-
A first generation Kinect
-
A short-throw digital projector like the BenQ MW632ST
-
A sandbox for your sand (our sandbox is 40 inches by 30 inches by 8 inches)
-
Roughly 200 pounds of white sand like Sandtastik White Sandbox Sand
-
A System76 computer with a fast NVIDIA GPU, running Pop!_OS 22.04 or newer.
In terms of System76 computers we recommend the Oryx Pro laptop or Thelio desktop with a dedicated GPU.
Install Software
-
You'll need a computer running Pop!_OS 22.04 or newer.
-
Then install ArSandbox via the terminal
All of the terminal commands in this guide can be copy-pasted or typed into your terminal.
sudo apt-get update
sudo apt-get install arsandbox
- Add yourself to the vrui-grp group
sudo adduser $(whoami) vrui-grp
- Reboot your computer so all of the above changes take effect.
reboot
Mirror Display
-
Connect the projector to your computer.
-
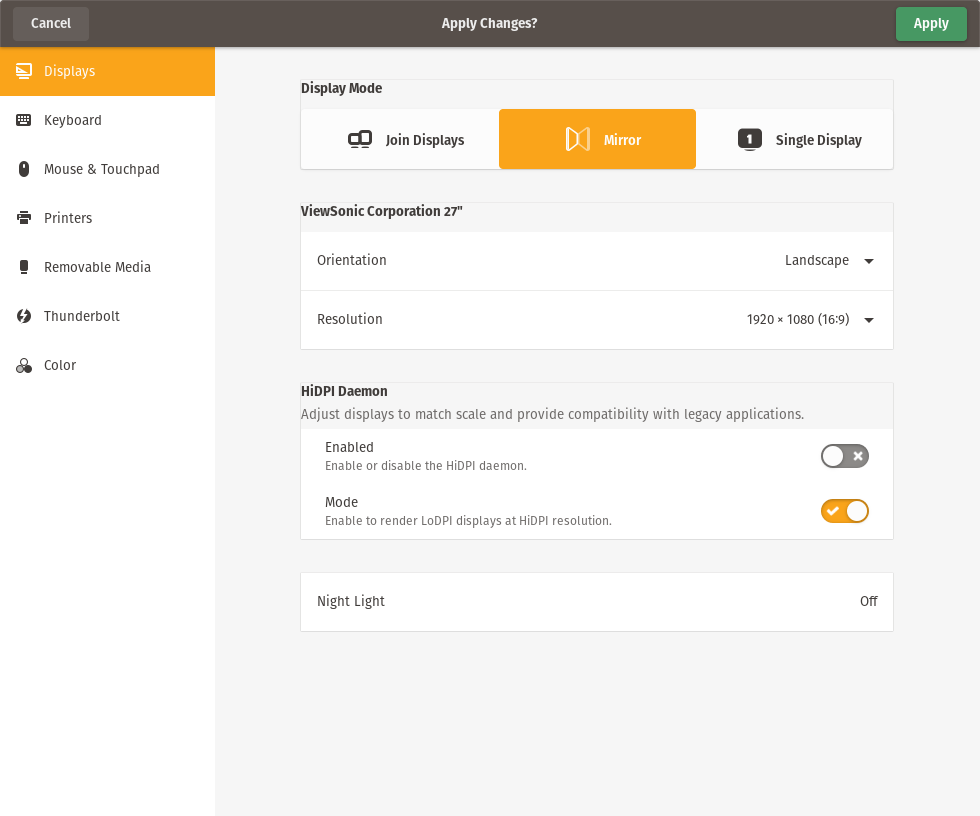
Mirror your computer's display to the sandbox by pressing
Superandpat the same time untilMirroris selected. When released the sandbox should mirror your computer's display.
Calibrate Kinect
- Plug in your first-generation Kinect device, then open a terminal and run:
KinectUtil getCalib 0
This will download the intrinsic calibration parameters directly from your Kinect's firmware and then write the result to a file in /etc/Vrui-3.1/Kinect-2.8/.
Note: if you receive a "Kinect Error 13" message, you may need to power-cycle the Kinect, the computer, or both.
Align Kinect above sandbox
- Open a terminal and run:
RawKinectViewer -compress 0
- Maximize this window so it's easier to see your sandbox:
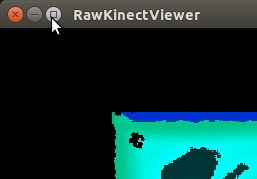
The image on the left is the depth view, the right is the standard camera view:
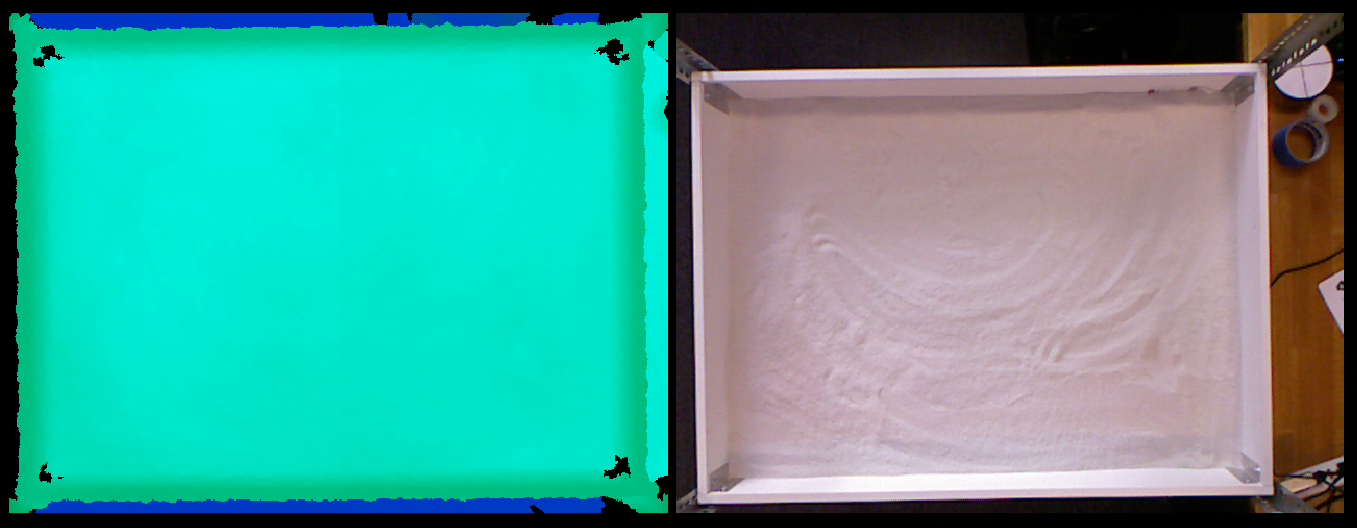
The Augmented Reality Sandbox only uses the depth view (left), but the camera view (right) is still helpful in aligning your Kinect.
-
The depth view needs to cover the entire interior of your sandbox. It's okay if it overlaps it slightly.
-
Hit Esc to close the
RawKinectViewer.
Calculate base plane
- There are two ways to calculate the base plane. If you haven't yet filled your sandbox with sand, you can calculate the base plane using a region on the floor of your sandbox.
On the other hand, if you've already filed your sandbox with sand, you can calculate the base plane by placing a piece of poster board (or a similar flat surface) on top of your sandbox, which is what we'll do in this example:
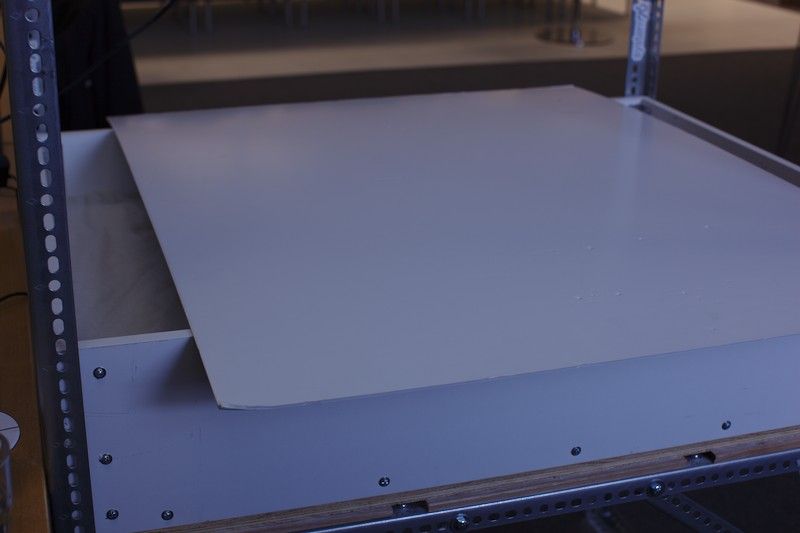
- From a terminal, launch the RawKinectViewer:
RawKinectViewer -compress 0
- Maximize this window so it's easier to see your sandbox:

- Press and hold the right mouse button, move your cursor over Average Frames, then release the mouse button:
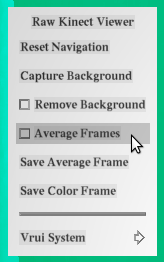
- Press and hold
Shiftand1, move your cursor over Extract Planes, then release both keys. Releasing this key will trigger this action, and assign calibration toShift+1.

-
We now need to run the
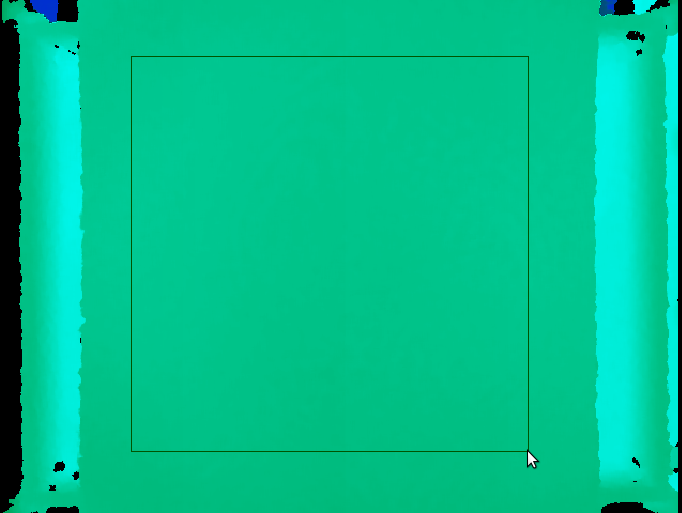
Extract Planesfeature. Hover your mouse over one corner of your flat plane within your sandbox. Now, pressShiftand1, then pressCtrlall at the same time. Drag your mouse from one corner to the opposite corner within the sandbox. There should be a rectangle forming around the path the mouse moved on. -
Now let go of everything at the same time.
-
If successful there will be a new line in your terminal with something like
Camera-space plane equation: X * (0.1234567, -0.1234567, 0.1234567) = -01.1234, if not there is no harm in pressingEscto close the Kinect Viewer, and trying again.
-
Hit Esc to close the RawKinectViewer.
-
In the terminal you'll see two lines printed. Select the portion of the 2nd line shown below, then right click and select Copy:

- Edit the BoxLayout.txt file by running this command from the terminal:
sudo gedit /etc/SAR*/BoxLayout.txt
- Paste the line you just copied over the first line in the
BoxLayout.txtfile.
You also need edit this line, replacing the "=" (equal sign) with a "," (comma).
You should end up with a first line something like this:

-
Save the file and close
gedit. -
NOTE: If you receive an error message regarding an "invalid taken character," please double-check to make sure the equal sign in
BoxLayout.txthas been replaced with a comma as described above.
Measure 3D extents of sand surface
-
If you used a flat surface above your sandbox in the previous step, remove that now. The projector's display should seen on the sand before this next step is started.
-
This step requires you to have filed your sandbox with sand. You want the sand surface to be as level as possible, but it doesn't need to be perfectly level.
If you placed a piece of poster board (or another flat surface) on top of your sandbox in the previous step, you'll need to remove it for this step.
- From a terminal, again launch the RawKinectViewer:
RawKinectViewer -compress 0
- Maximize this window so it's easier to see your sandbox:

- Press and hold the right mouse button, move your cursor over Average Frames, then release the mouse button:

- Press and hold the
Shiftand1, move your cursor over Measure 3D positions, then release both keys,

-
You'll now measure the 3D extents of the interior of the sandbox
-
Use the color-coded depth map to make sure you position your cursor over the sand surface and not over the sides of your sandbox. Position your cursor so that there's a small amount of space between the sand surface and the sides of your sandbox.
First, move your cursor to the lower-left interior corner, then press the 1 key:
Note there is no feedback from the UI when you press the 1 key.

- Second, move your cursor to the lower-right interior corner, then press the 1 key:

- Third, move your cursor to the upper-left interior corner, then press the 1 key:

- Finally, move your cursor to the upper-right interior corner, then press the 1 key:

-
Hit Esc to exit
RawKinectViewer. -
In the terminal you'll see four lines printed (if you don't see this output, repeat this step, making sure to choose points within the green rectangle). You need to highlight these four lines as shown below, then right click and select Copy:

- Edit the
BoxLayout.txtfile by running this command from the terminal:
sudo gedit /etc/SAR*/BoxLayout.txt
- Replace the bottom four lines in BoxLayout.txt with the four lines you just copied, so you end up with something like this:

- Save the file and close
gedit.
Postition projector
-
If you haven't already, turn on your projector and plug it into your computer.
-
If you have a dedicated display in addition to the projector, you'll find it easier if you set up the two displays to be mirrored:
- Launch the XBackgroud tool from a terminal like this:
XBackground
-
Then set the background to be fullscreen. (Press
F11orFnandF11) -
You'll need to position the projector so that it fills the interior of your sandbox. It's okay if it overlaps slightly.
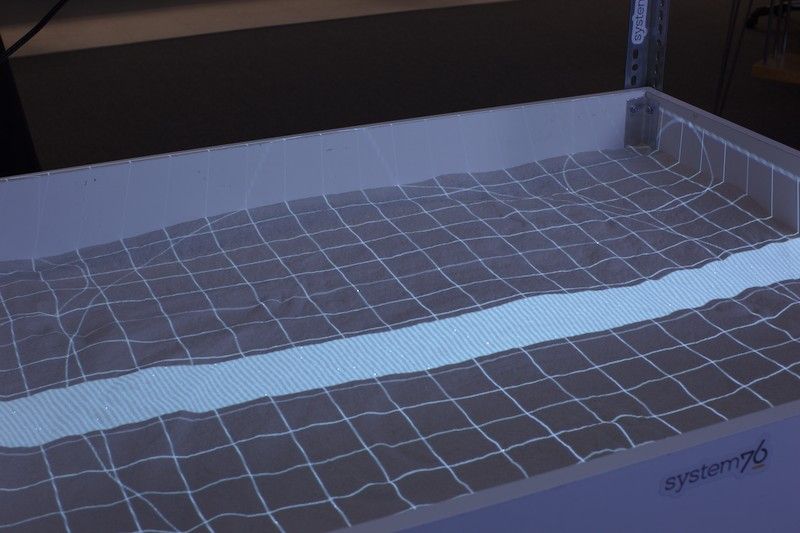
After you're done positioning your projector, hit Esc to close the XBackground application.
Calibrate AR Sandbox
-
As with step 5, this step requires you to have filled your sandbox with sand. You want the sand surface to be as level as possible, but it doesn't need to be perfectly level.
-
To calibrate your sandbox, you'll need an alignment target and several spacers to help you perform the alignment at multiple heights:
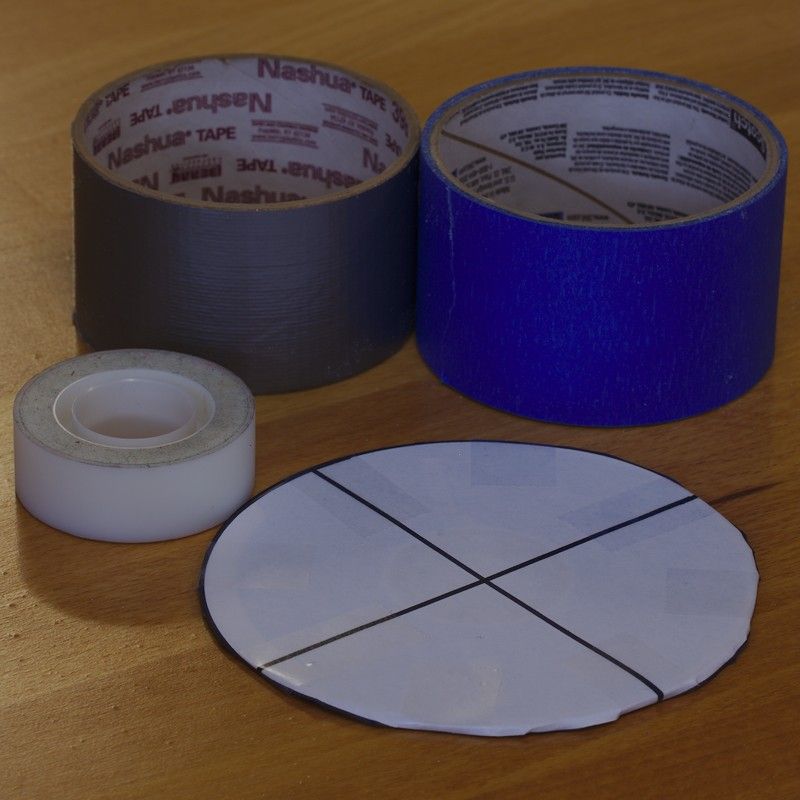
The easiest way to build an alignment target is to create a target cross-hair on a piece of paper and tape it to the top of an old CD or DVD. The cross-hairs should be at right angles to one-another and be centered on the CD or DVD.
A few rolls of tape make great spacers. Note the rolls of tape need to have a diameter smaller than the CD or DVD you're using for the alignment target.
At each height, you'll capture 12 tie-points. For a decent calibration, you'll need to capture tie-points at at least two heights (24 total tie-points). For an optimal calibration, we recommend capturing tie-points at three different heights (36 total tie-points).
- Launch
CalibrateProjectorfrom a terminal like this:
CalibrateProjector -s WIDTH HEIGHT
Replacing WIDTH and HEIGHT with the settings for your projector. The Kinect itself has a 4:3 aspect ratio, so a resolution like 1024x768 or 1600x1200 is best.
To match the resolution of the laptop we used in this tutorial, we set our projector to 1920x1080, but our particular BenQ projector allows us to force a 4:3 aspect ratio even when the resolution is a 16:9 aspect ratio. So in our case, we launched CalibrateProjector like this:
CalibrateProjector -s 1920 1080
- You MUST maximize the window with
F11otFnandF11
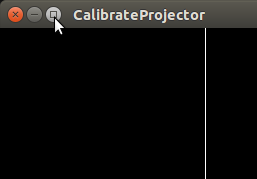
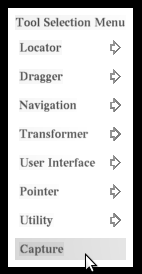
- Press and hold
Shiftand1keys, move your cursor over Capture, then release both keys:
- Then press the
2key when you see this dialog:
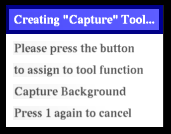
Press the 2 key to capture the background image, after which you'll briefly see a uniform red color projected onto your sandbox:
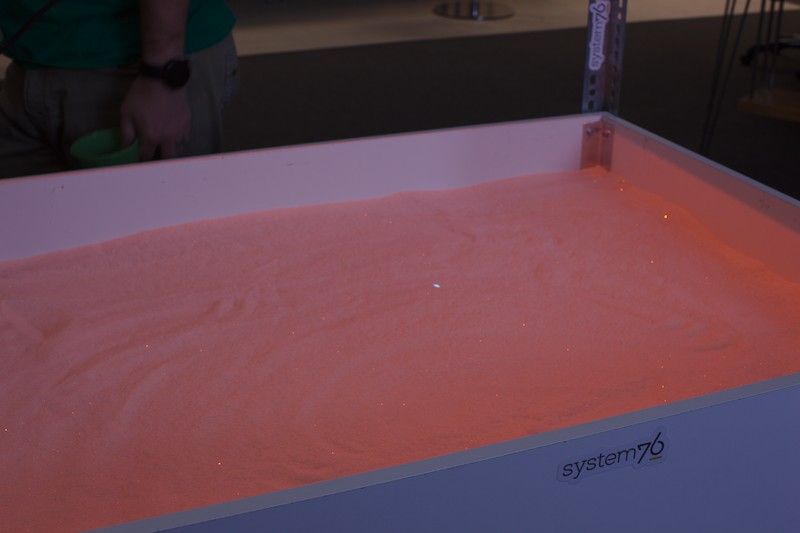
After this is completed, you can proceed with the calibration.
- Next, you'll capture tie-points at the lowest height. Using your shortest spacer, line-up your alignment target under the white cross-hairs projected onto the sand surface. Just set the spacer and only pushing down enough to level the alignment target.
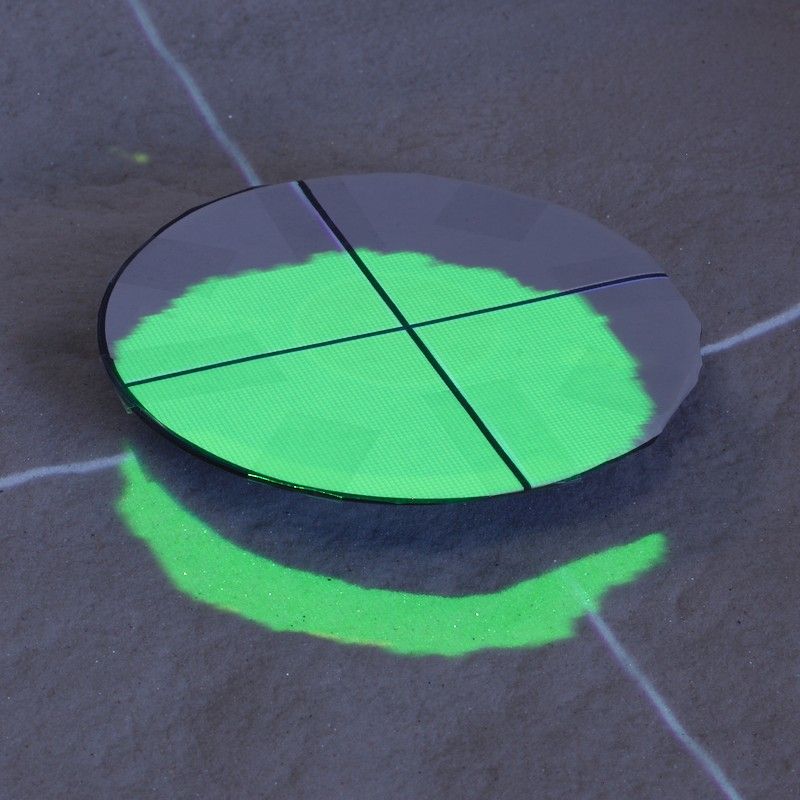
Then press the 1 key to capture this tie-point. After a brief moment, the software will automatically move the projected cross-hairs to the next tie-point.
Repeat this process for the remaining 11 tie-points at this depth. Once the white projected cross-hairs are back at their original position, you're ready to switch to a taller spacer.
- Now you'll capture tie-points at the middle height. Using a taller spacer, line-up your alignment target under the white cross-hairs projected onto the sand surface:
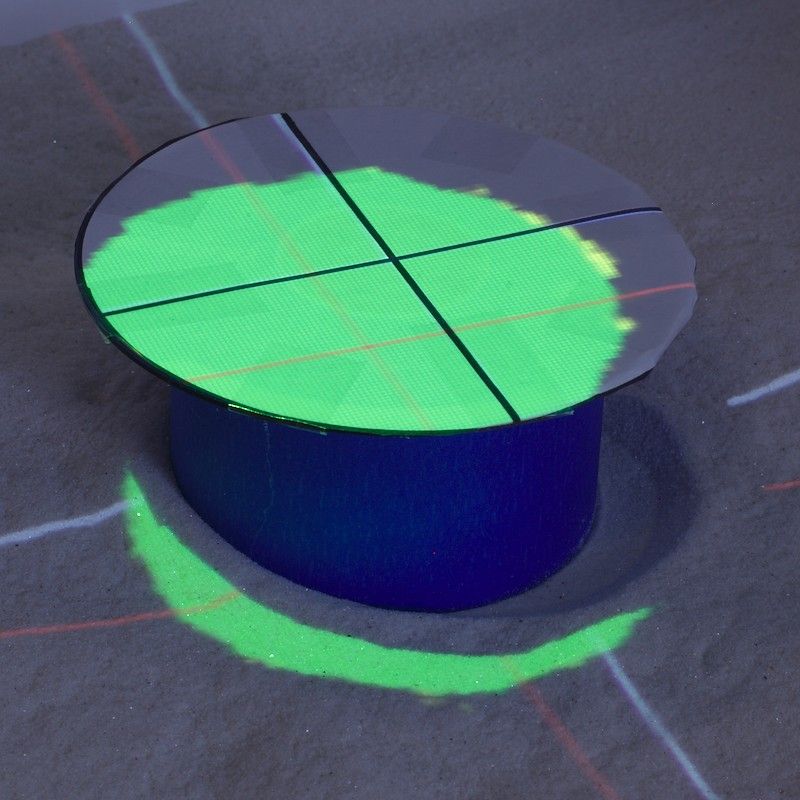
Then press the 1 key to capture this tie-point. After a brief moment, the software will automatically move the projected cross-hairs to the next tie-point.
Repeat this process for the remaining 11 tie-points at this depth. Once the white projected cross-hairs are back at their original position, you're ready to switch to a larger spacer.
- Finally, you'll capture tie-points at highest height. Using your tallest spacer (or stacking two spacers on top of each other), line-up your alignment target under the white cross-hairs projected onto the sand surface:
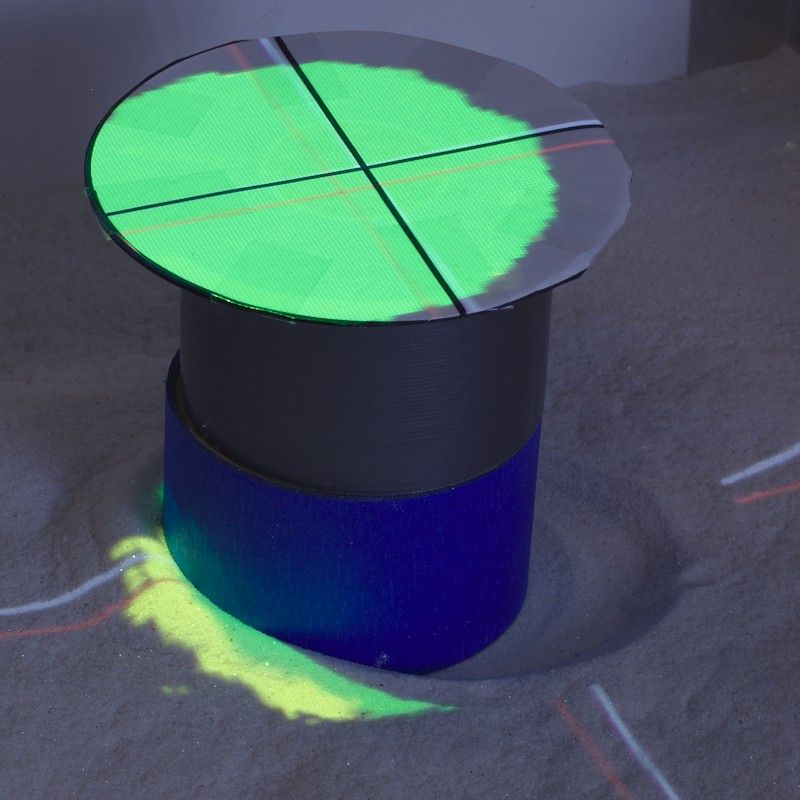
Then press the 1 key to capture this tie-point. After a brief moment, the software will automatically move the projected cross-hairs to the next tie-point.
Repeat this process for the remaining 11 tie-points at this depth. Once the white projected cross-hairs are back at their original position, you're done with the calibration!
- Once you've completed the calibration, hit Esc to close the
CalibrateProjectorapplication.
Hitting Esc will automatically write the calibration file in /etc/SAR*/ProjectorMatrix.dat.
Adjust the "sea level"
- Launch the main
SARndboxapplication by searching for "sandbox" in GNOME Search:
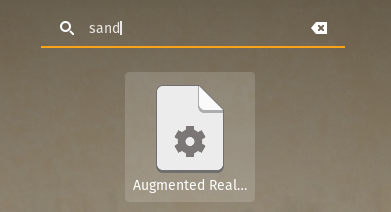
- Then maximize the application so it fills your entire sandbox:
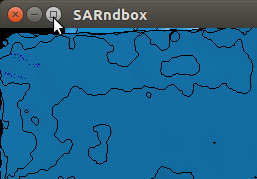
- If in step 4 you calculated the base plane with a piece of poster board (or a similar flat surface) on top of your sandbox, your sea level will be too high, and you'll see something like this:
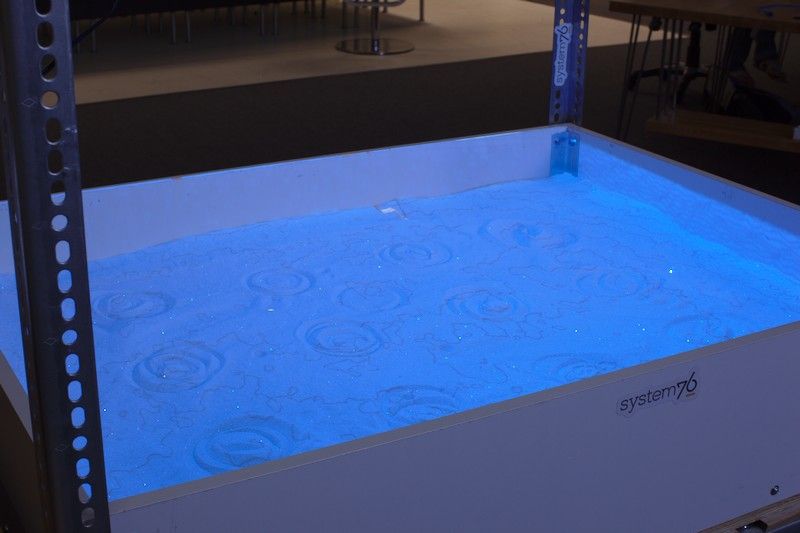
On the other hand, if in step 4 you calculated the base plane when your sandbox was empty, the sea level will be too low. Either way, you'll want to adjust the sea level so it's just below the surface of your sand when it's more or less flattened out.
-
Hit Esc to close the AR Sandbox application.
-
To adjust the sea level, edit the
/etc/SAR*/BoxLayout.txtby running this command from the terminal:
sudo gedit /etc/SAR*/BoxLayout.txt
The value highlighted below in BoxLayout.txt controls the sea-level:

- You'll want to adjust the final value in the first line to be roughly the same as the smallest of the final value on the four lines at the end.
In our example -106.927 is the smallest value:

So we'll set the sea-level to -107, like this:

-
Though this isn't an exact science. Play with your SARndbox and adjust this value to whatever feels the most correct to you. A more negative value will lower the sea level, a more positive one will raise the sea level. In general the adjustments are about +/` 10 of the smallest value.
-
Save the file and close
gedit. -
Re-launch the AR Sandbox application from the Ubuntu dash, maximize the window, and you'll see something like this:
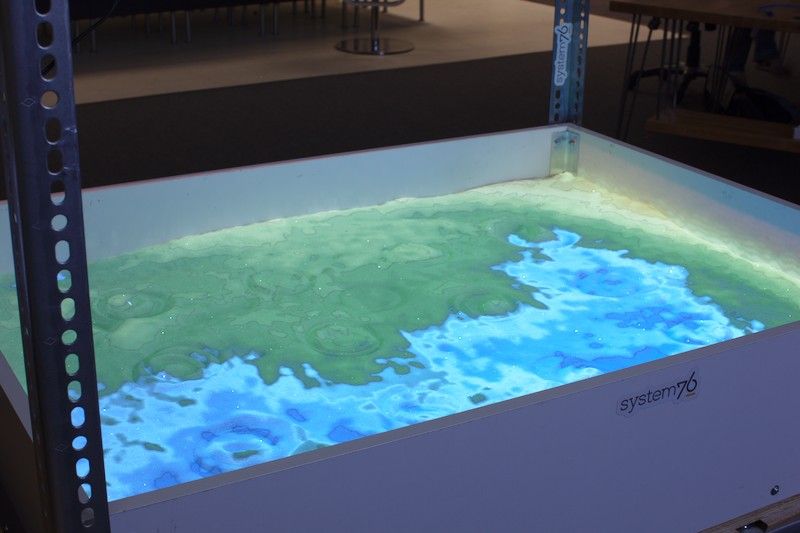
You can experiment with different values for the sea-level to suit your preferences, but our recommendations here will give you a good starting point.
Note that you can adjust the sea level at any time in the future without recalibrating your sandbox.
Use the Sandbox
- Whew! You made it through the setup and calibration!
As long as you don't change the physical setup of your sandbox (in particular, the position of the Kinect, the projector, and the sandbox relative to each other), you never need to calibrate it again. Although now that you have the hang of it, you might want to go through the calibration again in order to achieve a more accurate setup.
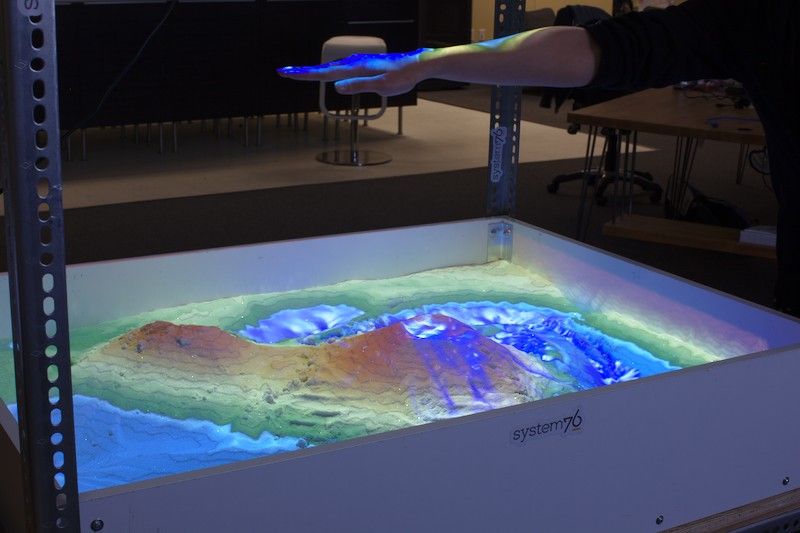
- If you hold your hand above the sand surface (like a cloud), you can "make it rain":
- As a convenience, the System76 packaging for Pop!_/OS includes a launcher you can search for in the GNOME Search:

This is a shortcut to launch SARndbox with the following arguments (which you can also do directly from a terminal):
SARndbox -uhm -fpv -evr -0.01
The -evr -0.01 bit of the above command sets the evaporation rate. Without any evaporation rate set, the sandbox will steadily fill with more and more water as you "make it rain", which eventually will cause the real-time fluid simulation to become slow.
So you typically want to set an evaporation rate, especially when deploying the Augmented Reality Sandbox in schools or museums.
- If our recommended evaporation rate seems too fast for your tastes, try:
SARndbox -uhm -fpv -evr -0.005
If our recommended evaporation rate seems too slow for your tastes, try:
SARndbox -uhm -fpv -evr -0.02
Thanks again to Oliver Kreylos for developing such an incredible, inspiring piece of software!
Be sure to check out the Augmented Reality Sandbox website for more details.