Support Articles
Replace the Thelio Power Button
If you've purchased a new top case for your Thelio (or received one for a support case), you may need to move the power button from your old top case to the new one. Conversely, if you've received a replacement power button, you may need to remove the old power button from your top case and install the new one.
Removing the Power Button
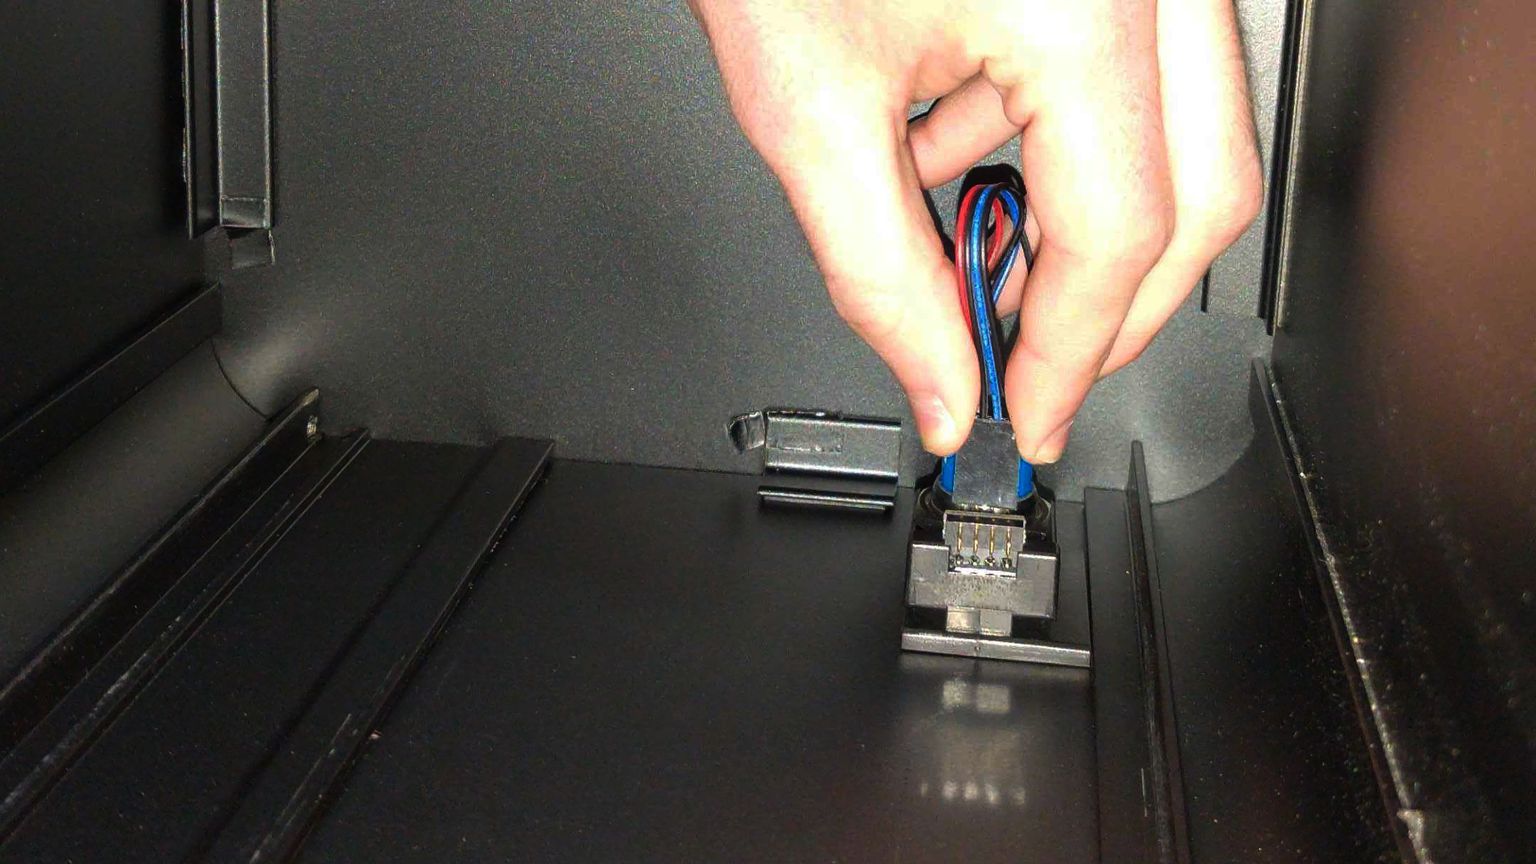
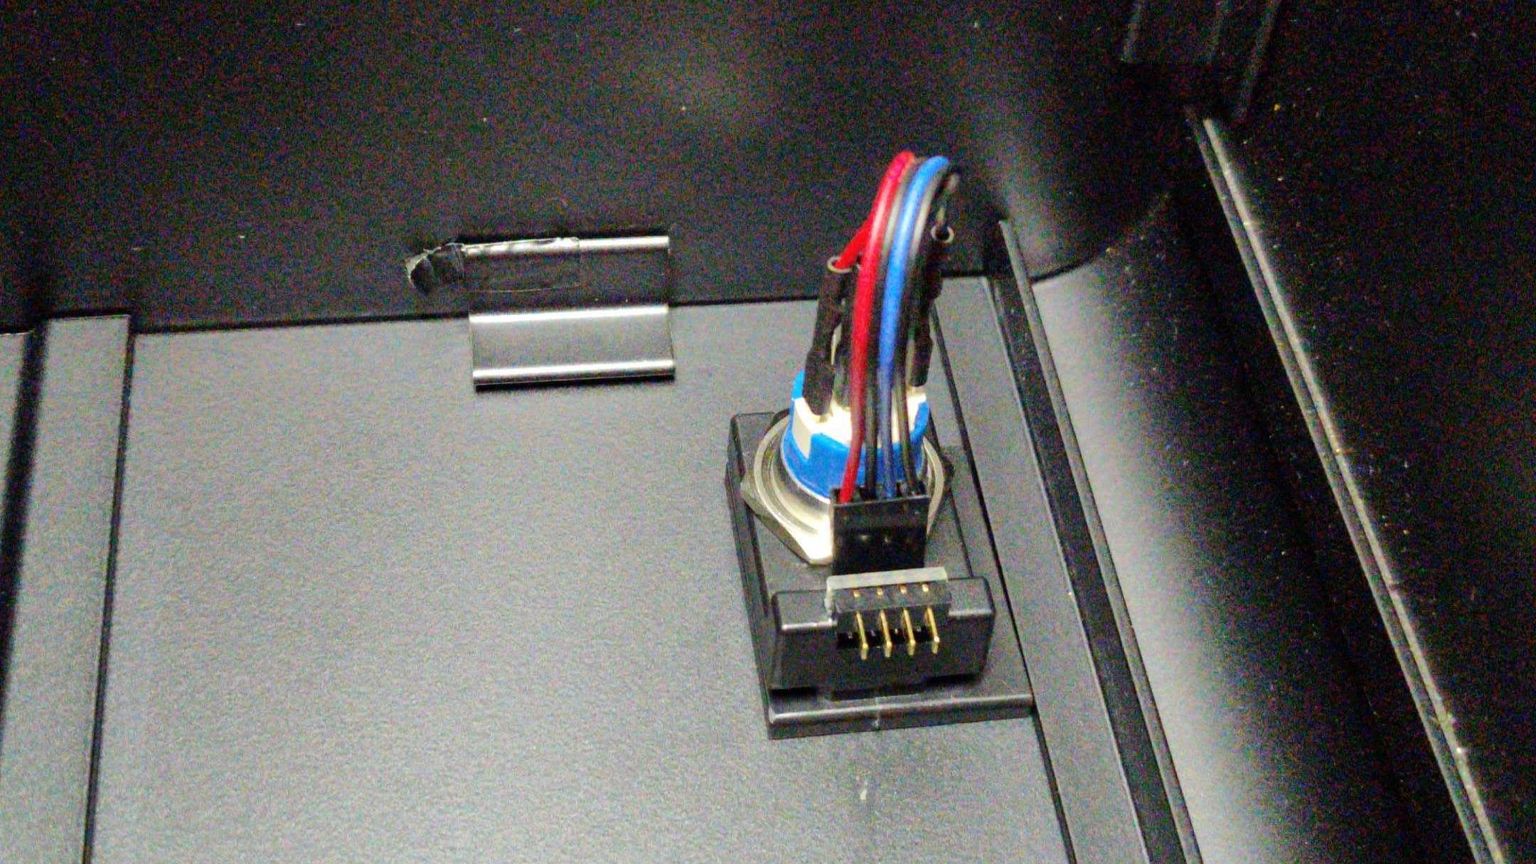
The power button assembly is held on by a single nut inside the case. First, unplug the power button's wire from the 90-degree connector.
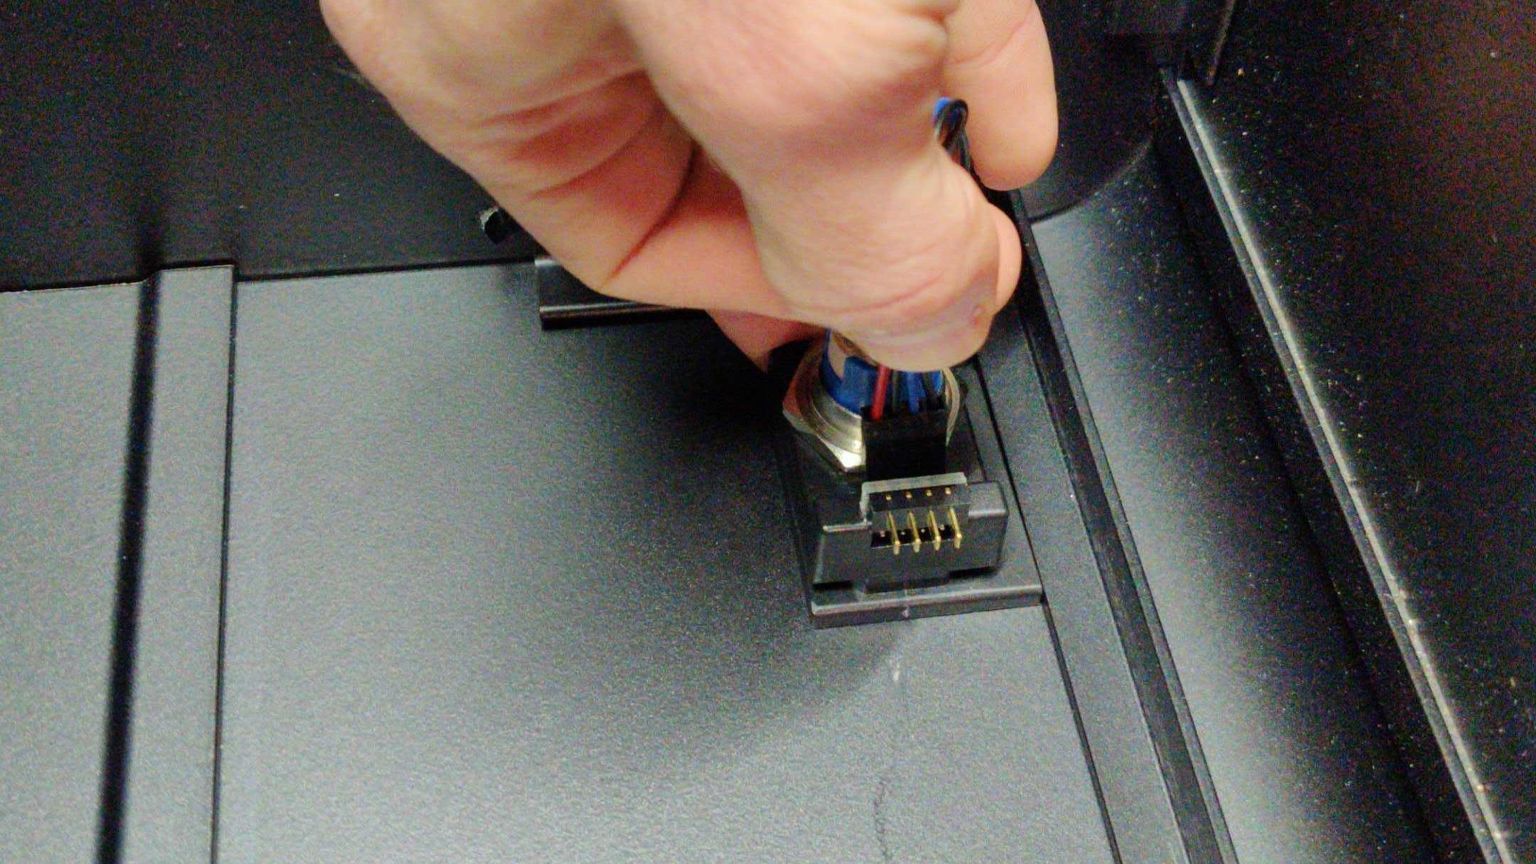
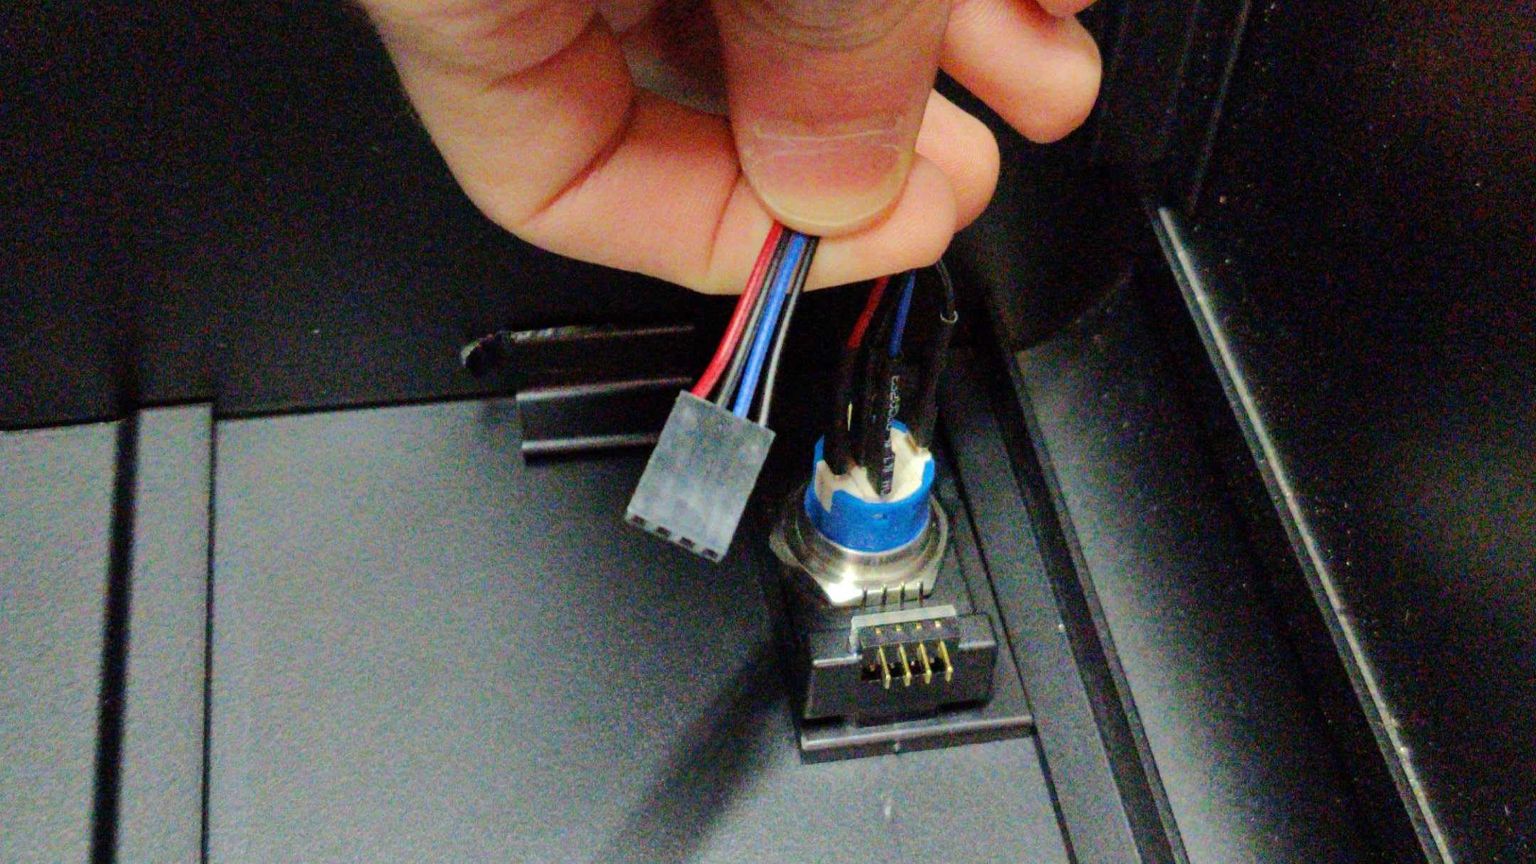
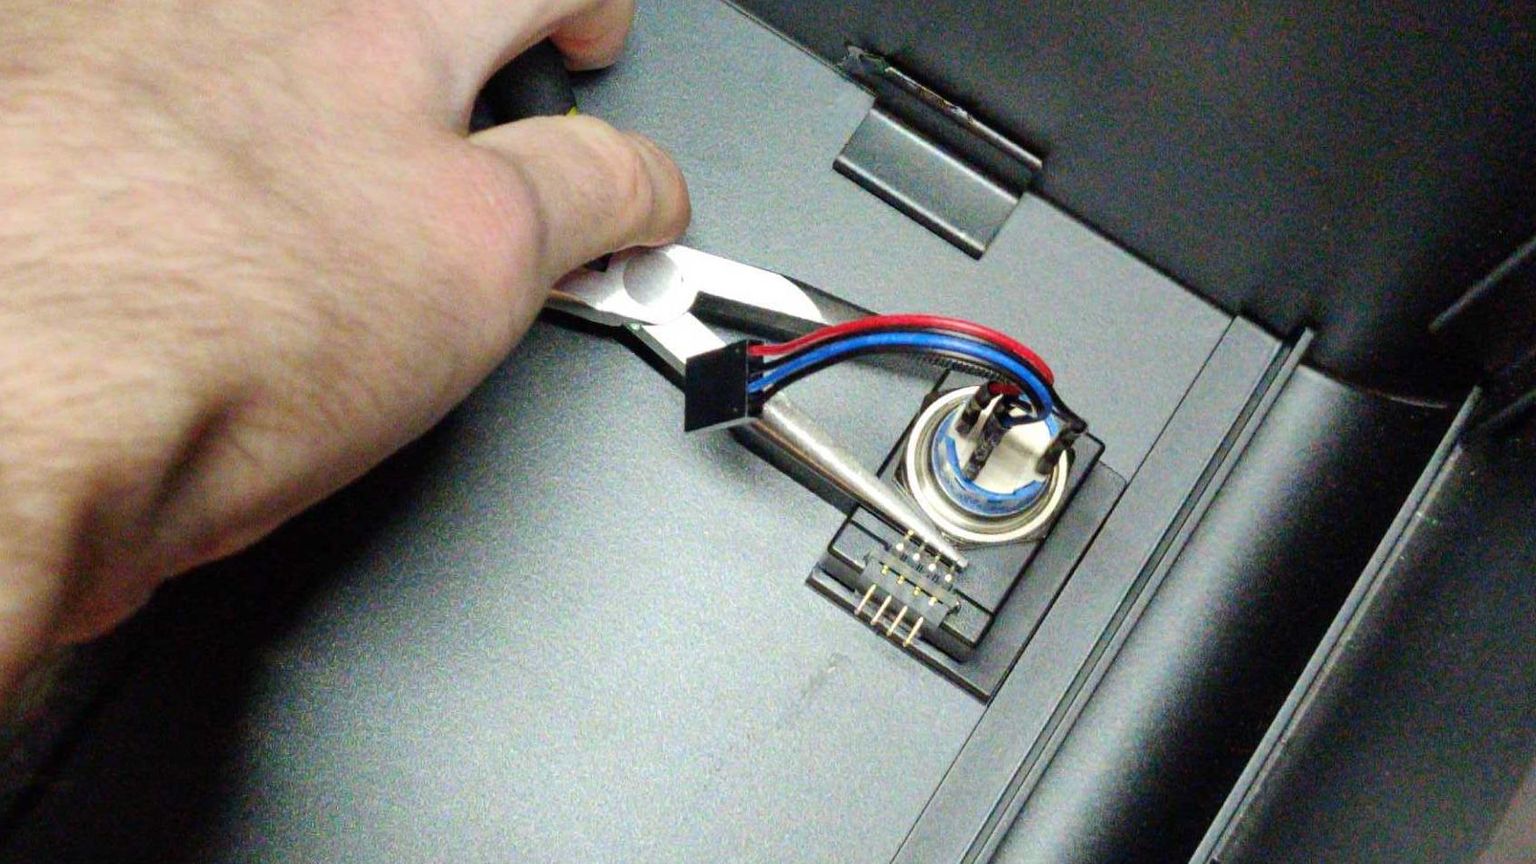
Next, unscrew the nut from the power button. Use a pair of needle-nose pliers to loosen the nut.
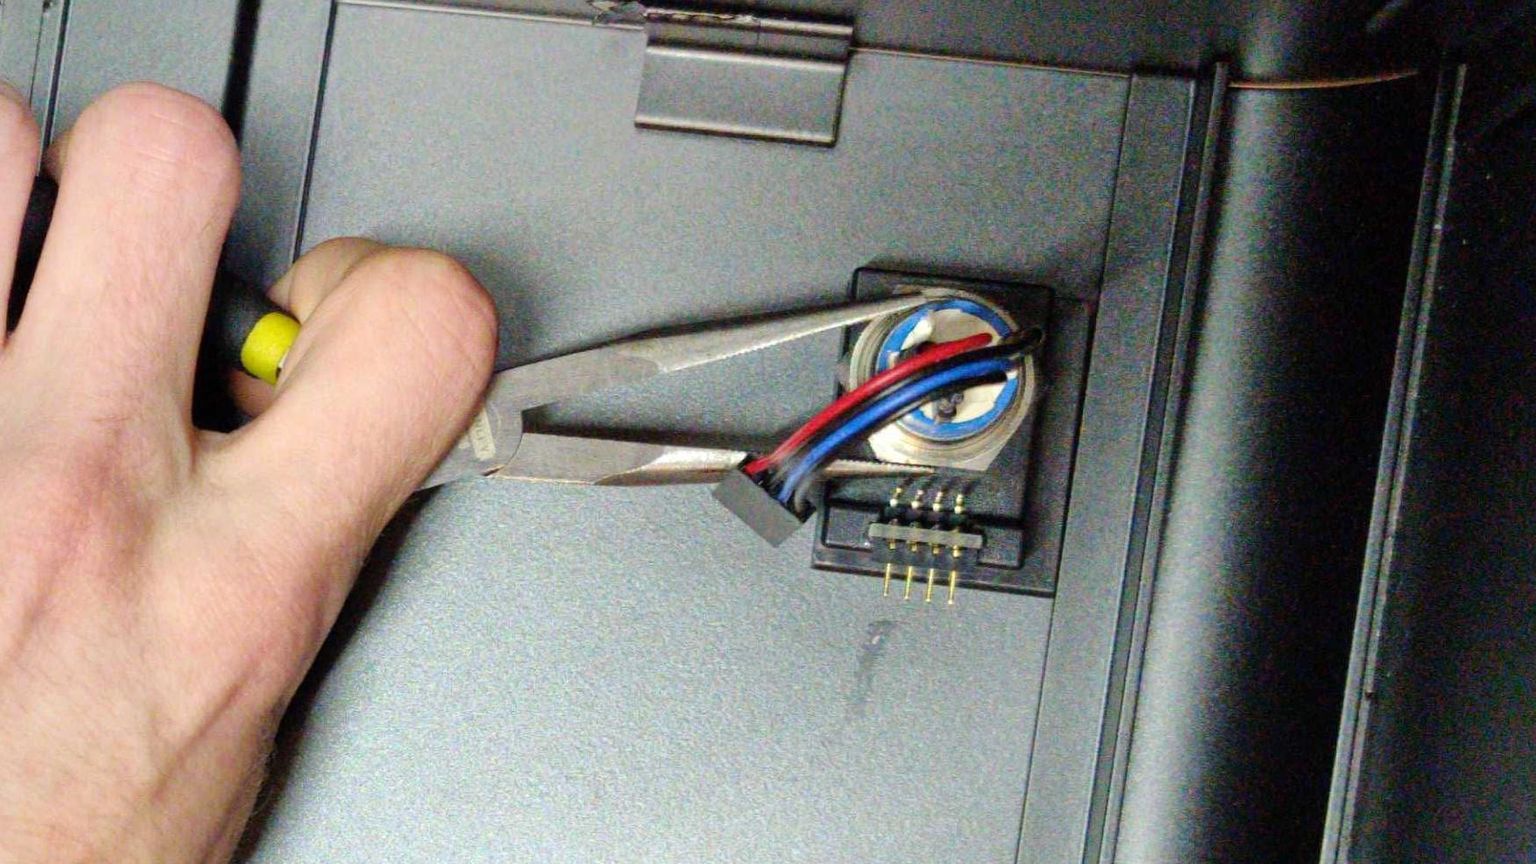
Once the nut has been loosened, use your fingers to remove it the rest of the way.
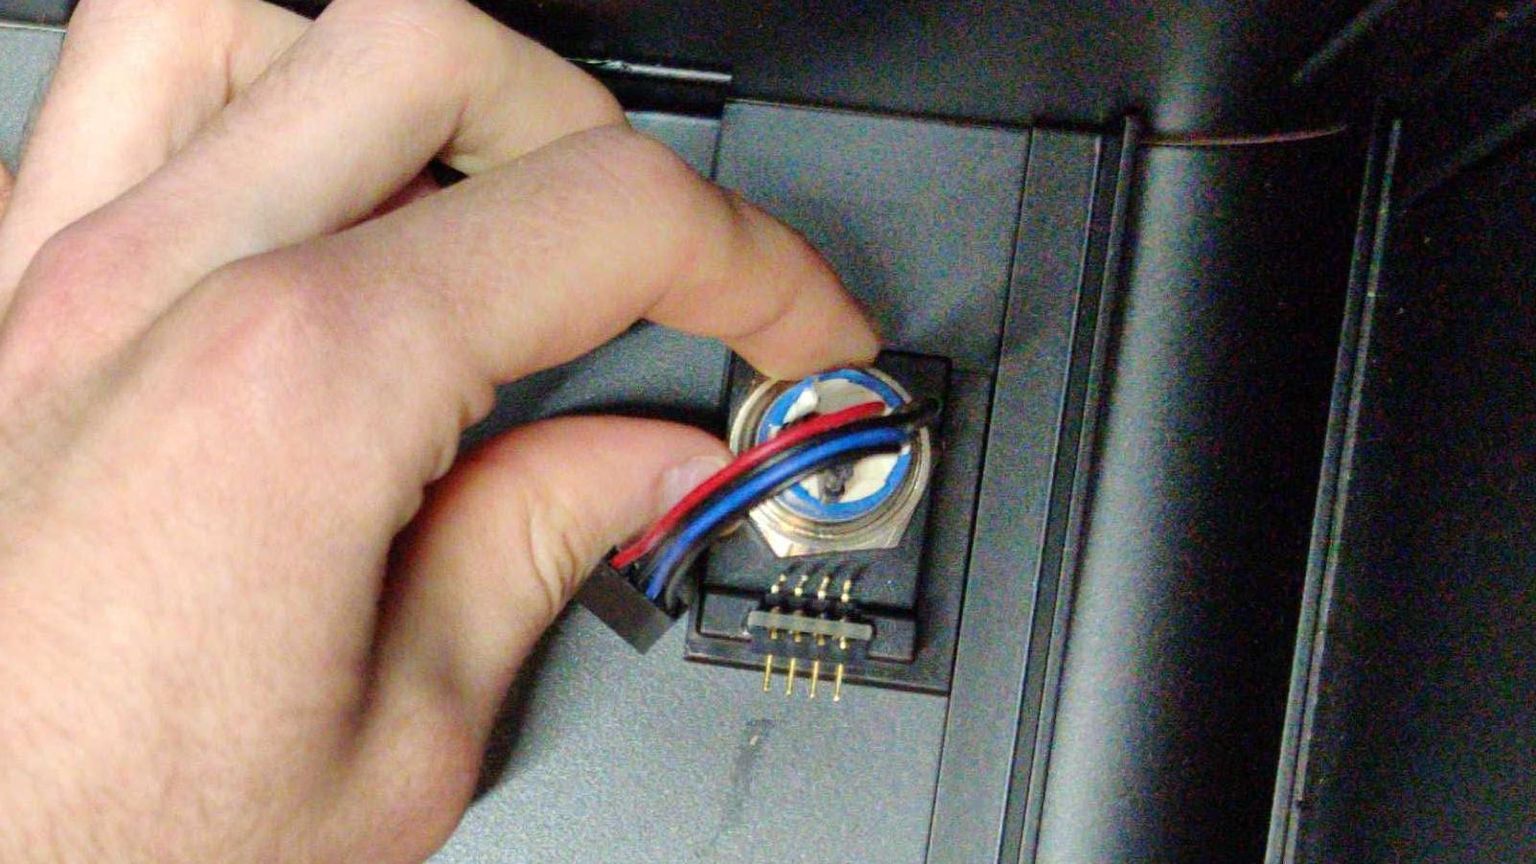
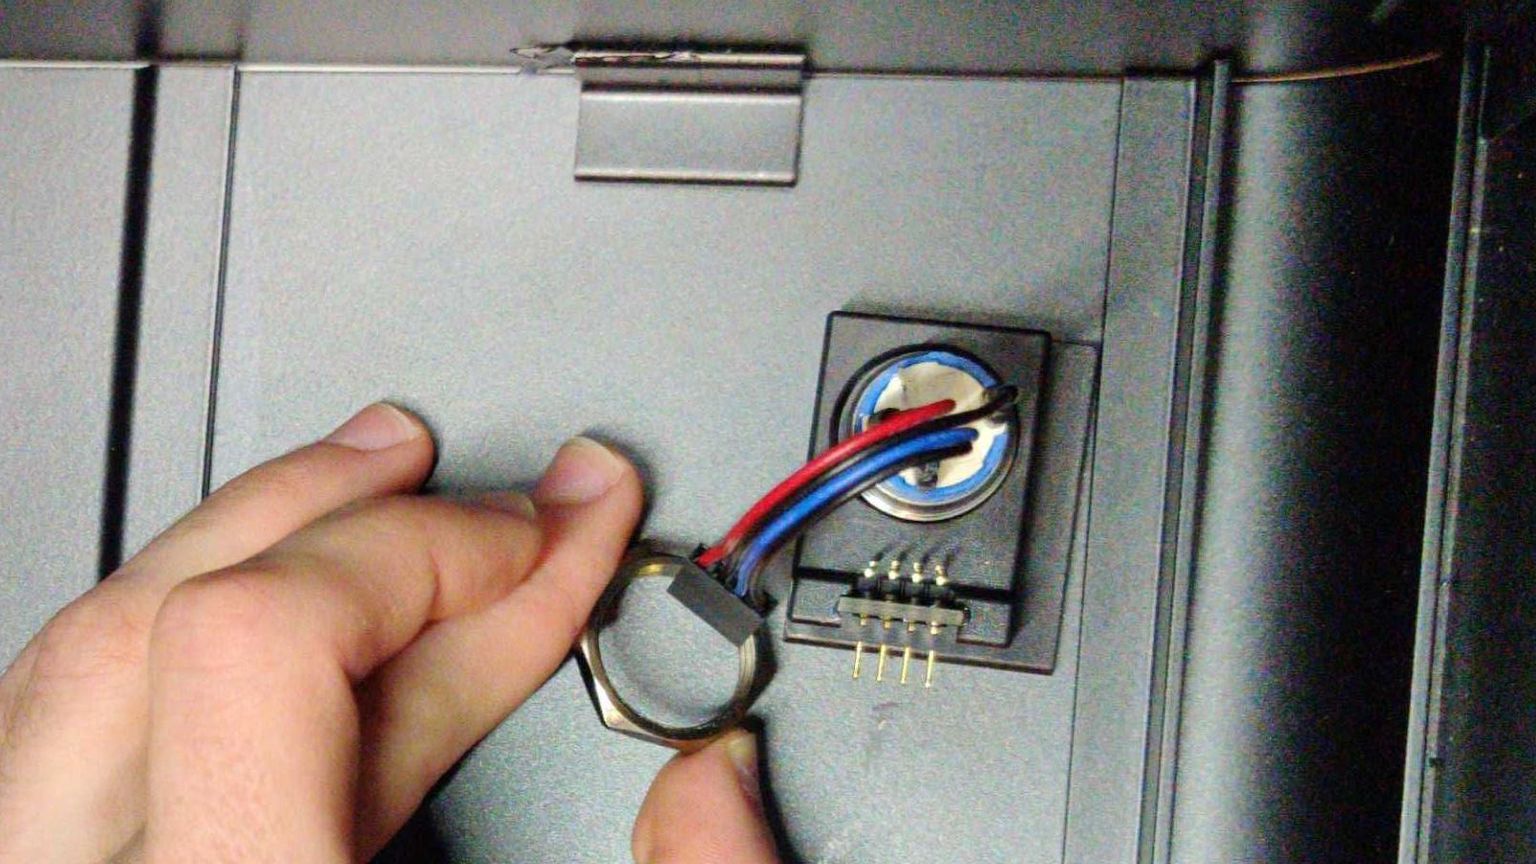
With the wire unplugged and the nut removed, the power button can be pushed out the front of the case.
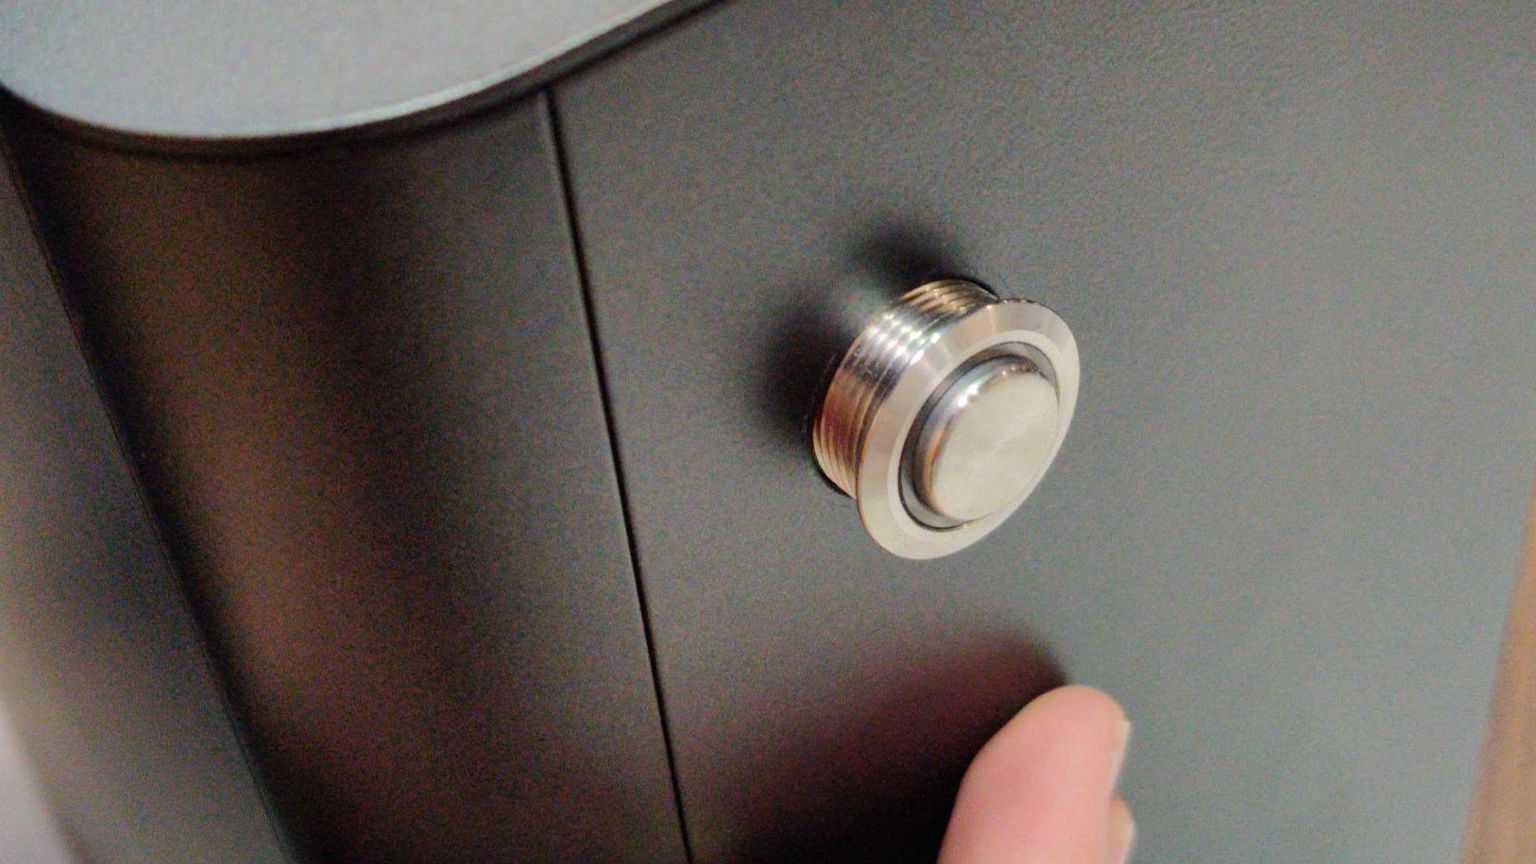
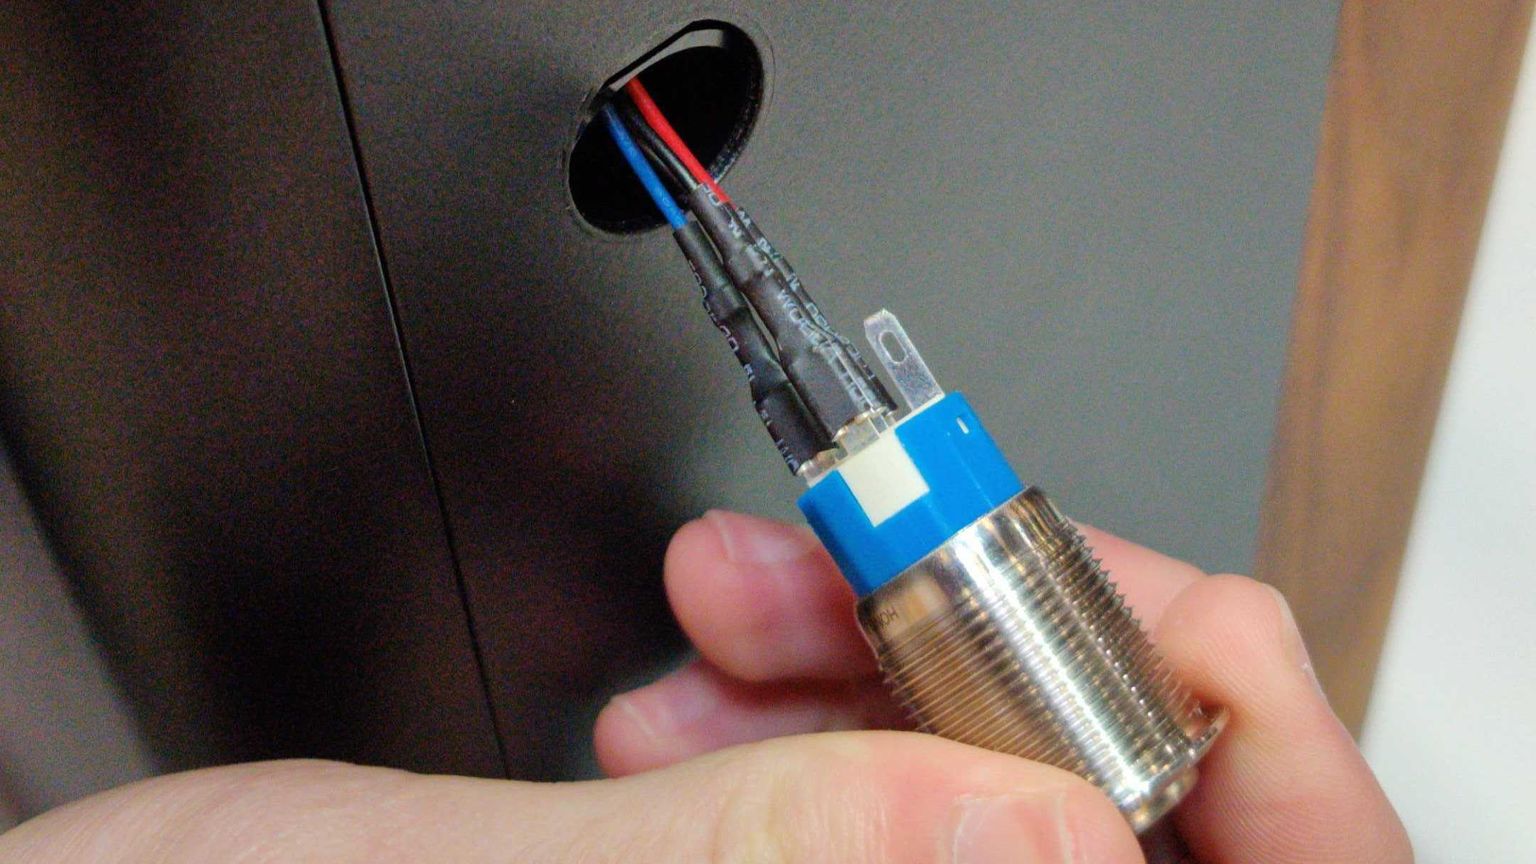
The black plastic rectangle inside of the case will also be loose at this point, and can be removed.
Installing the Power Button
First, line up the black plastic rectangle with the hole inside of the case.
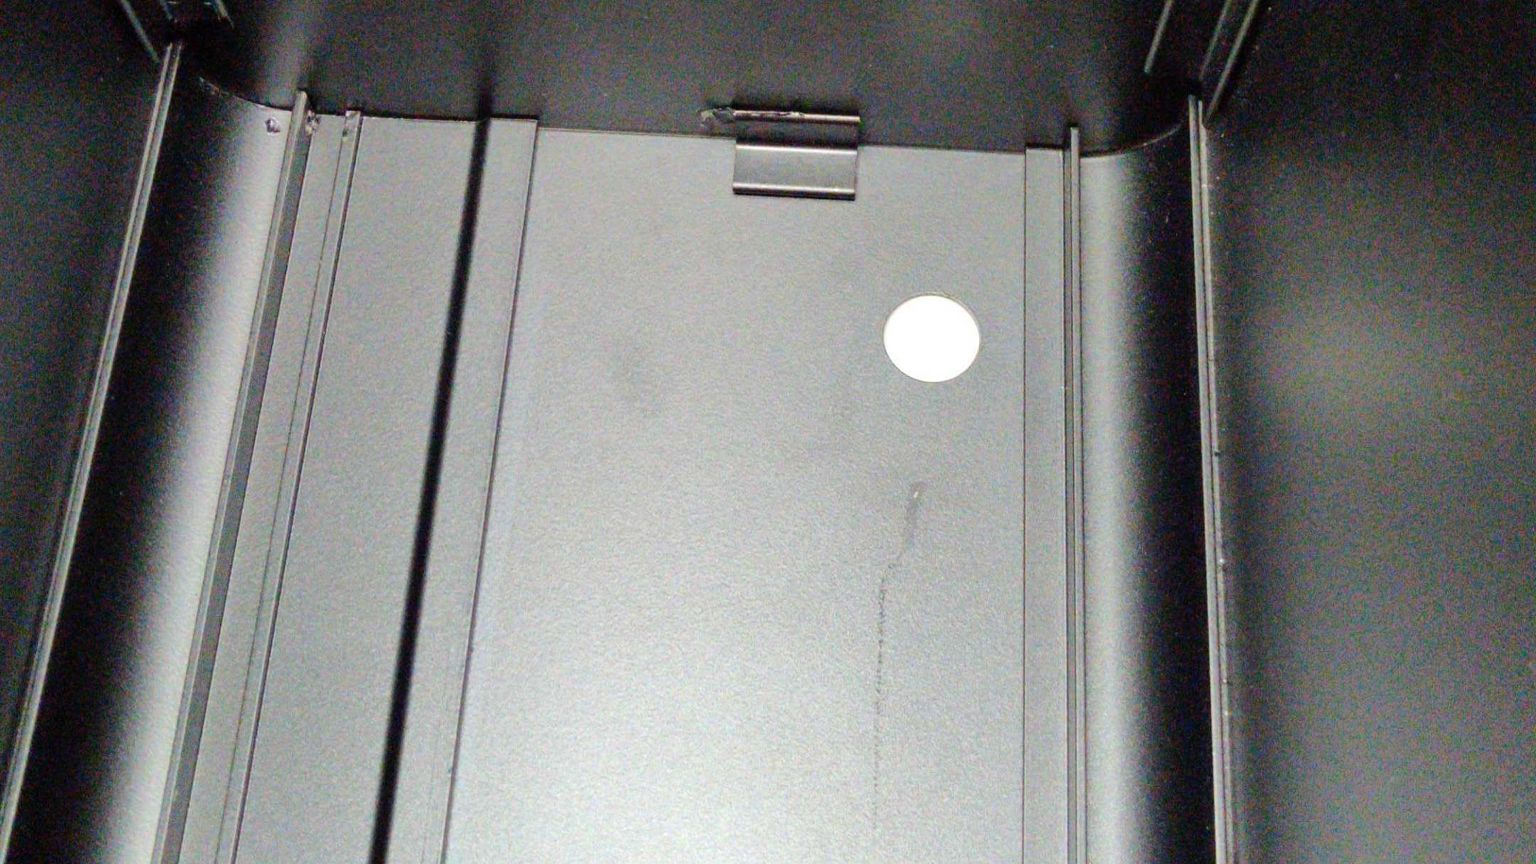
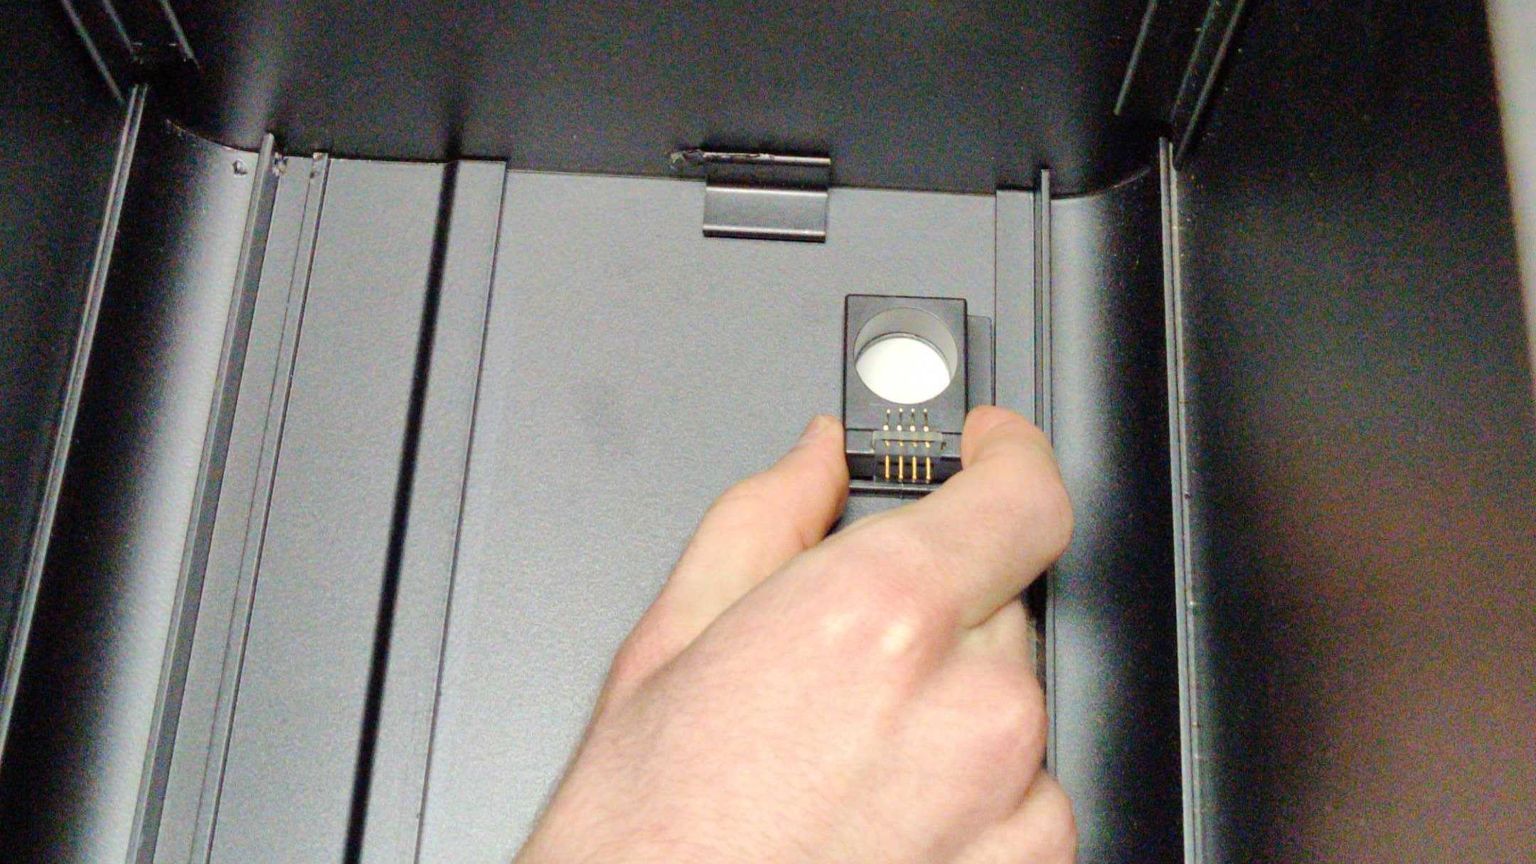
While holding the black plastic rectangle to the hole, feed the power button wire through the hole and push the power button into the case.
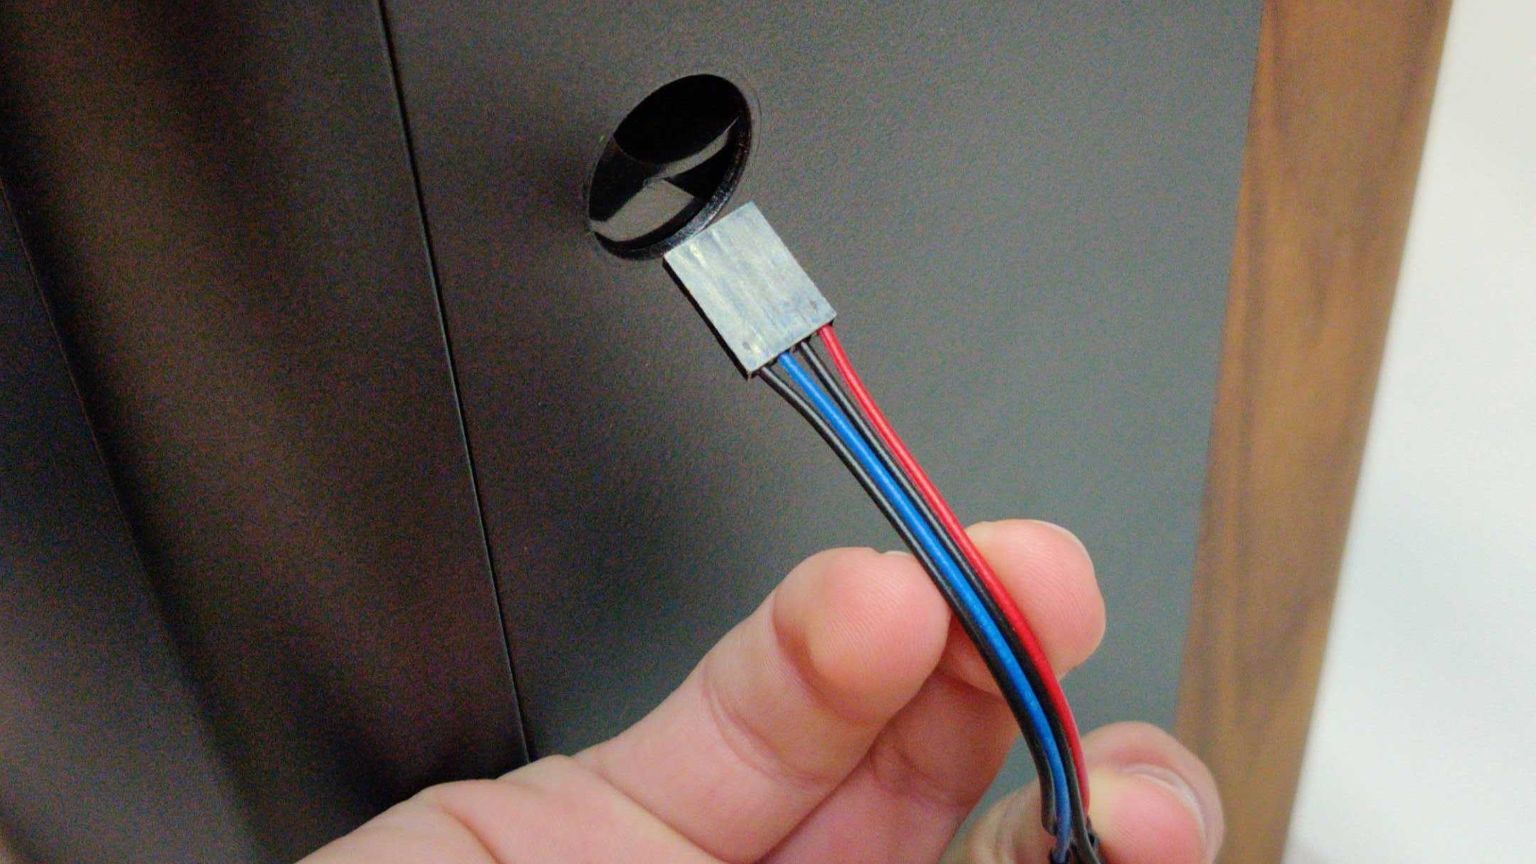
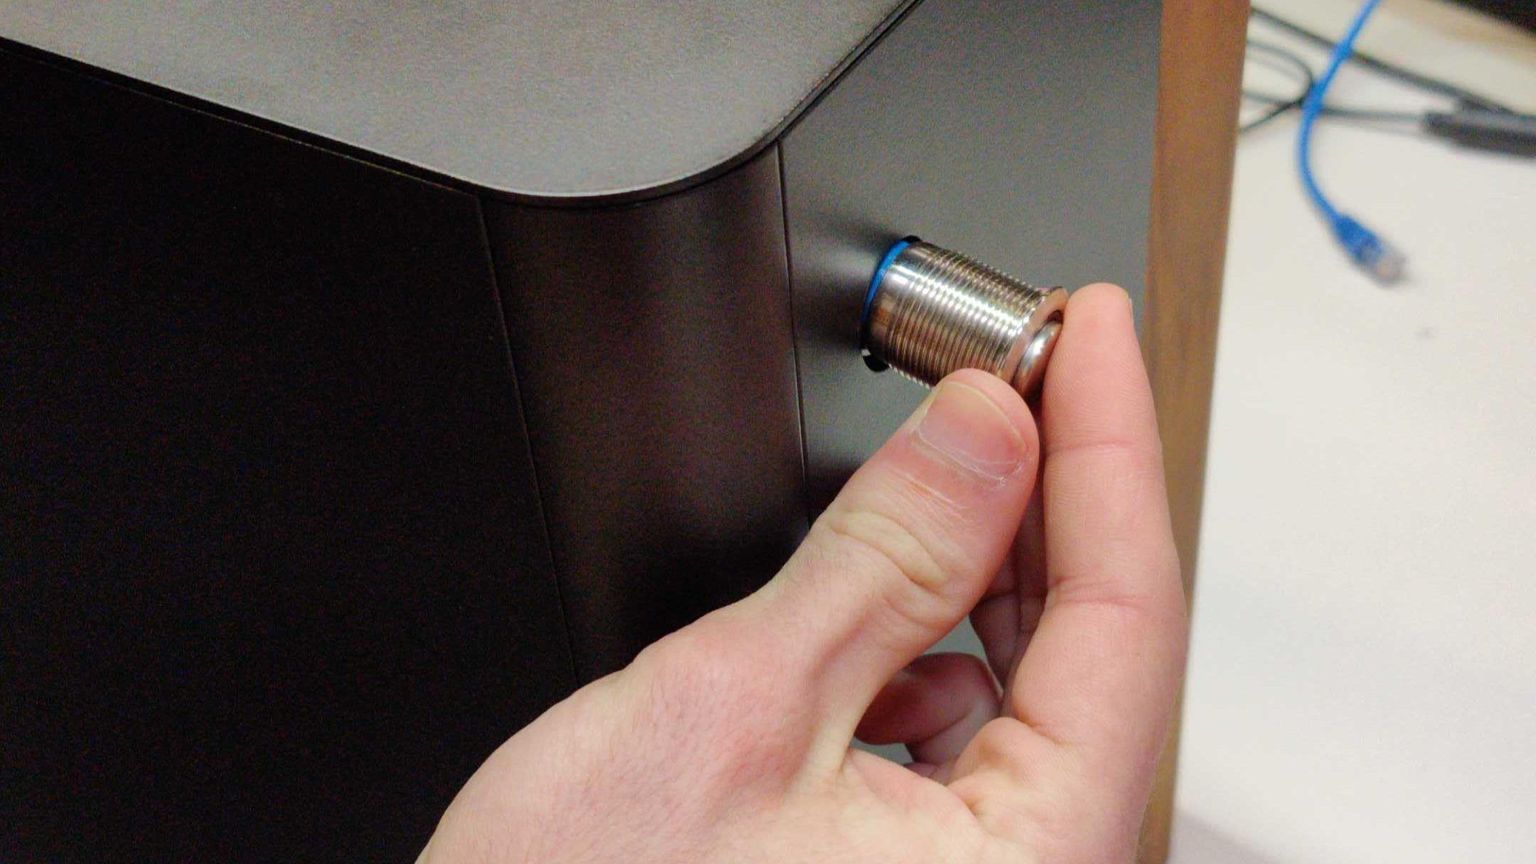
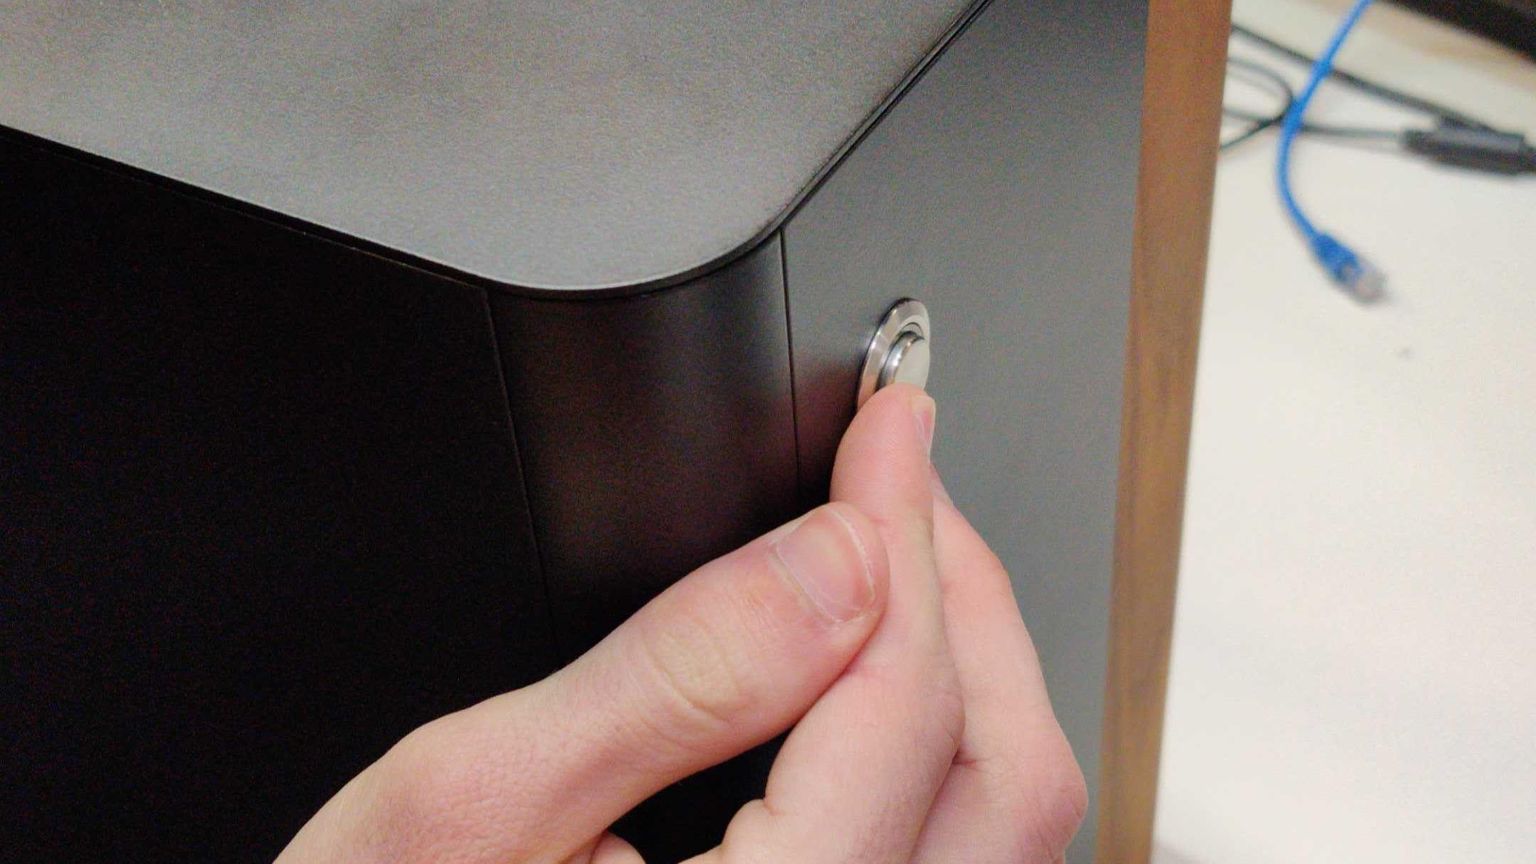
While holding the button in from the front, thread the power button wire through the nut, then screw the nut onto the power button.
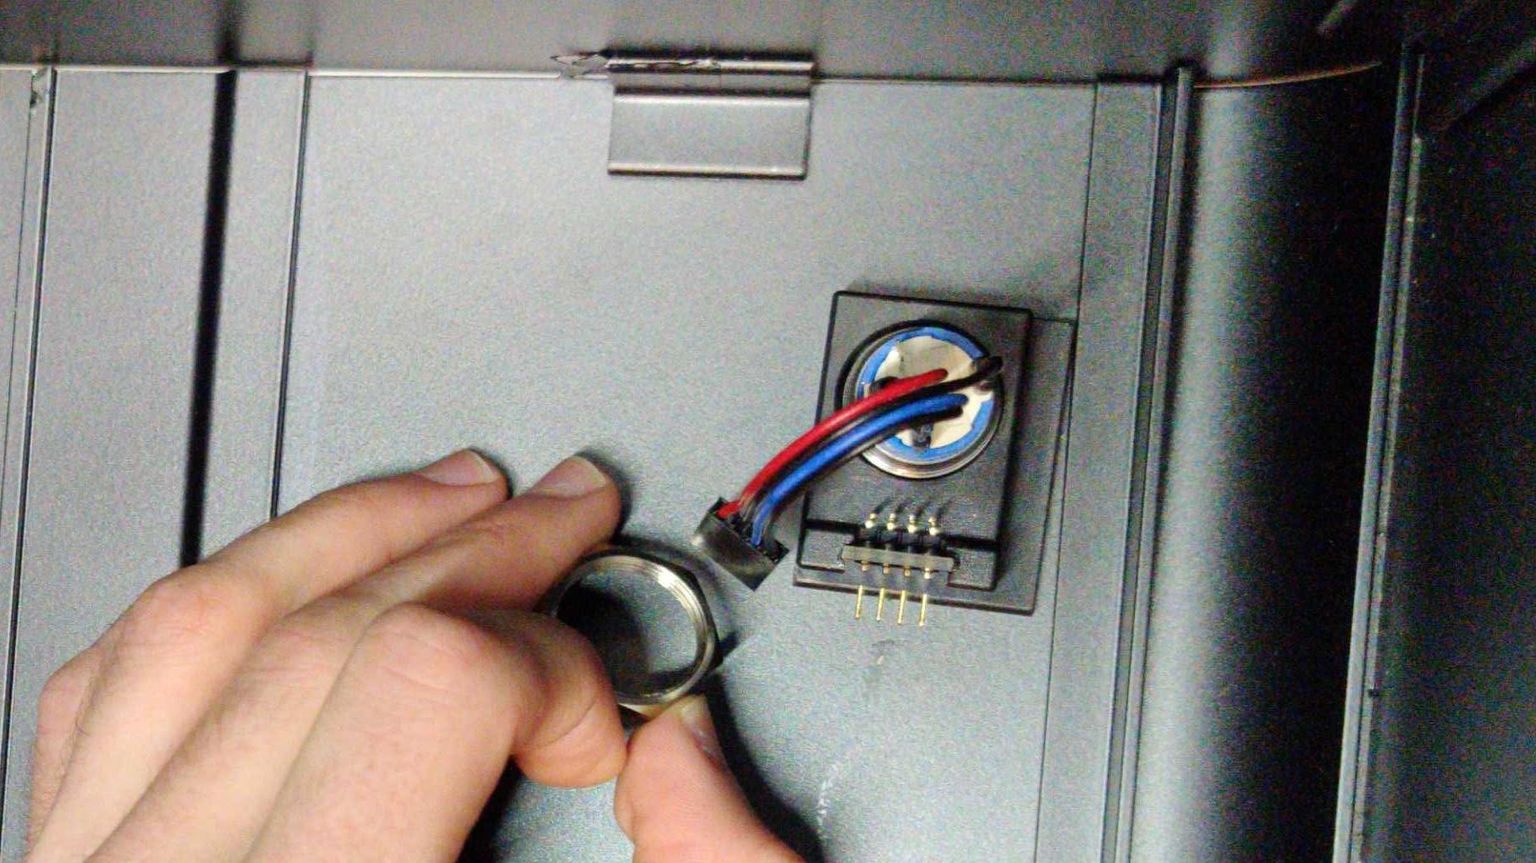
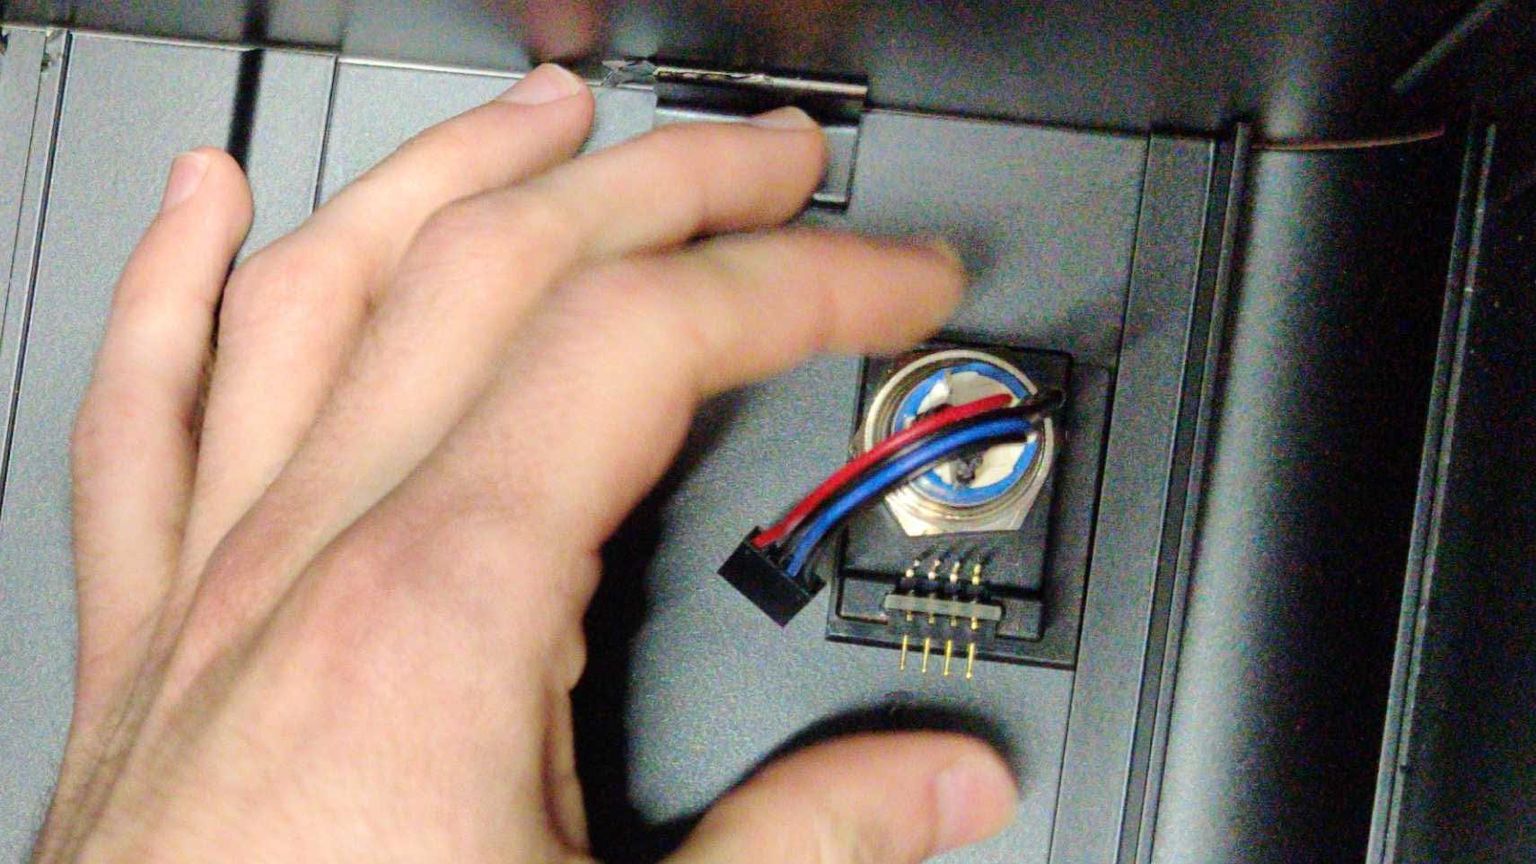
Tighten the nut with a pair of needle-nose pliers to ensure the plastic bracket doesn't move around later.
Finally, plug the power button's wire into the 90-degree connector so the red wire is on the left.
