Support Articles
Install and Use VPNs
Install ProtonVPN Graphical Client
Download the .deb package from their website

Once signed in click the Downloads tab on the left side of the website and click on the Download button for GNU/Linux.
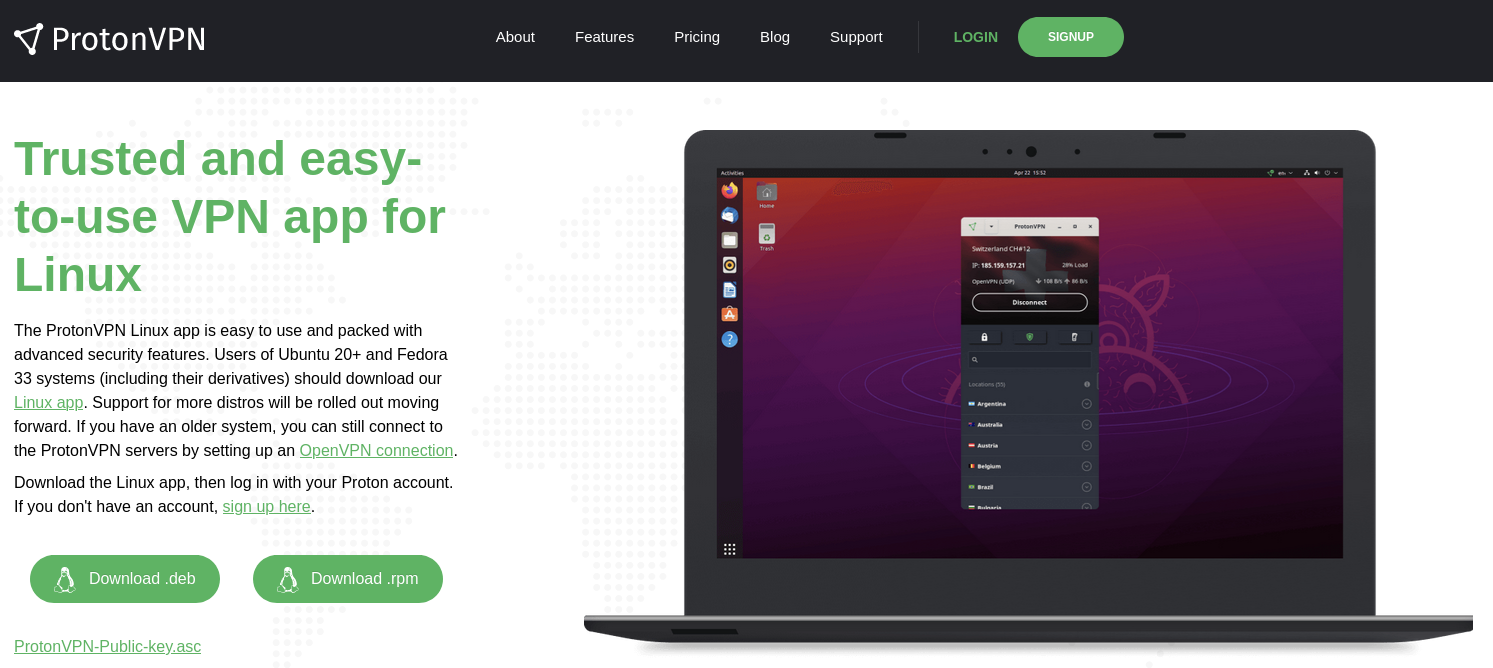
Click the Download .deb button for Ubuntu and Pop!_OS.
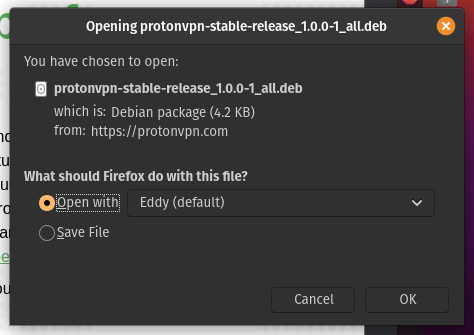
Next be sure to leave Open with Eddy (default) selected so that the next window pops up.
Installing the .deb package
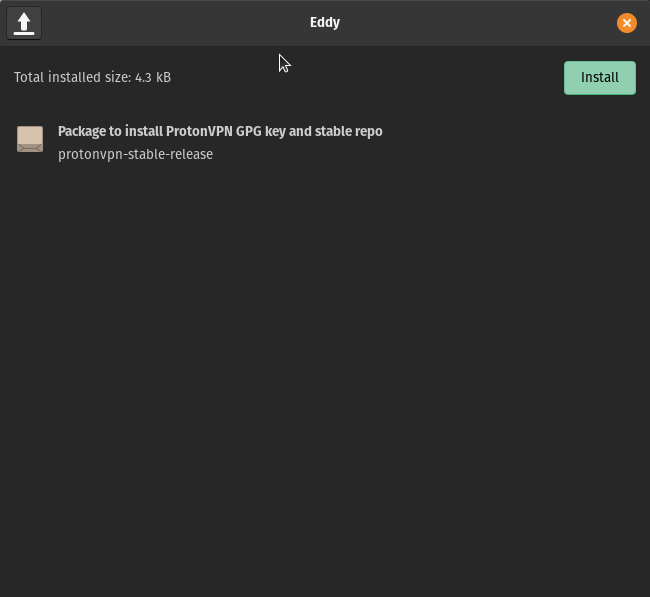
Now click the Install button to install ProtonVPN using Eddy. Once that is down close the Eddy window.
On Pop!_OS:
Press +t on your keyboard. A Terminal window should open.
On Ubuntu:
Press Ctrl+Alt+t on your keyboard. A Terminal window should open.
Next enter the following commands followed by Enter:
sudo apt update
sudo apt install protonvpn
Using the Graphical Client
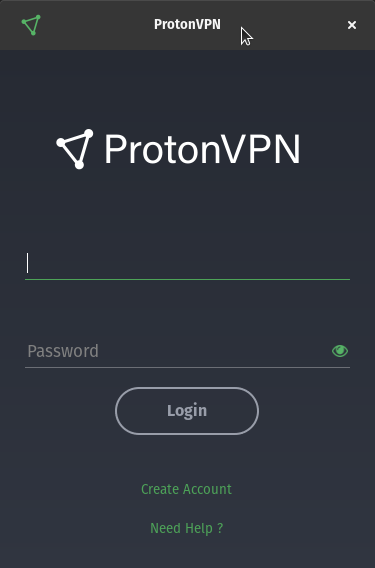
Open the ProtonVPN client by clicking Activites on the top left of your desktop and search for ProtonVPN in the search box. Enter your login information which should be the same as the information that you used to sign into the ProtonVPN website. If that doesn't work you will need to reach out to ProtonVPN support.
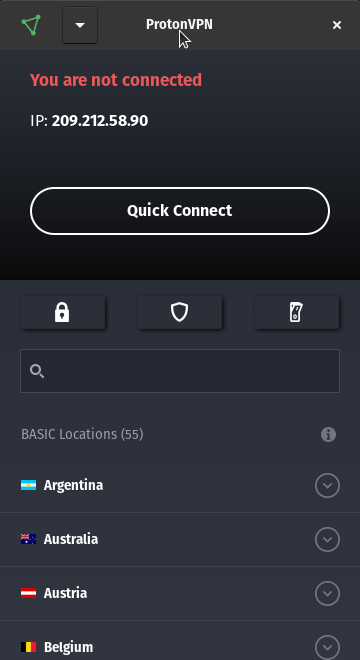
Now that we are signed into the service with the ProtonVPN client we can connect to any server that we have access to in our plan though ProtonVPN.
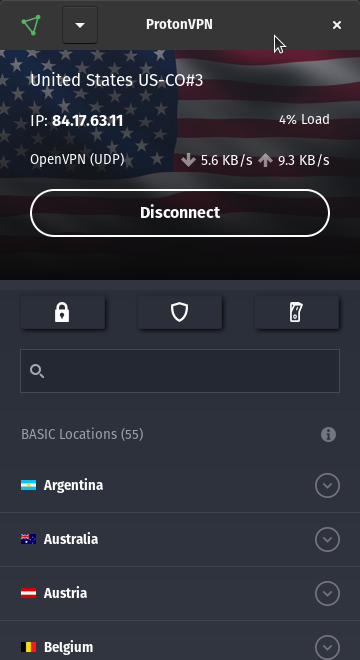
From this window we can see our Upload and Download speeds including the load that the server is under (how much it is being used currently) and our IP address.
Install a VPN using OpenVPN files
Open Network Settings
Access OpenVPN setting in the Settings application (GNOME Control Center)
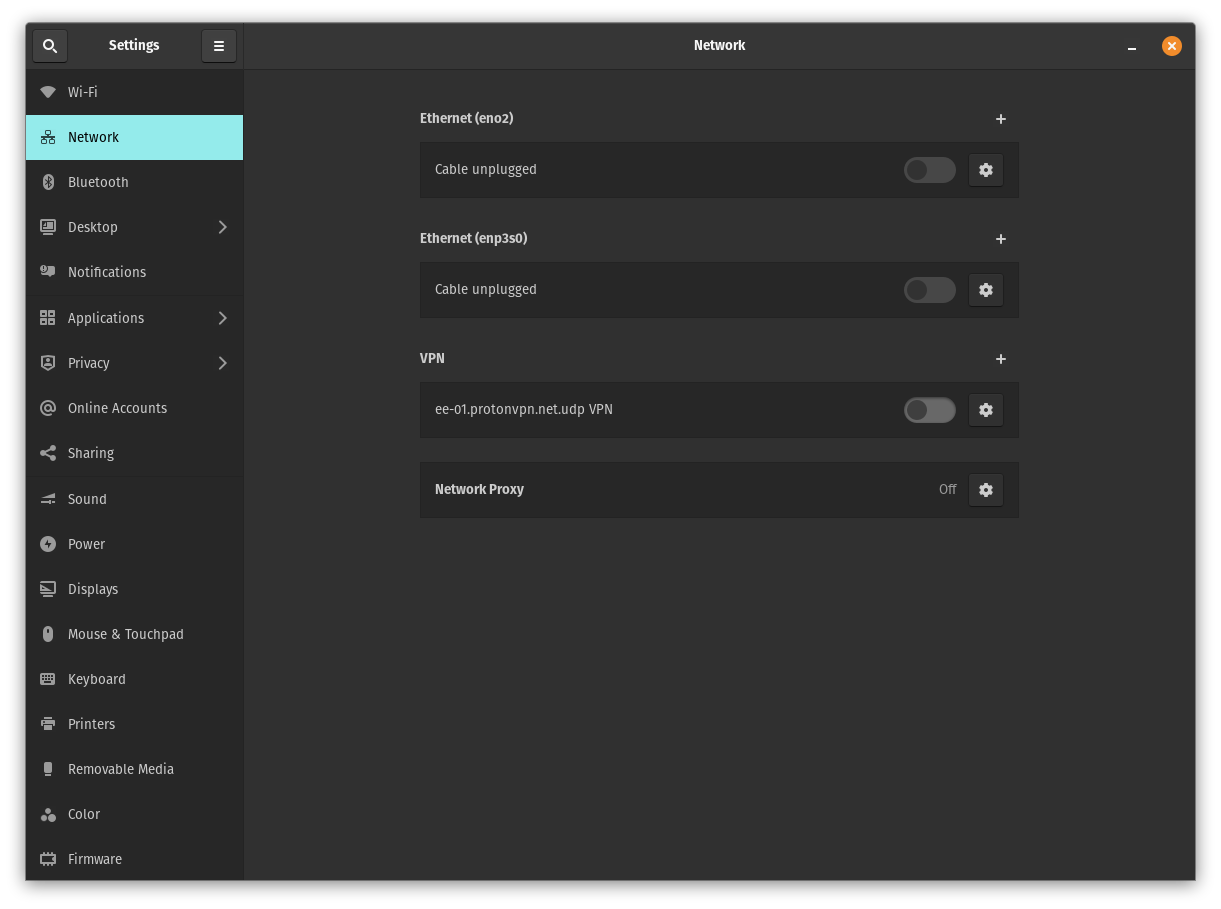
Getting an OpenVPN (.ovpn) file
OpenVPN uses .ovpn files for setting up the VPN on your system and includes the servers to contact. Most VPN providers will provide .ovpn files such as the following:
Using an OpenVPN (.ovpn) file
After getting the .ovpn (OpenVPN file type) click the plus icon to the right of the VPN section. A dialog will as show will open. Click 'Import from file...'
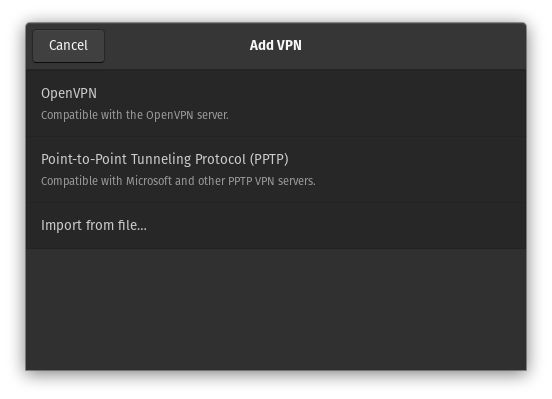
Select the .ovpn file downloaded from your VPN provider.