Support Articles
Set Up E-Mail
Gmail
-
Add the account to Geary

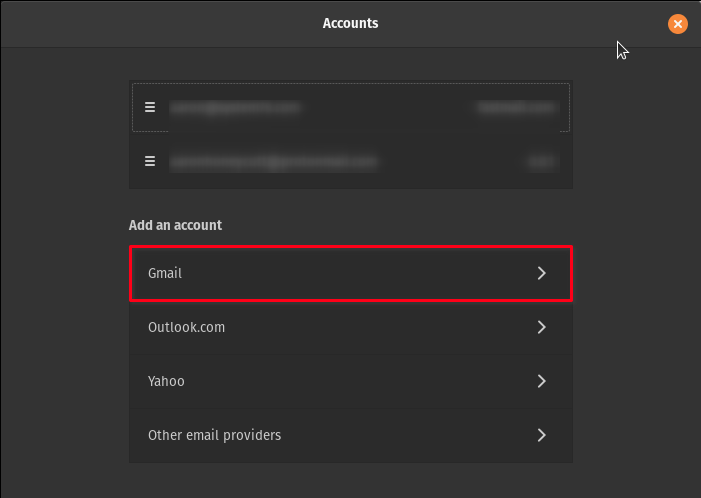
Select the Gmail option in the window below.
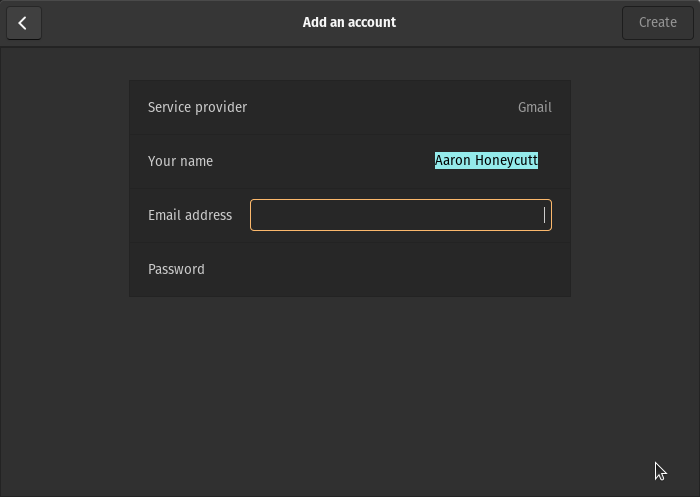
Enter your Gmail address and your password.
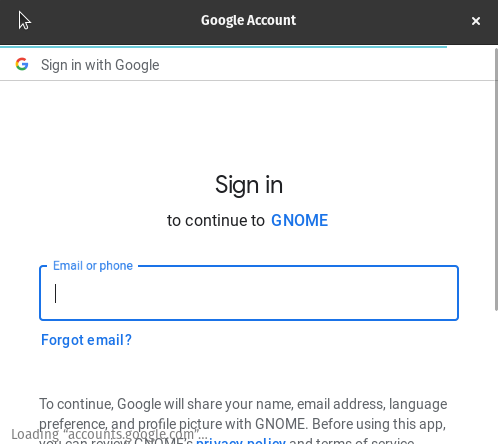
Now sign into your Gmail account again using the same Gmail address and password to add your account to Geary.
ProtonMail
NOTE: Using ProtonMail with a 3rd Party Email Client is only supported on Paid plans
-
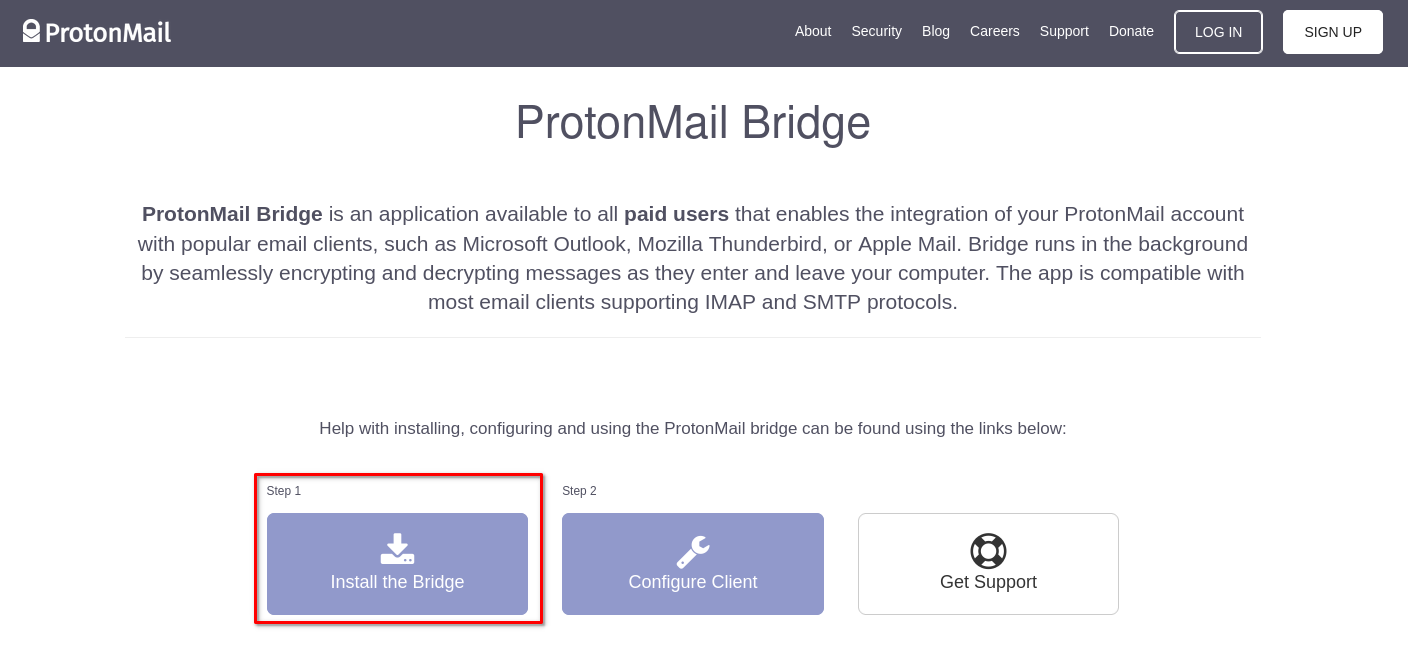
Download the ProtonMail Bridge from here.

-
Install Protonmail Bridge
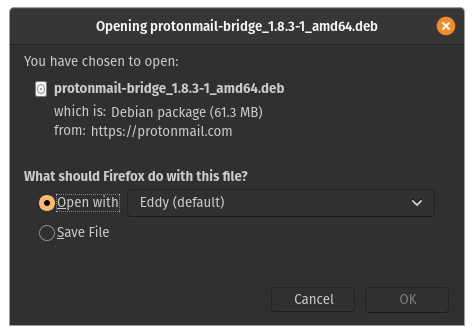
Once the
.debfile has been opened by Eddy click the Install button to install the application.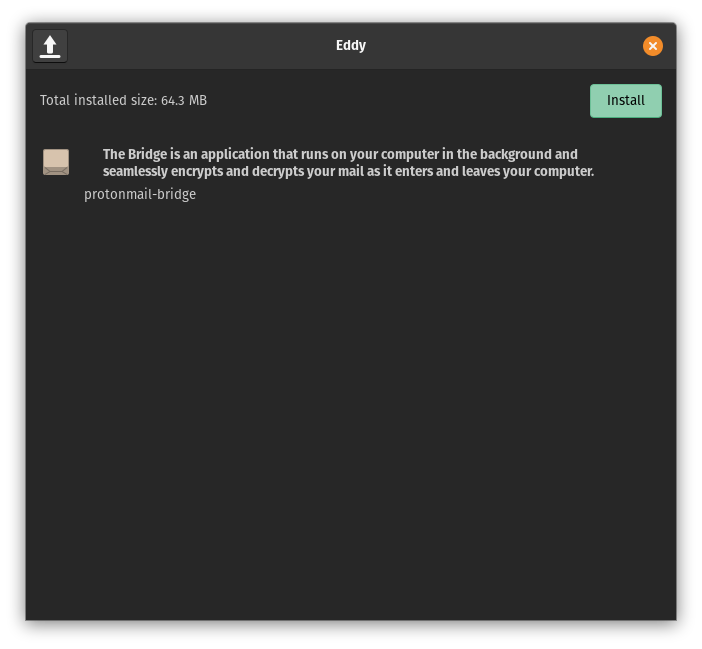
-
Setup Protonmail Bridge
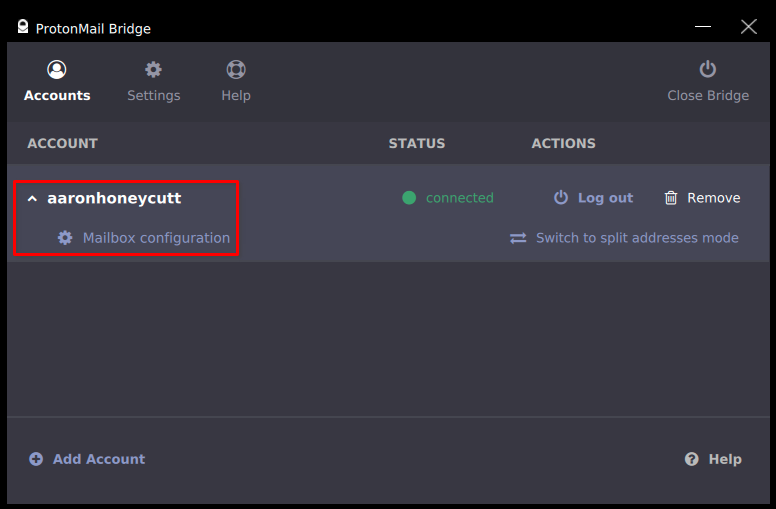
Once you open Protonmail Bridge from the Activities menu (in the top left) you will see the screen below. From here, enter your username and password that you using to sign into the ProtonMail website.
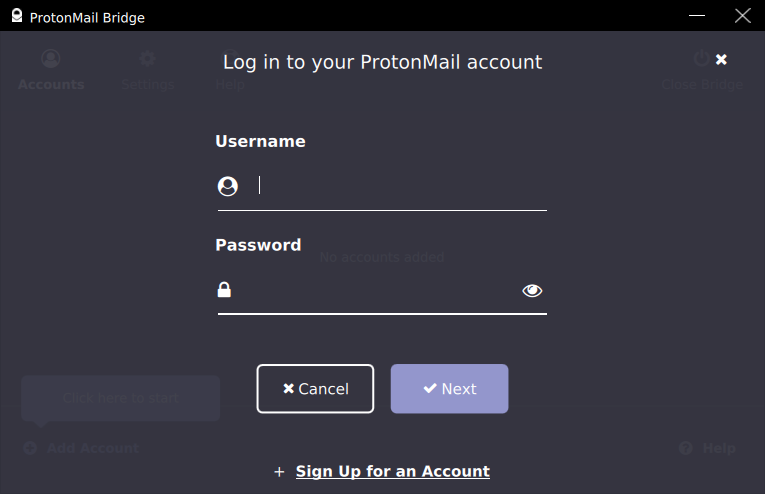
Once signed in, you can review the configuration steps for Thunderbird at the link in the Protonmail Bridge. The steps for Thunderbird will work in Geary.
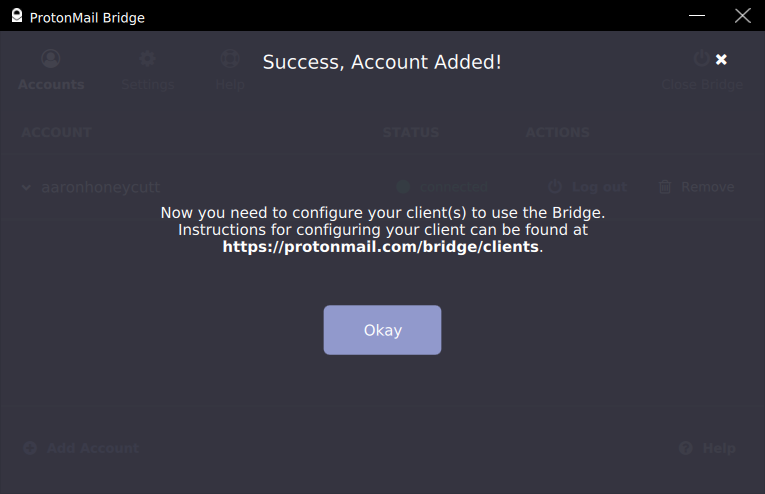
Click on the arrow to the left of your username and then click on the Mailbox Configuration button to open the Email Settings window. This window will have your password (which is different then your ProtonmMail password), port numbers for IMAP and SMTP, as well as the security method for both IMAP and SMTP.
-
Add the account to Geary
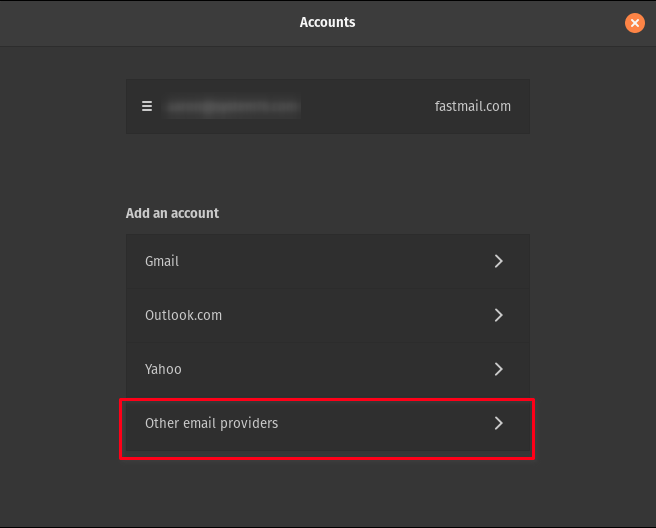
Once signed into Protonmail Bridge click the menu icon in the top left of Geary then click Accounts.

Next click the Other email providers button to add the ProtonMail account.
Now enter the information from the Mailbox Configuration window and note that we are entering the hostname IP address, followed by the port number like this:
127.0.0.1:1143.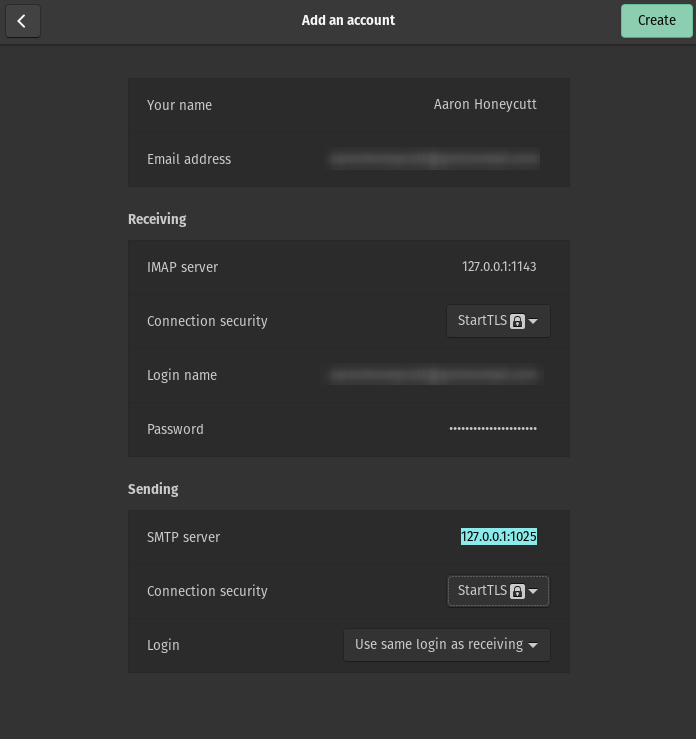
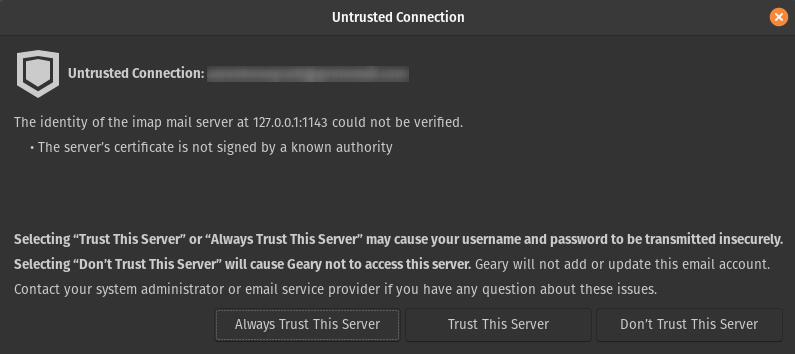
Once that has been entered and the Create button has been pressed (you may need to do that a few times for the Connection security dropdown to show) you will see the window below. Finally click the Always Trust This Server button then the Create button again to add the account.
NOTE: You may need to close Geary and reopen it a bit later before your email starts showing up in Geary.
Fastmail
-
Click the menu icon in the top left of Geary then click Accounts.

-
Click the Other email providers button to add the Fastmail account.

-
Next create an App password using the Fastmail website here.
NOTE: Save the App password in your Password Manager as you may not be able to see it again after creating it for security.
-
Take note of the IMAP/POP, SMTP addresses and the port numbers from the Fastmail website for the next window as well.
-
Add the new App password, IMAP/POP, SMTP address and their port numbers in the next Geary window.
iCloud Mail
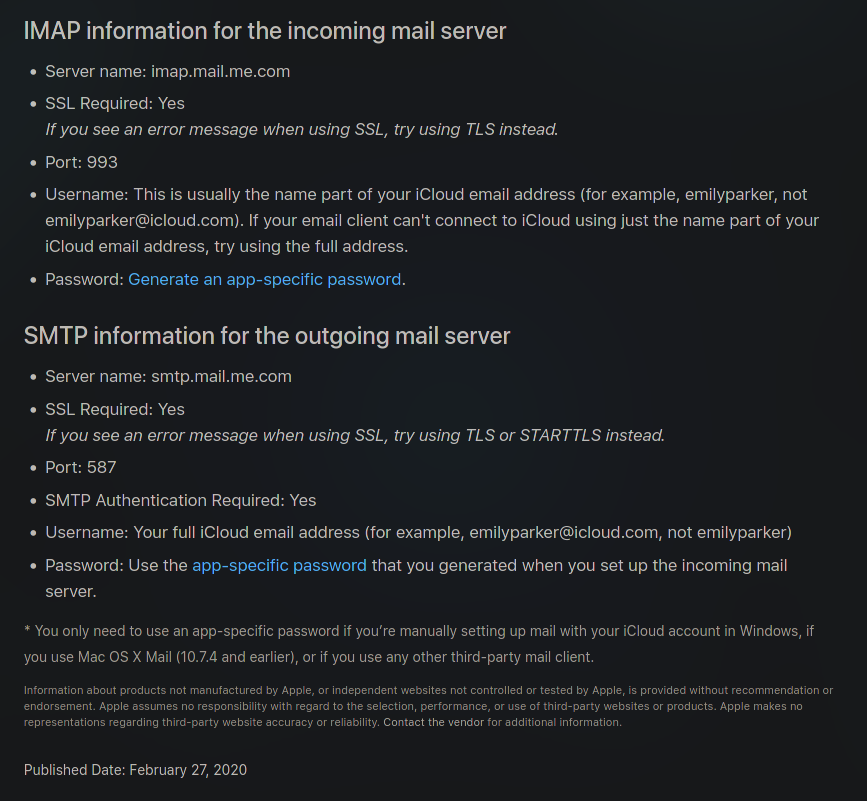
Apple publishes the server settings for linking your iCloud email to other mail clients (see screenshot below).
-
Click the menu icon in the top left of Geary then click Accounts.

-
Click the Other email providers button to add the iCloud account.

-
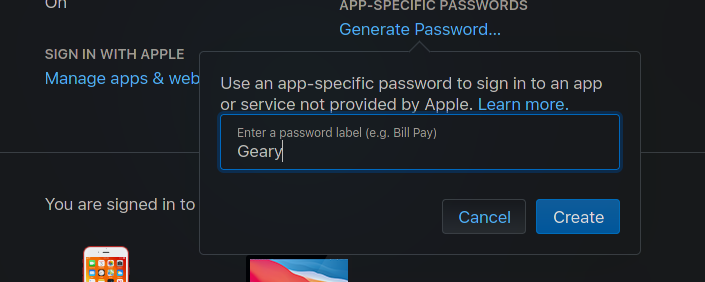
Next create an App password using the steps on this Apple Support page: https://support.apple.com/en-us/HT204397
NOTE: Step 3 will also require you to sign into your Apple ID Account page. You'll need to have two-factor authentication enabled to create an app-specific password. Once the app-specific password is created, it won't be shown again. Be sure to write it down or add it to your password manager.

-
Take note of the IMAP/POP, SMTP addresses and the port numbers from Apple Article HT202304 (above) for the next window.
-
Add the new App password, IMAP, SMTP address, and in the next Geary window.
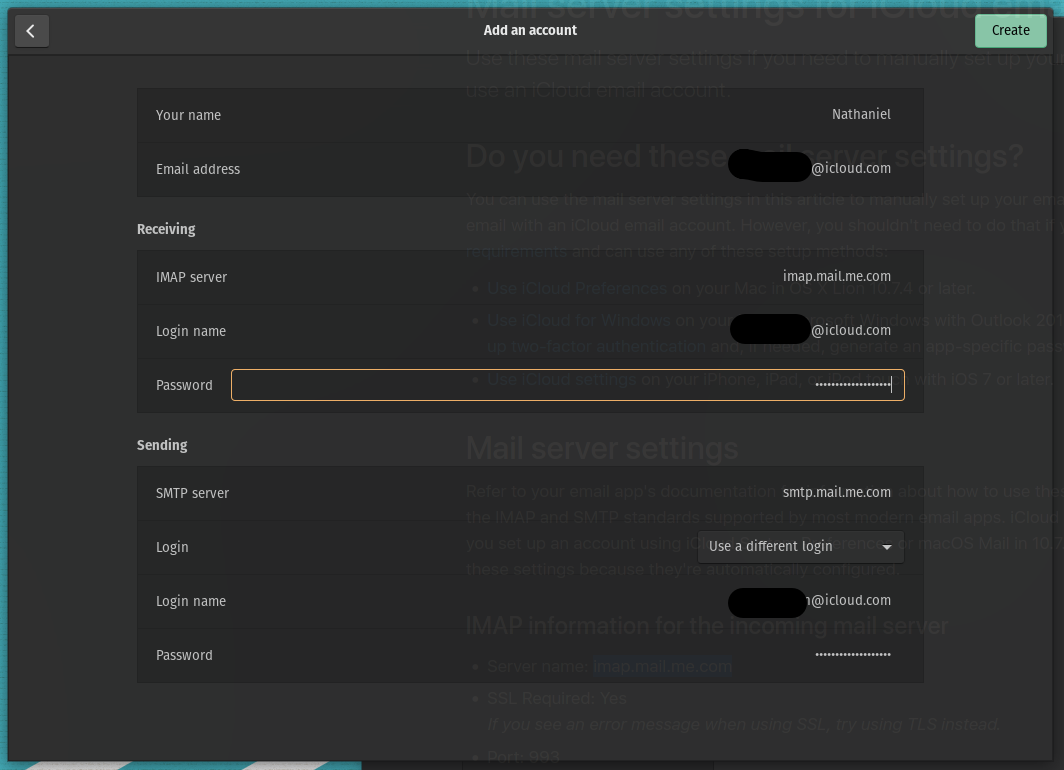
NOTE: You will need to adjust the settings on this server login page. Change the drop down in "Sending" to "Use a different login" even though the information will be the same. It's likely you'll receive an error at first. If that's the case, switch TLS to StartTLS.
-
Finally, click the Create button and your iCloud account will be added to Geary.