Support Articles
Flashing Firmware from a USB Flash Drive
Flashing Firmware from a USB Flash Drive
This article covers flashing, or installing, firmware onto your System76 computer using a USB flash drive. These instructions are written for firmware files provided directly by System76. If you are experiencing behavior on your System76 computer that you believe is due to the firmware you are using, please contact System76 support.
Things that you will need
- Firmware file from System76
- 1-2 flash drives (1GB and up)
- Philips Screwdriver
- Approx. 30 mins.
Format the USB Drive
The USB drive used to flash the firmware, must be formatted to the FAT32 filesystem. If you need to reformat your flash drive as FAT32, please refer to our Format Your Drive support article.
Unzipping the Files
Depending on the decompression method you're using, you may need to perform an additional step. In some cases, the unzipped file is moved into a folder with the same name. For example, "oryx6-76ec.zip" becomes a directory called "oryx6-76ec" instead.
The mainboard will not know how to access the files inside the directory. The firmware flashing will not work in this case. Instead, move the files outside of the parent directory, delete the parent directory, and try booting again.
Pop!_OS extracts the files correctly by default (see screenshots below), but other extraction tools or other operating systems such as macOS may behave differently.
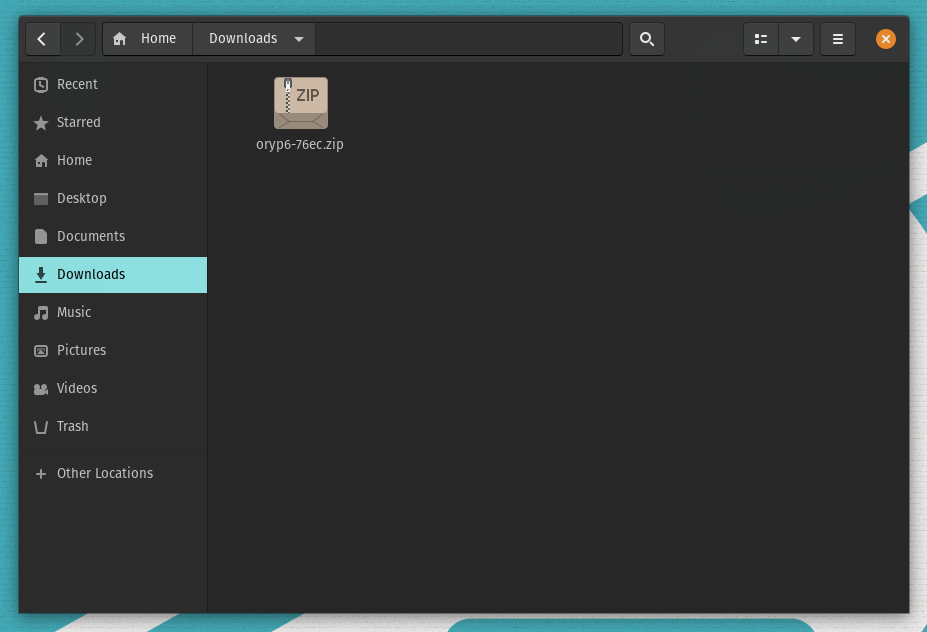
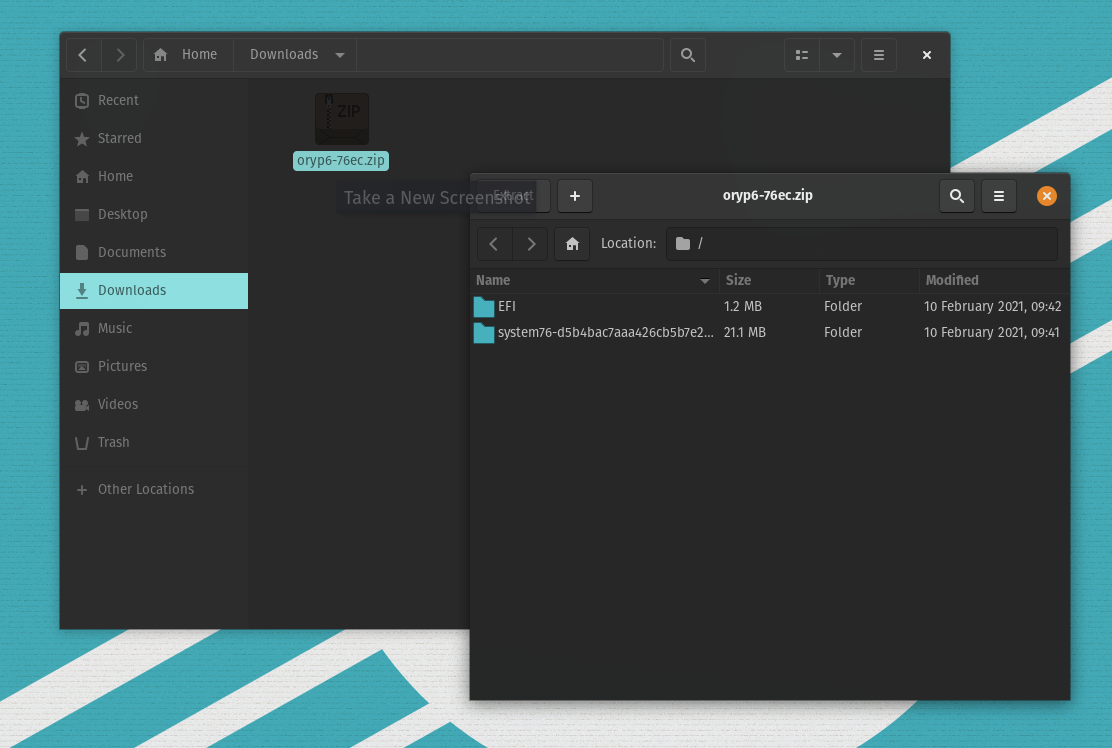
The highlighted files pictured below (the hash will change based on file and model) are the two items that should be in the root of the USB drive.
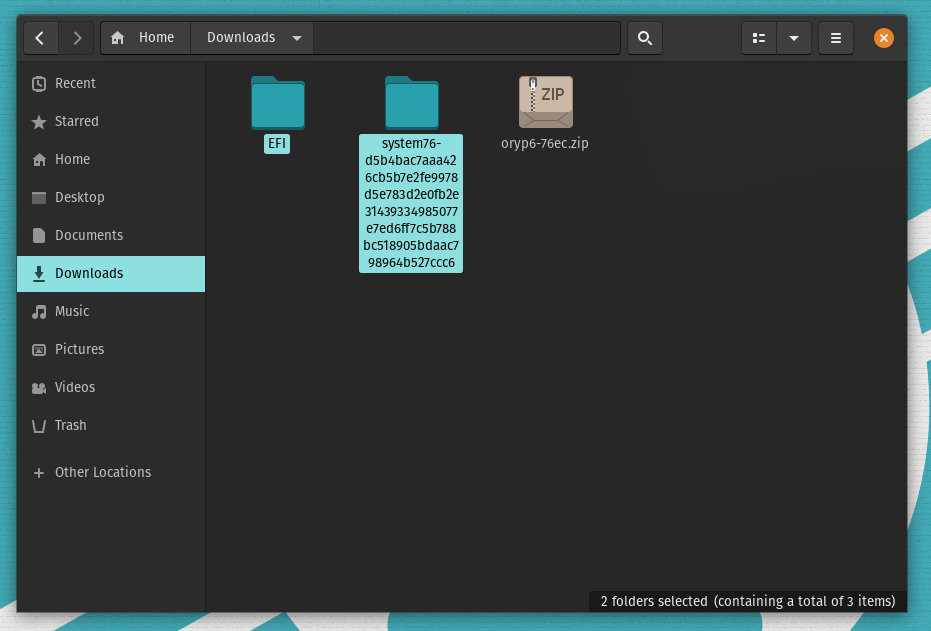
Extracting an img to the USB drive
Firmware is typically packaged in the form of a zip archive, but support will ocasionally provide an .img image. If the firmware image provided is a .img file, it will need to be flashed using an application.
Pop!_OS
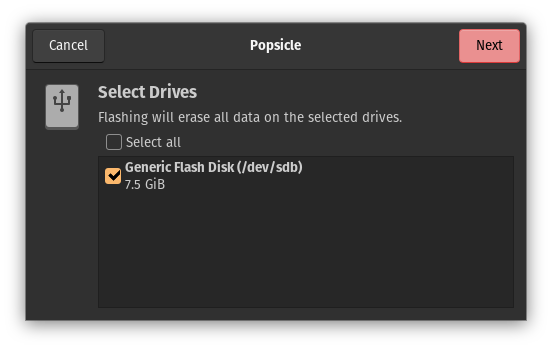
We can do this using the USB Flasher (Popsicle) application.
Press the / key then type 'usb' to launch the Popsicle application.
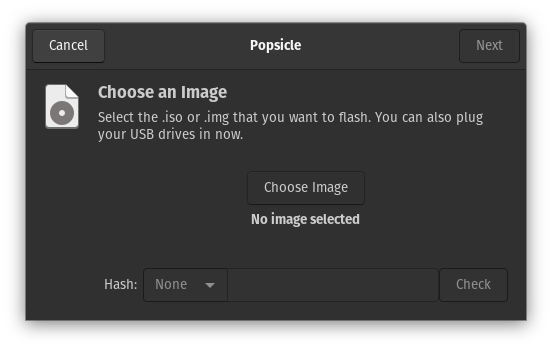
Next, select the .img file use the Choose Image button.
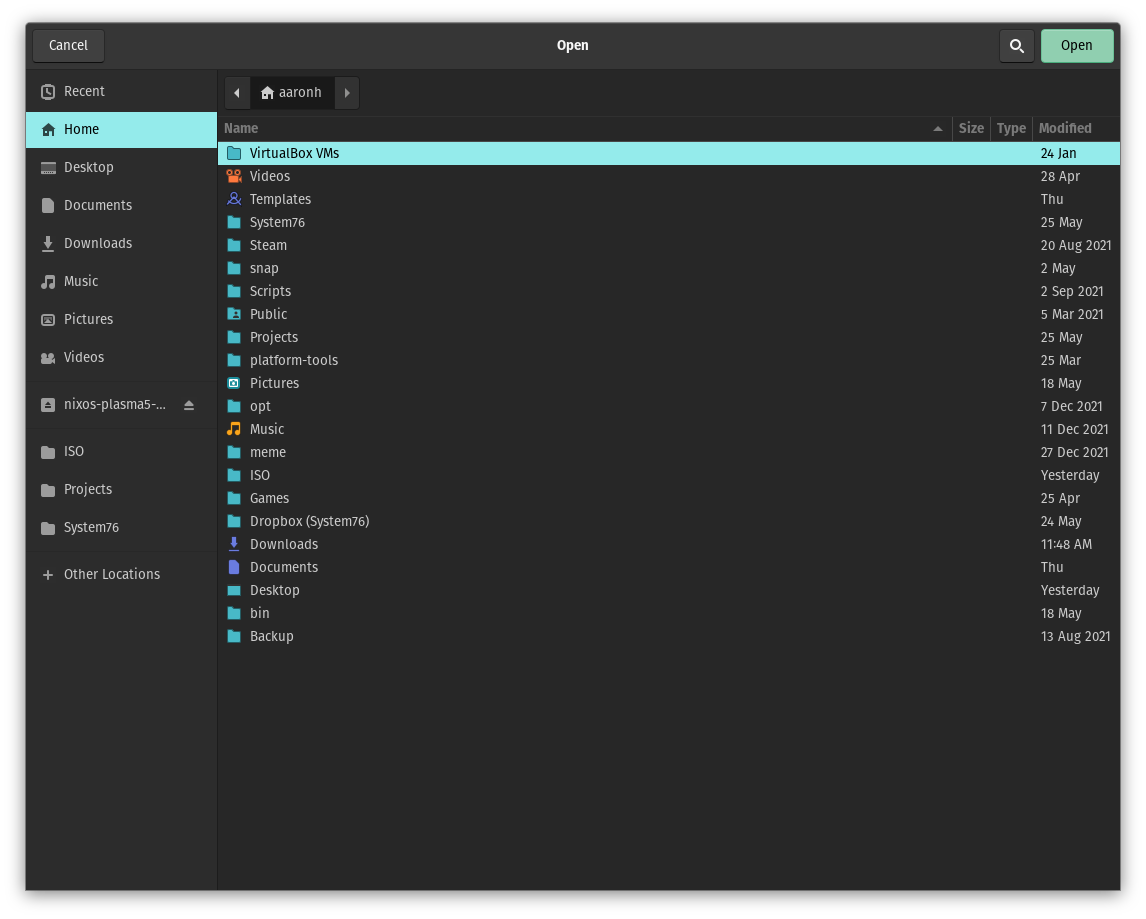
Now select the USB Flash Drive that you are copying the file(s) to.
Ubuntu
We do this by "restoring" the image to the drive using the Disks application.
Press the / key then type 'disks' to launch the Disks application.
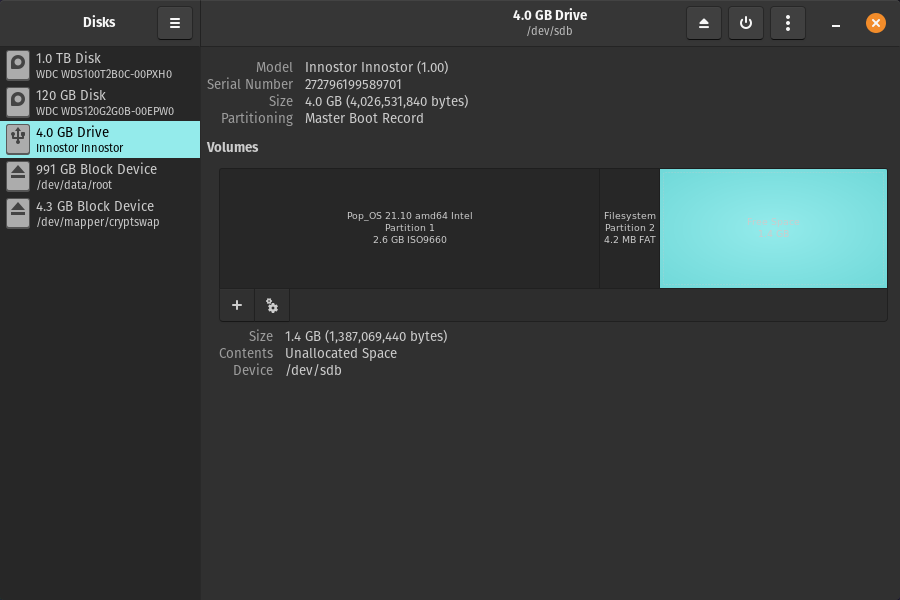
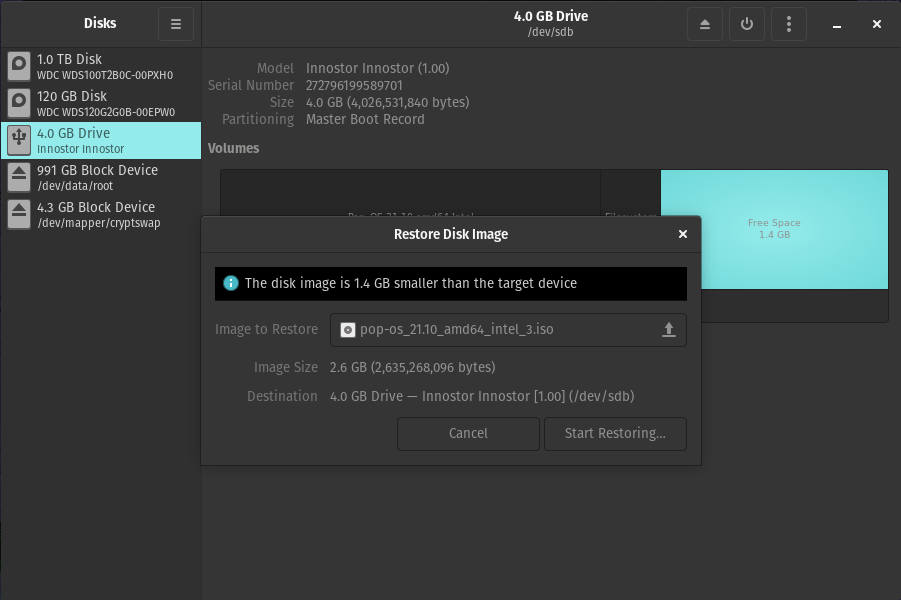
Next, select the flash drive in the list on the left and click on the three dots on the top right of the window. Now select Restore Disk Image... and select the Ubuntu or Pop_OS ISO file. Finally, click the Start Restoring... button and enter your password.
Booting the USB Firmware Updater
After the flash drive is ready, power off your system. Then, power back on your system and tap the ESC key while the system is turning on. This will take you to the firmware boot menu, where you should select the USB flash drive from the list of boot options. To select the USB drive, you will use the Arrow keys to change the highlighted line, then press the ENTER key to select it.
If you are unable to access the firmware boot menu by pressing the ESC key while powering on the system, then shutdown the computer and remove the drives from the system. You can find instructions for removing the drives from your system on the tech-docs webpage.
Once the firmware is updated, we may need to boot with a live image in order to repair the boot loader if you dual-boot with Windows 10. We provide step by step instructions on how to do this in our support articles in the links below:
https://support.system76.com/articles/live-disk/
https://support.system76.com/articles/bootloader/
If at any point you run into any errors during this process please paste / attach photos of the errors in a support ticket.