Support Articles
Firmware Flash to Clear the SMMSTORE ROM (Error code 5)
Things that you will need
- 1-2 flash drives (1GB and up)
- Philips Screwdriver
- Approx. 30 mins.
The error messages
If you are seeing any of these messages on your Open Firmware system:
configuring bootloader error: command failed with exit status: exit code: 5
errored while installing system: command failed with exit status: exit code: 5
calling Schedule method failed: "failed to add boot entry: exit code: 5
system76-firmware: failed to schedule: failed to add boot entry: exit code: 5
we may need to clear the SMMSTORE ROM by flashing new firmware using a flash drive with a custom firmware update tool. Here are the steps to perform that action. After flashing, this will remove any custom EFI variables (such as those installed by boot managers). We have information on repairing the bootloader at the end of this article.
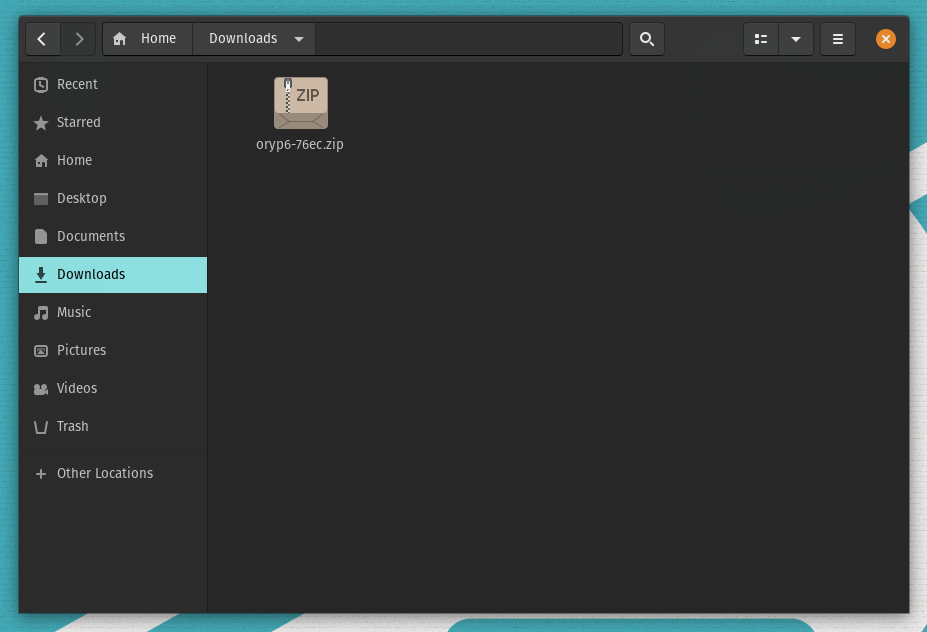
Please download the zip file for your sytem and unzip the files within to a FAT32 formatted USB drive. Then shutdown the laptop and remove all NVMe M.2 drive(s) in the system using the step by step instructions for your system:
| System | Patched Firmware | Tech Docs |
|---|---|---|
| Adder WS (addw2) | addw2-76ec.zip | addw2 |
| Bonobo WS (bonw14) | bonw14-76ec.zip | bonw14 |
| Darter Pro (darp6) | darp6-76ec.zip | darp6 |
| Darter Pro (darp7) | darp7-76ec.zip | darp7 |
| Galago Pro (galp5) | galp5-76ec.zip | galp5 |
| Lemur Pro (lemp9) | lemp9-76ec.zip | lemp9 |
| Lemur Pro (lemp10) | lemp10-76ec.zip | lemp10 |
| Oryx Pro (oryp6) | oryp6-76ec.zip | oryp6 |
Unzipping the Files
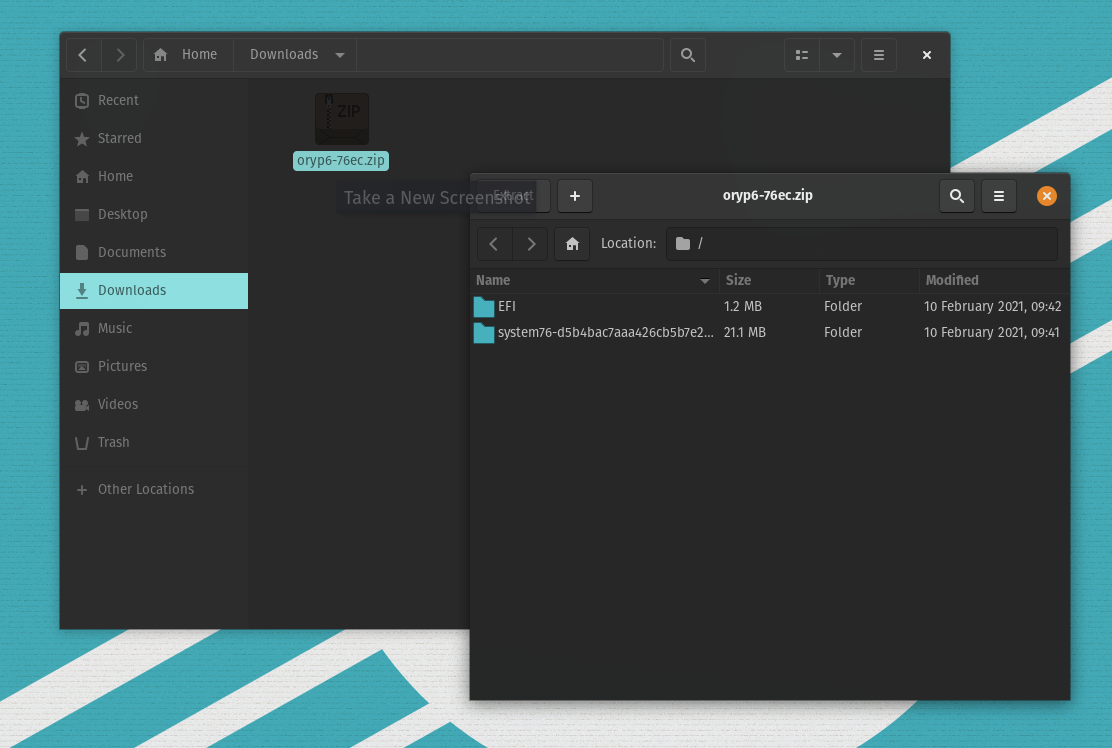
Depending on the decompression method you're using, you may need to perform an additional step. In some cases, the unzipped file is moved into a folder with the same name. For example, "oryx6-76ec.zip" becomes a directory called "oryx6-76ec" instead.
The mainboard will not know how to access the files inside the directory. The firmware flashing will not work in this case. Instead, move the files outside of the parent directory, delete the parent directory, and try booting again.
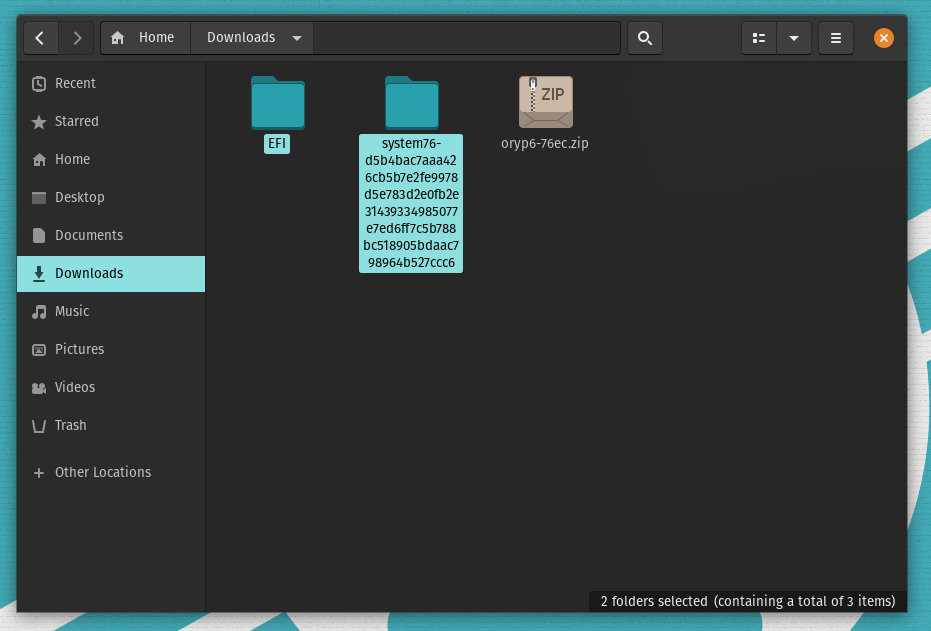
Pop!_OS extracts the files correctly by default (see screenshots below), but other extraction tools or other operating systems such as macOS may behave differently.


The highlighted files pictured below (the hash will change based on file and model) are the two items that should be in the root of the USB drive.

With all drive(s) removed, replace the cover and boot with the USB stick inserted. After the firmware has been flashed, remove the USB stick and reinstall the drive(s).
Once the system is put back together we may need to boot with a live image in order to repair the boot loader if you dual-boot with Windows 10. We provide step by step instructions on how to do this in our support articles in the links below:
https://support.system76.com/articles/live-disk/
https://support.system76.com/articles/bootloader/
If at any point you run into any errors during this process please paste / attach photos of the errors in a support ticket.